Master Apple Continuity Features for Seamless Mac and iPhone Workflow
Apple Continuity bundles features that let your Mac and iPhone act like one coordinated workspace, increasing productivity by moving content and tasks between devices without friction. This guide explains what each major Continuity tool does, why it works, and how to set it up for reliable cross-device workflows between macOS and iOS. Many users lose time copying content, switching apps, or tethering devices; Continuity solves those pain points by leveraging the same Apple ID, nearby Bluetooth proximity, and Wi-Fi to sync clipboard data, app states, camera input, and screen output. You will learn step-by-step setup for Universal Clipboard, how Handoff transfers tasks, how Continuity Camera upgrades webcam and scanning, and practical ways to mirror an iPhone screen on Mac for demos and recordings. The article also covers common troubleshooting checks, system requirement comparisons, and quick diagnostic lists so you can restore continuity when it breaks. Throughout, expect clear examples—copying text from Notes to Mail, picking up a Safari tab on Mac, using an iPhone as a high-quality webcam, and mirroring for presentations—plus compact comparison tables and actionable troubleshooting lists.
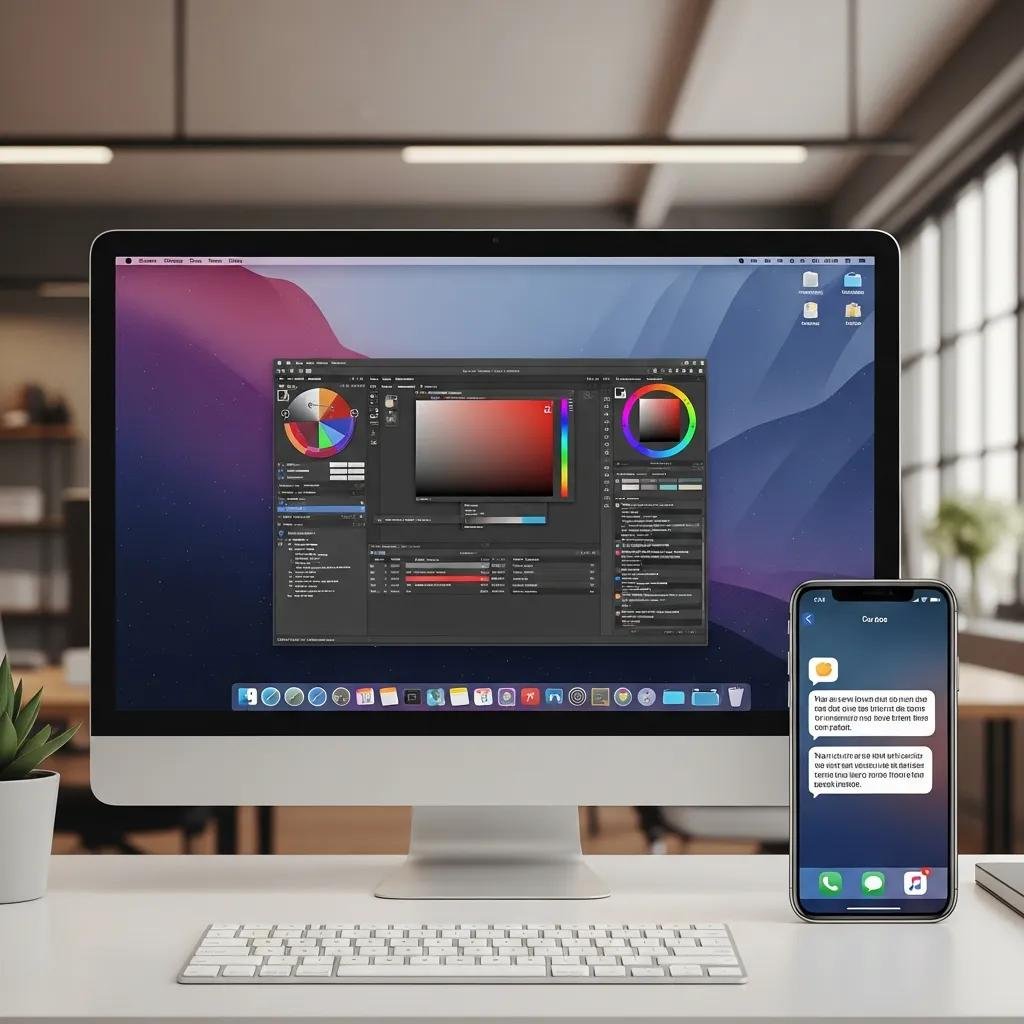
How to Set Up and Use Universal Clipboard Between Mac and iPhone?

Universal Clipboard lets you copy on one Apple device and paste on another by sharing the clipboard over proximity networking, using the same Apple ID and active Bluetooth/Wi-Fi to transfer data securely. The mechanism is simple: a copy action on Device A sends a clipboard payload to Device B’s paste buffer for a limited time window, which speeds tasks like moving text snippets, images, or small files without saving attachments. This section shows quick setup steps, a short checklist for featured-snippet-ready setup, and a compact prerequisites table to compare device requirements and settings. The following checklist will get Universal Clipboard working in minutes and is optimized for quick reference and snippet extraction.
To set up Universal Clipboard, follow these quick steps:
- Ensure both devices are signed into the same Apple ID and are within Bluetooth range.
- Turn on Bluetooth and Wi-Fi on both devices and disable Personal Hotspot.
- Copy on one device, then switch to the other and use Paste within the short clipboard window.
These steps summarize the required workflow and confirm the key conditions for reliable transfers. Below is a concise comparison table showing typical device prerequisites and settings for Universal Clipboard.
| Device | Requirement | Setting/Value |
|---|---|---|
| Mac | Apple ID signed in | Same Apple ID as iPhone |
| Mac | Connectivity | Bluetooth on, Wi-Fi on, no Personal Hotspot |
| iPhone | OS compatibility | iOS 10 or later with Continuity support |
This table clarifies the minimal intersection of identity and local networking that Universal Clipboard relies on, and checking each row resolves most setup failures.
What Are the Benefits of Universal Clipboard for Cross-Device Productivity?
Universal Clipboard reduces friction by removing manual file transfers and accelerates small content moves between devices, improving focus and saving time across common workflows. For example, you can copy a URL on your iPhone and paste it into a research document on your Mac, or copy a photo from Messages to a desktop design app without exporting. The mechanism relies on a short-lived clipboard handshake, so items persist only briefly—this preserves privacy but introduces timing limitations you should plan around. Best practices include copying when devices are already awake and nearby, using short text or lightweight images, and confirming paste within the clipboard window to avoid stale data. These practices help ensure Universal Clipboard functions predictably across typical productivity tasks and reduce interruptions when switching devices.
How to Troubleshoot Universal Clipboard Not Working Issues?
When Universal Clipboard fails, the most common causes are mismatched Apple ID, disabled Bluetooth/Wi-Fi, or sleeping devices that block handshakes; diagnosing these resolves most problems quickly. Start with a simple checklist: confirm the same Apple ID on both devices, toggle Bluetooth and Wi-Fi off and on, wake both screens, and retry copy-paste within a minute. If the issue persists, sign out and back into iCloud on one device, install pending OS updates, and reboot both devices to clear transient networking state. Advanced steps include resetting network settings or testing with AirDrop to verify peer-to-peer connections; escalate to remote technical support if hardware or persistent network issues remain unresolved.
What Is Handoff and How to Enable It on Mac and iPhone?
Handoff transfers in-progress tasks—like composing an email or viewing a webpage—from one device to another by advertising app state via nearby Bluetooth LE and iCloud identity, allowing seamless task switching across the Apple ecosystem.
The core reason Handoff works is that apps supporting it register a handoff activity which appears in the recipient device’s Dock or App Switcher; selecting that activity opens the same document or session state. To enable Handoff you must use the same Apple ID, enable Bluetooth and Wi-Fi, and turn on the Handoff toggle in system settings on each device. The following short enablement steps capture the exact minimal actions needed and are designed for quick featured-snippet use.
Enable Handoff in two steps:
- Sign into the same Apple ID on both Mac and iPhone and ensure devices are on the same Wi-Fi network.
- Turn on Bluetooth and enable the Handoff toggle in System Settings on Mac and in Settings > General > AirPlay & Handoff on iPhone.
These two steps summarize the operational prerequisites and make Handoff discoverable for apps that support activity continuation. The table below lists system requirement guidance by device to help determine compatibility during setup.
| Device | Minimum OS | Notes |
|---|---|---|
| Mac | macOS Yosemite (10.10) or later | Bluetooth LE required |
| iPhone | iOS 8 or later | Keep Wi-Fi & Bluetooth enabled |
| iPad | iPadOS 13 or later | Same Apple ID across devices |
This compatibility table isolates the essential OS and hardware constraints most likely to prevent Handoff from appearing, helping you verify each prerequisite at a glance.
What Are the System Requirements for Handoff Between Mac and iPhone?
Handoff requires matched Apple ID credentials, Bluetooth LE for proximity discovery, active Wi-Fi, and contemporary OS versions that include Continuity frameworks; this combination enables activity handovers across apps. The mechanism binds an app’s state to a handoff activity token that is broadcast to nearby trusted devices, then accepted by the receiving app instance to restore the session. Confirm all devices are awake, have Bluetooth and Wi-Fi enabled, and run supported OS releases; checking these items usually resolves compatibility gaps before deeper troubleshooting. Ensuring app-specific support for Handoff—some third-party apps may not implement it fully—is also a useful verification step before assuming an OS-level failure.
How to Fix Common Handoff Problems for Seamless Task Switching?
If Handoff does not appear, perform a focused sequence: toggle Bluetooth and Wi-Fi, sign out and back into iCloud on one device, and restart both devices to refresh session broadcasts and network discovery. For app-specific problems, update the app and test a known Apple-first app (like Safari or Mail) to determine whether the issue is platform-wide or isolated to third-party software.
Advanced remediation includes resetting network settings, removing and re-adding devices in iCloud settings, and verifying no VPN or firewall is blocking local discovery traffic; if problems persist, consider remote technical assistance for network diagnostics. For Mac and iPhone users who prefer expert help, mcHelper.com provides remote technical support for Mac continuity issues, offering fast remote assistance from certified technicians with a “no fix – no fee” approach and 24/7 availability to troubleshoot persistent Handoff failures.
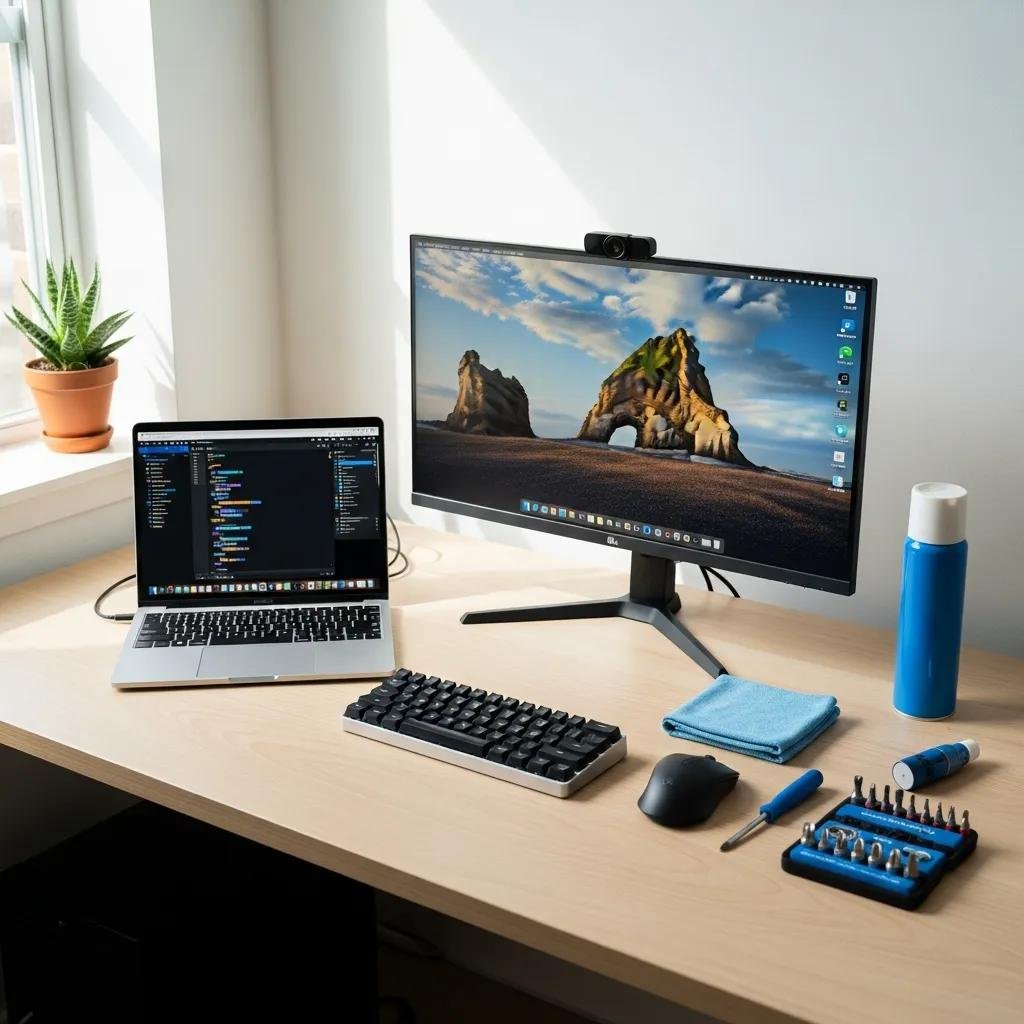
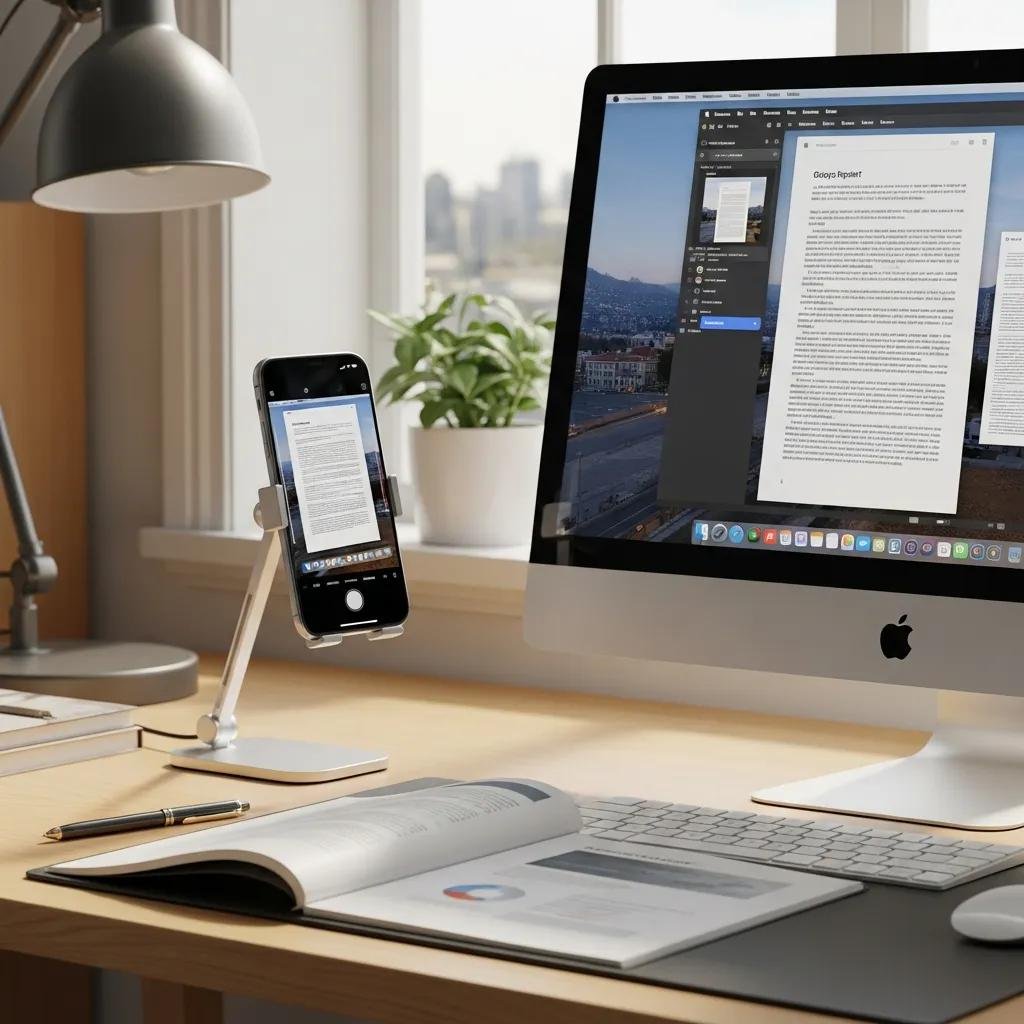
How to Use Continuity Camera to Enhance Mac Video and Scanning?
Continuity Camera uses an iPhone as a high-quality camera input for Mac apps, providing webcam replacement, document scanning, and Desk View modes by streaming camera data over local peer connections. The mechanism gives better optics and sensors than many built-in webcams, and apps that accept camera input can select the iPhone as a video source. This section explains setup steps, lists Continuity Camera modes, and includes a comparison table of modes and recommended settings to maximize video and scanning quality in meetings or content capture workflows. Use the simple activation steps below to switch your Mac app to the iPhone camera and then pick the mode that fits your task.
To activate Continuity Camera quickly:
- Open the Mac app (e.g., FaceTime, Zoom, QuickTime) and choose the iPhone as the camera source in the app’s video settings.
- On the iPhone, unlock and allow camera access if prompted; the phone will stream automatically when selected.
- Pick the mode—Webcam, Document Scan, or Desk View—inside the Mac app’s camera options.
These activation steps let you quickly use native camera modes for clearer video calls and easy document capture. The table below compares Continuity Camera modes and suggested settings for each use case.
| Mode | Characteristic | Recommended Setting |
|---|---|---|
| Webcam | Live video feed for meetings | Use natural light, enable higher resolution in app |
| Document Scan | High-contrast page scanning | Hold steady, auto-crop enabled |
| Desk View | Overhead desk capture | Position iPhone above workspace, adjust focus |
This comparison highlights mode-specific trade-offs so you can pick the best option for meetings, scanning receipts, or showing physical work during demos.
How to Set Up Continuity Camera for Mac Webcam and Document Scanning?
Setting up Continuity Camera requires the same Apple ID, Bluetooth and Wi-Fi enabled, and selecting the iPhone as the camera source inside the Mac app; this establishes the video stream and allows mode selection. For document scanning, choose the Document Scan mode and position the document on a contrasting background with adequate lighting to let the phone’s camera auto-crop and produce a high-resolution image. For webcam use, select the iPhone camera in the video source menu and configure app-level resolution and microphone settings for best results. If you need remote help with camera permissions, connectivity, or app selection, mcHelper.com offers remote Mac and iPhone support from certified technicians who can guide you through Continuity Camera setup securely and quickly.
What Are Common Continuity Camera Issues and How to Resolve Them?
Common issues include the iPhone not appearing as a camera source, low video quality, or apps failing to accept the stream; these usually stem from Bluetooth/Wi-Fi disabled, locked phone state, or missing camera permissions. Troubleshooting starts with ensuring both devices are on the same local network, Bluetooth is active, the iPhone is unlocked when selected, and the Mac app is restarted after selecting the new camera source. For quality problems, improve lighting, clean the iPhone lens, and pick an app that supports higher-resolution input; updating both OS versions also resolves many compatibility bugs. Persistent hardware or networking problems can require remote diagnostics from expert technicians who specialize in Mac/iPhone continuity interactions.
How to Mirror Your iPhone Screen on Mac for Improved Workflow?
Mirroring an iPhone screen to a Mac supports presentations, app demos, and screen recording by sending the phone’s display to the Mac either wirelessly or via a wired connection, enabling larger-view interaction and recording workflows. Methods include built-in Control Center Screen Mirroring to compatible Macs, wired QuickTime New Movie Recording for USB mirroring, or third-party tools when additional features are required; each method balances latency, quality, and permission complexity. This section provides concise steps for each common mirroring approach, troubleshooting checks, and practical use-case tips for presenters and creators who need stable mirroring for demos. Use the methods list below to choose the approach that fits your environment and performance needs.
Common mirroring methods to consider:
- Control Center Screen Mirroring: For wireless, low-latency display sharing with supported Macs.
- QuickTime over USB: For wired mirroring and recording with minimal latency.
- Third-party tools: For advanced capture features or cross-platform scenarios.
Choosing the right method depends on whether you prioritize latency, image fidelity, or recording capability; testing both wireless and wired options reveals which fits your workflow best.
What Are the Steps to Enable iPhone Mirroring on Mac?
To mirror using Control Center, open Control Center on the iPhone, tap Screen Mirroring, and select the Mac; ensure both devices are discoverable and on the same network to enable the session. For wired mirroring in QuickTime, connect the iPhone via Lightning/USB, choose New Movie Recording on the Mac, then select the iPhone as the camera and microphone source to mirror and optionally record. Grant any permission prompts on the iPhone to allow the Mac to access the display and audio stream; keeping the phone unlocked during the session improves reliability. These methods provide flexible mirroring for presentations, recording tutorials, or live demos with minimal setup steps.
How to Troubleshoot iPhone Mirroring Connectivity Problems?
If mirroring fails, verify cable integrity for wired sessions and check that both devices are on the same Wi-Fi network for wireless mirroring; also disable interfering VPNs or firewalls that block discovery. Restart both devices, re-pair Bluetooth if needed, and ensure system updates are installed on both macOS and iOS to remove known bugs affecting AirPlay or QuickTime sessions. If latency or stuttering occurs, prefer a wired QuickTime connection or switch to a less congested Wi-Fi band for wireless mirroring to improve performance. When basic steps do not resolve issues, remote technical support can assist with deeper network diagnostics and permission checks for stubborn mirroring problems.