PC Power Supply Troubleshooting Guide: Diagnosing Why Your Computer Won't Turn On
A computer’s power supply unit (PSU) is the electrical heart of a PC, converting mains voltage into the multiple DC rails that power the motherboard, CPU, GPU, and storage. This guide shows how to recognize PSU-related failures, run safe external and internal checks, and interpret test results so you can determine whether the PSU is the reason your PC is not turning on. You will learn to spot high-priority symptoms such as complete no-power, random shutdowns, burning smells, and abnormal noises, and you will get step-by-step actions for non-invasive checks and internal tests including the paperclip test and multimeter measurements. The article also explains when DIY diagnostics reach their limits and when to escalate to professional remote diagnosis, outlining what to expect during a remote session. Read on for prioritized troubleshooting steps, quick-reference tables mapping symptoms to likely causes, and clear decision points for contacting remote tech support.
What Are the Common Signs of a Failing PC Power Supply?
A failing power supply manifests through a small set of repeatable symptoms that distinguish PSU issues from motherboard, RAM, or storage faults. The PSU typically causes either total loss of power, intermittent shutdowns under load, or electrical/mechanical warning signs such as burning smells and grinding or rattling noises, and recognizing those signs narrows diagnostic focus quickly. Use the symptoms below to prioritize tests, starting with external power checks and moving to internal diagnostics if the external checks are clean. The following quick symptom list helps capture the most frequent PSU failure modes so you can triage faster and avoid unnecessary component swaps.
Common PSU symptoms to watch for:
- No visible power: LEDs, fans, and display remain dead when the power button is pressed.
- Intermittent shutdowns: The PC boots but cuts out suddenly under load or at random.
- Burning smell or strange noises: Electrical odor, capacitor scent, or fan grinding indicates urgent hardware risk.
The next section explains how to differentiate complete no-power from random shutdown patterns using simple observation and logging techniques.
How to Recognize No Power and Random Shutdown Symptoms
“No power” means the system shows zero signs of life: no fan spin, no motherboard LEDs, and no POST beeps when speakers are connected; that pattern points first at power delivery rather than software. Random shutdowns occur when the machine powers on but powers off unexpectedly, often tied to load, temperature, or failing capacitors in the PSU, and may present with system logs showing abrupt power loss or kernel panic events. Observe whether the shutdowns happen under GPU/CPU load or during idle, because load-related failures typically implicate the 12V rail or transient regulation in the PSU while idle cuts can suggest control circuitry faults. Keeping a short test log of conditions when shutdowns occur accelerates diagnosis and helps decide whether to run internal voltage checks or call a technician.
What Does a Burning Smell or Noise Indicate About Your PSU?
A burning smell or metallic/chemical odor from the PSU often indicates overheating, failing capacitors, or insulation breakdown inside the unit and should be treated as an emergency. Grinding, rattling, or loud fan noise can mean a failing fan bearing or foreign debris; both electrical smells and abnormal noises risk damage or fire and require immediate disconnection from mains power. If you detect these warning signs, power down, unplug, and avoid attempting to run the unit again until inspected; this prevents further component damage and reduces shock or fire risk. After powering off for safety, the next step is to obtain professional help or proceed with safe external checks only if you are experienced.
Before the internal tests, run a set of non-invasive external checks to rule out simple causes and to provide safe context for the next steps.
How Can You Perform Initial External Checks Before Testing the Power Supply?
External checks help rule out trivial power-delivery issues such as a faulty outlet, power cable, or power strip before opening the case and risking static or electrical hazards. Start with outlet and cable verification, then bypass any power strips or UPS devices, and finally confirm the PSU rear switch position and visible cable condition; these steps often restore power without internal intervention. If any step is uncomfortable, inexperienced users may contact mcHelper.com to get expert remote diagnosis and guided checks. Below is a numbered checklist you can follow immediately to validate external power sources and connectors.
- Test the wall outlet with a known-good device or plug the PC power cable into a different outlet.
- Swap the PC power cable with a known-good cable checking for damaged pins or loose connectors.
- Bypass power strips and UPS devices by plugging the PC directly into the wall and ensuring the PSU switch is on.
These simple checks separate mains and connector faults from true PSU failure and prepare you for safe internal testing if external sources are confirmed good.
Intro to quick external-source comparison table; use this to document checks and expected results.
| Power Source | Check to Perform | Expected Result |
|---|---|---|
| Wall outlet | Plug in a lamp or phone charger | Device powers on; outlet OK |
| Power cable | Swap with a known-good cable | Connects firmly, no frayed wires |
| Power strip / UPS | Bypass and plug PC directly into wall | PC behavior unchanged if strip not at fault |
This table helps you quickly identify which external element to eliminate before opening the case and prevents needless disassembly. With external sources validated, move on to internal testing methods that provide direct evidence of PSU health.
Which Power Cable and Outlet Issues Should You Verify?
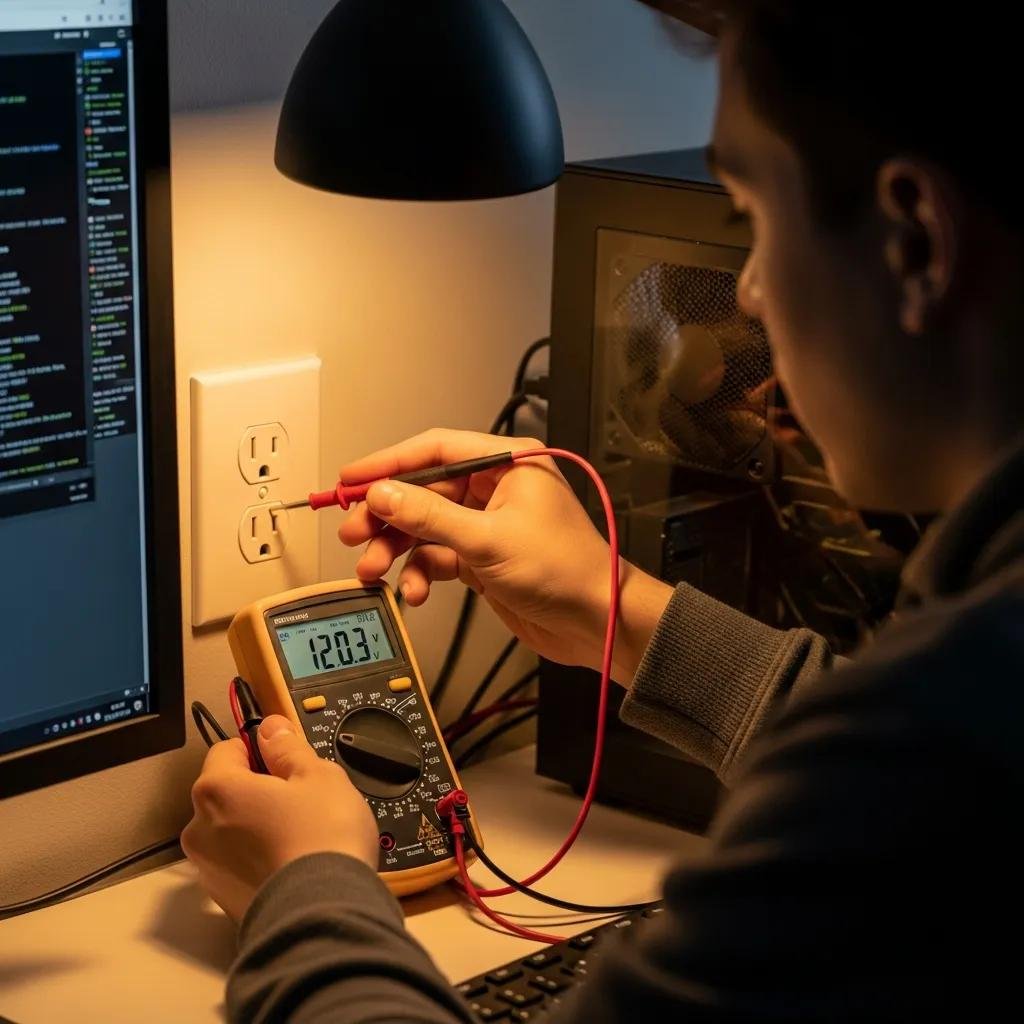
Verify the cable insulation, connector pins, and the integrity of the plug and socket visually and by substitution, because damaged cables or poor contact are common causes of no-power issues. Safely test the outlet by powering another device and consider using a multimeter to confirm mains voltage if you have one; do not use improvised tools or metal objects on live connectors. Signs of damage include melted plastic, discoloration around pins, loose-fitting connectors, or intermittent contact when wiggled, and any such sign means replace the cable before proceeding. Once the cable and outlet tests pass, you can test the PSU itself with low-risk internal methods.
How to Confirm Power Strip and PSU Switch Functionality
Isolating the PC from external power-management devices eliminates a common failure path caused by faulty strips or UPS units and allows direct observation of the PSU response to mains. Unplug the power strip or UPS and connect the PC directly to the wall socket, then set the PSU rear switch to the ON position and attempt a power-up while observing LED and fan response. If behavior changes when bypassing the strip, replace or repair the external device; if no change occurs, the issue likely resides inside the PSU or on the motherboard. After confirming the strip and switch, the next step is internal diagnostic methods like the paperclip test or multimeter checks.
Intro to comparison of internal PSU testing approaches to choose the right tool for your skill level.
| Test Method | Required Tools | What It Confirms |
|---|---|---|
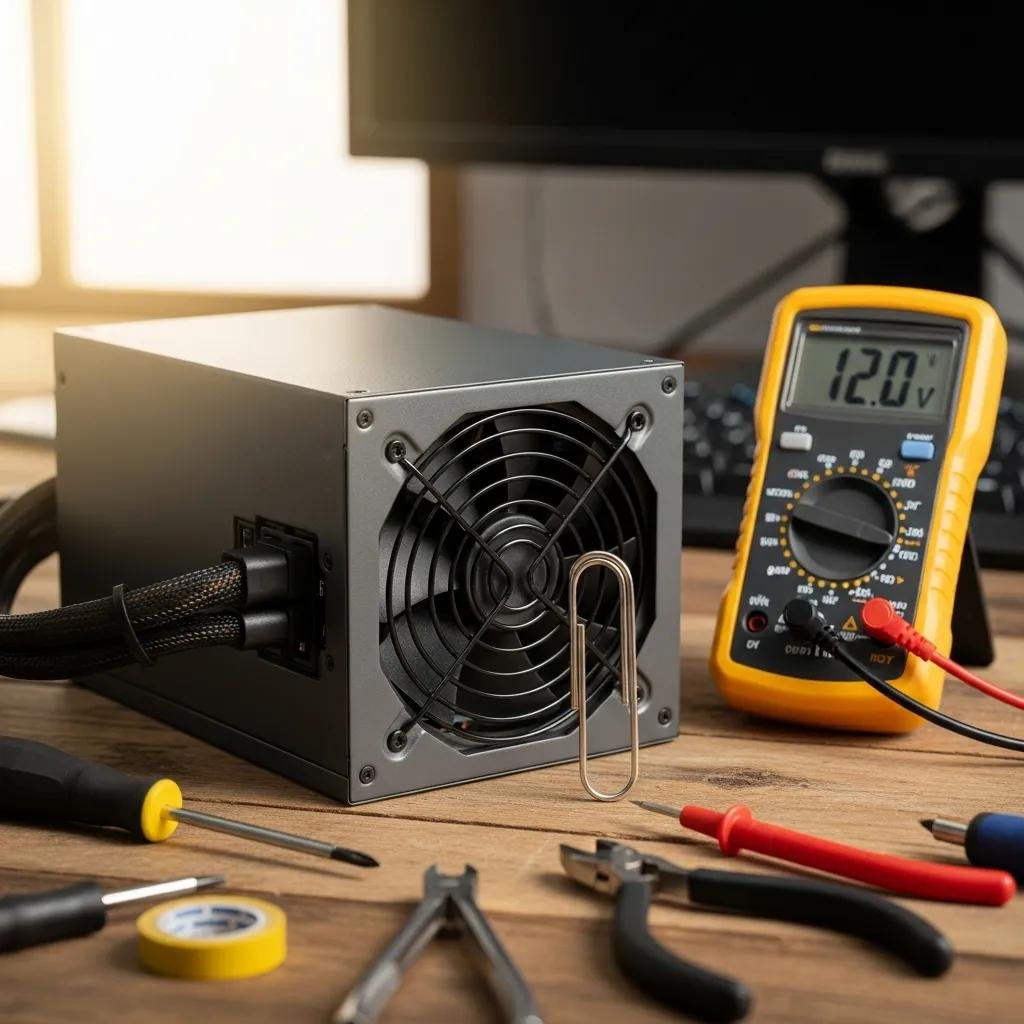
| Paperclip Test | Paperclip, basic safety gear | PSU fan starts; basic power-on capability |
| Multimeter | Digital multimeter, probe leads | Voltage rail accuracy and regulation |
| Dedicated PSU Tester | PSU tester device | Rail voltages, short/overload indicators |
This comparison clarifies when each test is appropriate: paperclip for simple live-on checks, multimeter for accurate voltage reading, and dedicated testers for convenience and safety.
What Are the Step-by-Step Methods to Test Your PC Power Supply Internally?
Internal PSU testing requires safety precautions, anti-static care, and an understanding that some tests only confirm basic function while others measure rail accuracy under load. Always unplug the mains and ground yourself before touching internal connectors, then reconnect power briefly only when performing specific live tests; unsafe practice risks shock from capacitors that can hold charge. The most common internal methods are the paperclip test for bare-minimum power-on checks, multimeter voltage measurements at the 24-pin ATX connector to verify rail tolerances, and a dedicated PSU tester that automates many checks and indicates faults. Use the method that matches your tools and comfort level, and stop if results are ambiguous or if you detect burning smells or sparks.
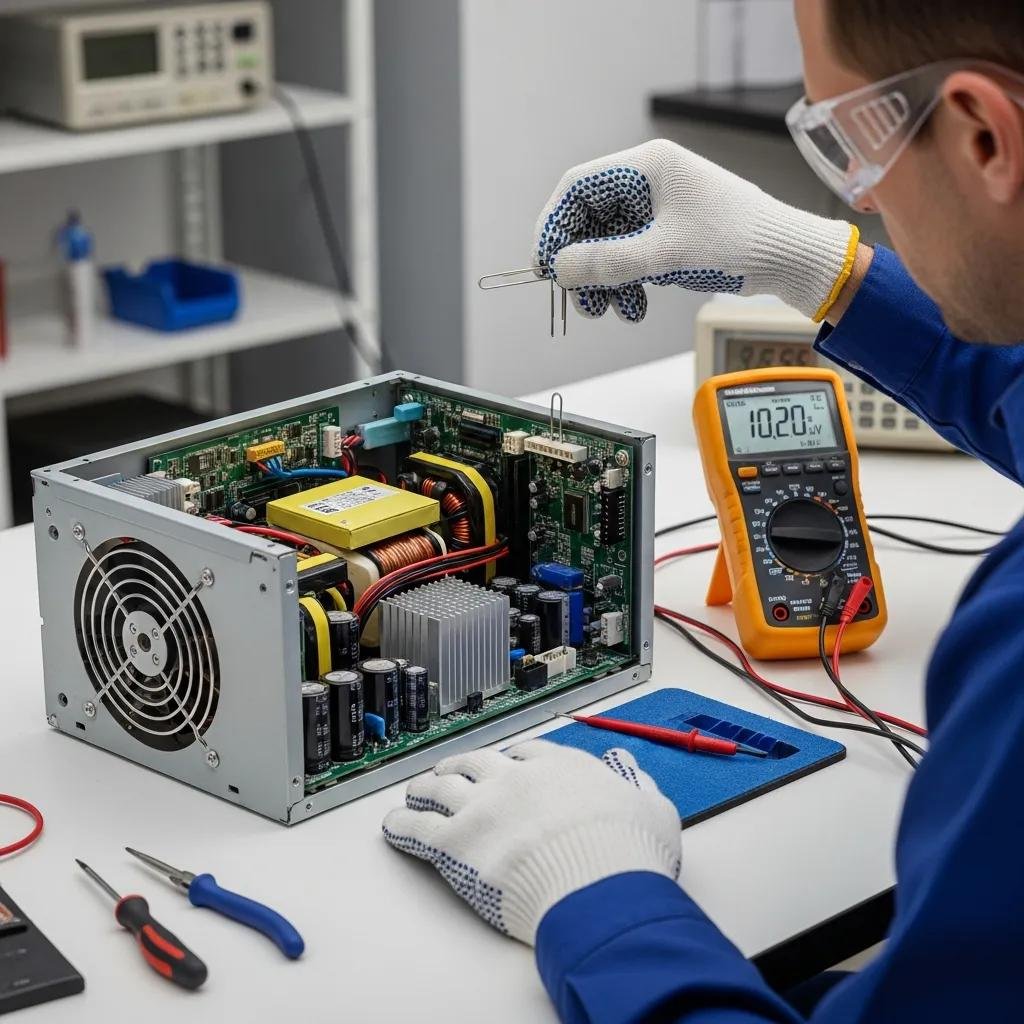
How to Safely Perform the Paperclip Test on Your PSU
The paperclip test checks whether an ATX PSU powers on when the PS_ON pin is shorted to ground, indicating the PSU can start independently of the motherboard, but it does not verify voltage stability under load. To perform the test safely, unplug all peripheral connectors from drives and motherboard where possible, insert a grounded paperclip between the green PS_ON wire and any black ground on the 24-pin connector, then switch the PSU on briefly while standing clear of exposed contacts. Observe whether the PSU fan spins and whether stable voltages appear on accessible rails; if the PSU does not start, it is likely faulty, but if it starts, further multimeter or load testing is required because the paperclip test does not replicate normal operating load. Because this test exposes live terminals, it should be performed with care and only if you are comfortable with basic electrical safety.
How to Use a Multimeter to Measure PSU Voltages Accurately
A multimeter provides precise readings for the 12V, 5V, and 3.3V rails at the 24-pin connector and can confirm whether rails are within acceptable tolerances (typically ±5% for most rails). Set the multimeter to DC voltage, probe the corresponding pins on the 24-pin connector with the PSU under minimal load or during a controlled boot, and compare readings to expected values: approximately 12V, 5V, and 3.3V, noting that slight deviations may indicate regulator stress or failing capacitors. Take care to avoid shorting pins with the probe, and if readings are out of tolerance or fluctuate wildly, do not continue powering the system; instead, document the results for a technician. Accurate multimeter measurements often differentiate PSU failure from motherboard or peripheral faults and guide the next repair steps.
When Should You Call Experts Like mcHelper.com for Remote Power Supply Diagnosis?
Knowing when to stop DIY troubleshooting protects you and your hardware: call professional remote support when you encounter burning smells, exposed live damage, inconclusive voltage tests, or when isolating components would require advanced disassembly. Remote diagnosis can identify whether the issue is likely PSU-related and guide safe next steps; mcHelper.com offers 24/7 remote computer repair and tech support, remote access rescue and repair by certified technicians, and a “No Fix – No Fee” policy that limits risk for remote clients. Expect a short live session where a technician guides you through checks, runs remote software diagnostics, and recommends repair vs replacement options.
- What to expect from remote diagnosis: Guided external and internal checks performed with your consent.Remote software diagnostics to rule out firmware or OS-related power behaviors.Clear recommendation for replacement, local repair, or safe continuation of DIY steps.
For users uncomfortable with internal tests or facing urgent safety signs, a remote session can provide immediate, expert guidance and reduce the risk of further damage while clarifying whether a local repair or PSU replacement is necessary.
What Are the Risks of DIY Power Supply Repairs?
DIY PSU repairs carry significant risks including electrical shock from charged capacitors, accidental shorting of components, and the potential to damage the motherboard, GPU, or storage devices further if testing is performed incorrectly. Attempting component-level repairs inside a PSU without proper equipment or training can create fire hazards and generally voids manufacturer warranties, while incorrect reconnection or static discharge can destroy sensitive electronics. If you are uncertain about any step, cease DIY work and seek professional assistance to avoid escalating a single-component fault into a multi-component failure. Knowing these risks leads directly to deciding when to engage certified remote technicians for safe, guided diagnosis.
How mcHelper.com's 24/7 Remote Tech Support Can Help Diagnose and Fix Your PC
mcHelper.com provides round-the-clock remote technical support for Mac and Windows users, focusing on remote diagnostics, secure remote access rescue, and a “No Fix – No Fee” guarantee that minimizes client risk. During a remote session, certified technicians guide users through external checks, perform remote system analysis, and advise on whether PSU replacement or further hands-on repair is required, using secure remote tools and clear stepwise instructions. Typical outcomes include identification of likely PSU failure, recommendations for replacement parts, or stepwise guidance to complete safe tests; this service is especially useful when DIY testing is inconclusive or when users prefer professional oversight.