Diagnosing Hard Drive Problems: Key Failure Signs and Effective Solutions
Hard drives and solid-state drives (SSDs) are the storage backbone of modern computers, and early detection of failure can prevent permanent data loss and costly recovery. This guide explains how to recognize common hard drive failure symptoms, safely triage SSD detection problems, understand bad sectors and repair options, and decide when professional data recovery is necessary. You’ll learn how S.M.A.R.T. checks, audible indicators, BIOS/UEFI and Disk Management diagnostics, and utility tools like CHKDSK relate to specific failure modes and corrective steps. Practical lists and step-by-step checklists walk through safe immediate actions, SSD troubleshooting, and bad sector repair techniques, while decision flow guidance clarifies when to stop DIY attempts. If you need remote triage or logical-recovery assistance, the article also explains the limited, remote-first services available from mcHelper.com and when an in-lab recovery handoff is required.
What Are the Most Common Hard Drive Failure Symptoms?
Hard drive failure symptoms are observable signs that map to storage device issues such as mechanical wear, electronic faults, or file-system corruption. Recognizing these symptoms early—audible noises, performance slowdown, data errors, boot failures, and S.M.A.R.T. warnings—lets you choose safe immediate actions that minimize further damage. The mechanisms range from failing read/write heads and spindle motor faults in HDDs to controller or NAND degradation in SSDs, and each mechanism affects recoverability differently. Below is a quick list of the most common symptoms you should watch for and act on immediately.
Common hard drive failure symptoms to watch for:
- Clicking or grinding noises: Repeated mechanical sounds that often indicate head or actuator failure.
- Slow boots and sluggish file access: Increasing I/O wait times that suggest sector reallocation or controller strain.
- Frequent crashes or BSODs: System errors during disk operations that can point to bad sectors or corrupted file tables.
- Files disappearing or corrupting: Read/write errors and unexpected file corruption indicate integrity loss.
- S.M.A.R.T. warnings or failing attributes: Drive-reported metrics showing rising reallocated sectors or read error rates.
- Drive not detected in BIOS/Windows: Complete non-detection that can indicate power, cable, or controller failure.
These symptoms should prompt immediate, safe actions such as backing up intact data, avoiding further writes, and running non-invasive diagnostics before proceeding to repairs.
Intro to symptom-action mapping table: the table below matches visible symptoms to likely causes and safe immediate actions you can take to limit damage.
| Symptom | Likely Cause | Immediate User Action |
|---|---|---|
| Repeated clicking / grinding | Mechanical head or spindle failure | Power down, avoid further use, document noises |
| Slow I/O / long file copy times | Bad sectors or controller slowdown | Run S.M.A.R.T. read-only checks, back up readable files |
| File corruption / read errors | Logical filesystem corruption or bad sectors | Create disk image if possible, stop writes |
| Drive not detected intermittently | Loose cable, power issue, or failing controller | Reseat cables, try different port/PC, do not initialize |
This quick-reference mapping clarifies when to attempt safe diagnostics and when to stop to preserve recoverability. Transitioning from symptom identification, next we detail specific audible clues and the urgency they imply.
Which Audible Noises Indicate Hard Drive Issues?
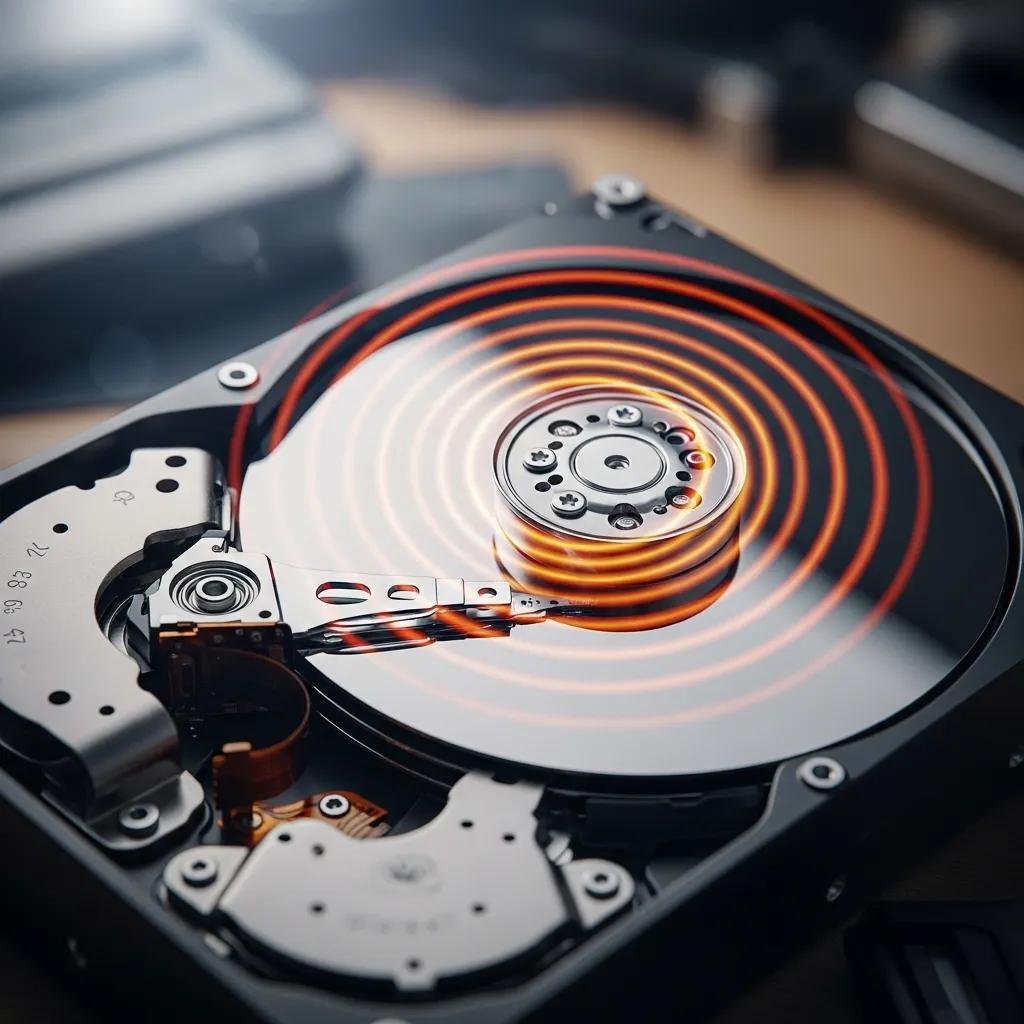
Audible noises like clicking, grinding, or repetitive ticking are high-priority red flags for mechanical hard drives and require prompt action. Clicking often indicates the read/write head repeatedly seeking and failing to read a platter, while grinding or scraping suggests contact damage between head and platter or a failing spindle motor. These noises mean the drive is undergoing physical stress and continuing operation risks further platter damage and data loss. If you hear these sounds, power the system down immediately, avoid further writes, and consider imaging or professional recovery options.
Recognizing the difference in sounds helps prioritize response: clicking = immediate stop, intermittent whine or chirp = check power/cables and backup quickly if possible. Understanding these audio signatures leads directly to performance-diagnostics that distinguish I/O-bound slowdown from other system problems.
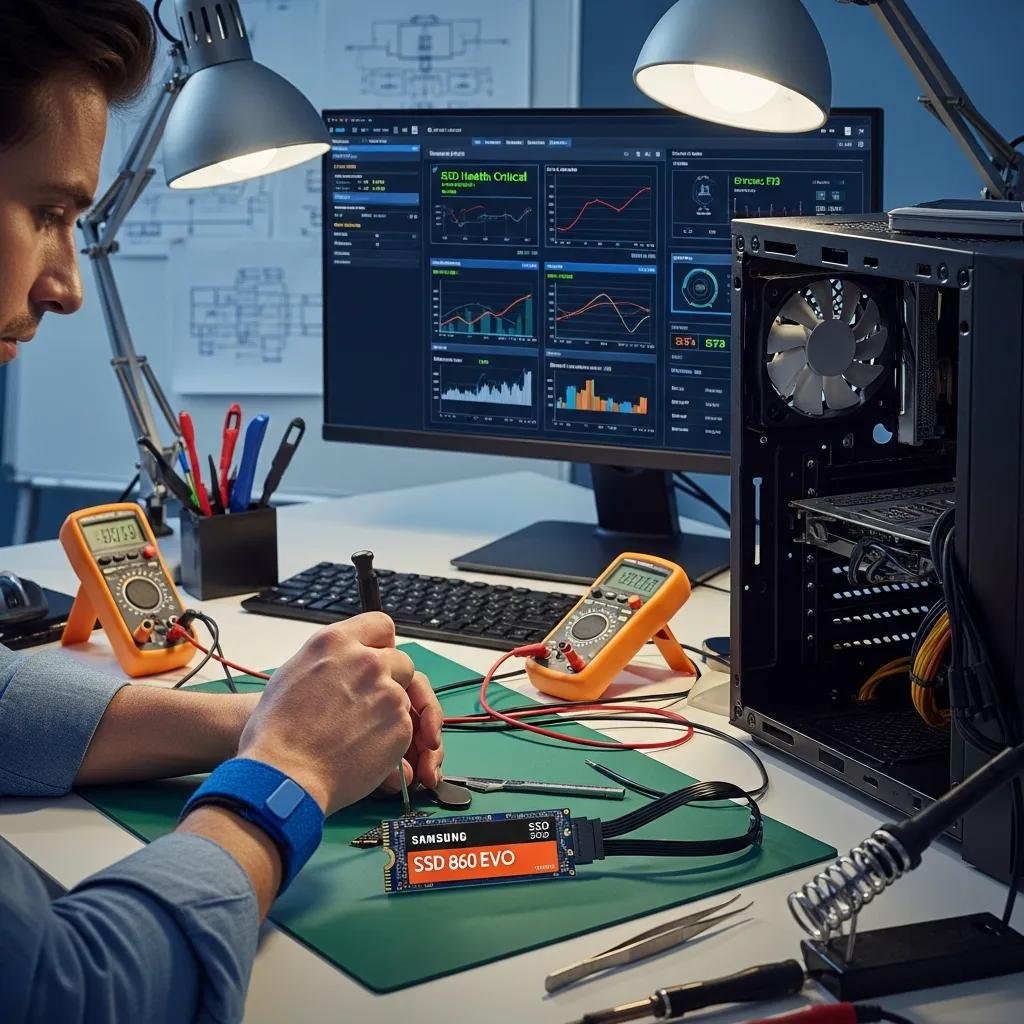
How Does Performance Slowdown Signal Drive Problems?
Performance slowdown tied to disk activity—very long file copy times, delayed boot, or constant high disk queue lengths—often signals failing sectors, controller errors, or NAND wear in SSDs rather than CPU or RAM limits. Use Task Manager/Resource Monitor to confirm disk I/O bottlenecks and run a S.M.A.R.T. scan with a tool like CrystalDiskInfo or the vendor utility to check attributes such as Reallocated_Sector_Ct and Current_Pending_Sector. If S.M.A.R.T. shows rising error counts, begin backing up accessible data and avoid repairs that write heavily to the disk until you have a full image. These diagnostic steps inform whether to attempt software repair or escalate to specialist recovery.
Quick checks that separate storage issues from CPU/RAM problems include observing high disk queue lengths, low CPU but stalled reads, and replication of the slowdown across different applications—each pointing to a storage device fault and the need for focused disk checks.
How Can You Troubleshoot SSD Not Recognized Issues?
When an SSD is not recognized by BIOS/UEFI or Windows, the problem often stems from connectivity, firmware/driver mismatch, or configuration settings rather than outright hardware failure. Start with physical checks (cable, power, slot), confirm BIOS detection settings for SATA/NVMe, and use OS tools like Disk Management and Device Manager to observe whether the device appears as unallocated or with errors. Early, safe diagnostics reduce unnecessary writes and preserve data for recovery if needed. If firmware or driver updates are required but you’re uncomfortable, remote support can assist with manufacturer tools and guided procedures.
Follow this concise, ordered troubleshooting checklist to methodically restore detection and avoid data loss.
- Power-cycle and reseat: Turn off power, disconnect/reconnect the SSD, and try a different SATA or M.2 slot.
- Check BIOS/UEFI: Verify SATA mode (AHCI) or NVMe settings and ensure the drive is enabled in firmware.
- Test cables and ports: Swap SATA/power cables or test in another PC to isolate controller vs drive issues.
- Use Disk Management/Device Manager: Look for unknown devices or uninitialized disks; do not initialize if data must be preserved.
- Driver and firmware: Update storage drivers in the OS and consider vendor firmware only after backups and with a stable power source.
After these steps, if the SSD remains undetected or displays errors, stop DIY attempts to avoid overwriting recovery data; professional or vendor tools may offer non-destructive diagnostics.
Intro to SSD component checklist table: the table below summarizes SSD components/settings, symptoms, and practical fixes.
| Component / Setting | Symptom | Diagnostic Step | Possible Fix |
|---|---|---|---|
| SATA cable / power | No detection or intermittent | Reseat, swap cable, test port | Replace cable or use different port |
| BIOS/UEFI mode | Drive hidden or misconfigured | Check AHCI/NVMe settings | Enable correct mode, reboot |
| OS driver | Device shows error | Device Manager scan | Update driver or reinstall controller |
| Firmware | Erratic behavior after detection | Check vendor tool for firmware version | Apply official firmware after backup |
This checklist helps you move from basic hardware checks to safe firmware and driver updates. If low-level firmware or driver steps feel risky, consider guided remote support to avoid data loss.
What Steps Fix SSD Not Detected in BIOS or Windows?
A focused sequence addresses the most common causes: power and cable faults, firmware/controller anomalies, and OS-level misconfigurations. First, power down and reseat the drive and try alternate ports or a different system to isolate the problem. Next, check BIOS/UEFI for device visibility and storage mode settings; incorrect SATA/NVMe mode or disabled ports are common culprits. In the OS, use Device Manager to scan for hardware changes and Disk Management to identify unallocated or offline disks; do not initialize a disk if you need to preserve data. These ordered steps minimize unnecessary writes and help you determine whether the issue is recoverable through configuration or requires deeper diagnostics.
Completing these steps naturally leads to the decision about firmware and driver updates, which carry additional risks and precautions.
When Should Firmware or Driver Updates Be Applied?
Firmware or driver updates should be applied only when the drive is recognized and you have reliable backups or a disk image, because updates can fail and render data inaccessible. Use official manufacturer tools and follow vendor instructions precisely; ensure stable power (UPS) during firmware flashes and avoid third-party patched firmwares. Apply updates when the drive is detected but unstable, when vendor notes address your specific issue, or when diagnostics recommend an update to resolve controller bugs. If you are uncomfortable, seek remote technical assistance to perform updates safely and to confirm that firmware is the appropriate remedy.
When firmware updating is not advisable—such as drives that are not detected at all or that make mechanical noises—stop and escalate to recovery professionals to avoid irreversible data loss.
What Are Bad Sectors and How Can They Be Repaired?
Bad sectors are storage locations that fail to reliably hold data; they appear as read/write errors or file corruption and can be caused by logical filesystem errors or physical media damage. Logical bad sectors result from filesystem corruption and are often repairable by utilities that remap or rewrite sectors, while physical bad sectors stem from media degradation and usually require remapping by the drive’s firmware or professional recovery. Detection uses S.M.A.R.T. attributes (Current_Pending_Sector, Reallocated_Sector_Ct) and tools like CHKDSK; repair options include CHKDSK and vendor utilities, but physical damage limits software recovery. Below are core distinctions and recommended actions.
Short comparison table distinguishing bad sector types and repairability:
| Bad Sector Type | Detectable By | Repairable By | Notes |
|---|---|---|---|
| Logical (corruption) | CHKDSK, filesystem errors | CHKDSK / file-system repair tools | Often fixable without hardware work |
| Physical (media) | S.M.A.R.T., read failures | Firmware remap / professional recovery | Software cannot restore damaged media |
| Intermittent | I/O errors under load | Backup + sector remap | Can precede complete failure |
This table clarifies when software recovery is sufficient and when to prepare for professional intervention.
How Do Logical and Physical Bad Sectors Differ?
Logical bad sectors are caused by corrupted data structures, abrupt power loss, or software bugs and typically appear as read/write errors that CHKDSK or file-system repair utilities can correct. Physical bad sectors result from media wear, head contact, or electronic failures and manifest as persistent read errors and rising S.M.A.R.T. reallocated sectors; these often require firmware remapping or hardware-level recovery. Diagnostics that help distinguish them include read-only S.M.A.R.T. scans, non-destructive sector reads, and observing whether errors persist after safe remapping attempts. Identifying the type determines whether to run CHKDSK or to stop and consult recovery services.
Understanding these differences leads directly to selecting the appropriate repair tools and risk-minimizing steps.
Which Tools Effectively Repair Bad Sectors?
Several tools address bad sectors depending on type: CHKDSK (Windows) is the primary logical-repair tool and can detect and attempt to repair filesystem-level issues and remap bad clusters; vendor utilities and low-level disk tools can perform surface scans and remapping for drive-managed faults. Third-party utilities (e.g., sector scanners and imaging tools) can create a read-only disk image to salvage data before attempting repairs. Physical damage is beyond these tools’ capabilities and requires professional environments with clean-room hardware. Always back up readable data first and prefer imaging before running write-intensive repair utilities.
Tool checklist list (when to use each):
- S.M.A.R.T. readers (CrystalDiskInfo): Use first for non-invasive health checks.
- CHKDSK / fsck: Use for logical filesystem repair and remapping only after backing up.
- Vendor recovery/utilities: Use for manufacturer-recommended diagnostics and firmware remaps.
These tools help you detect and sometimes repair bad sectors, but persistent physical faults need professional attention.
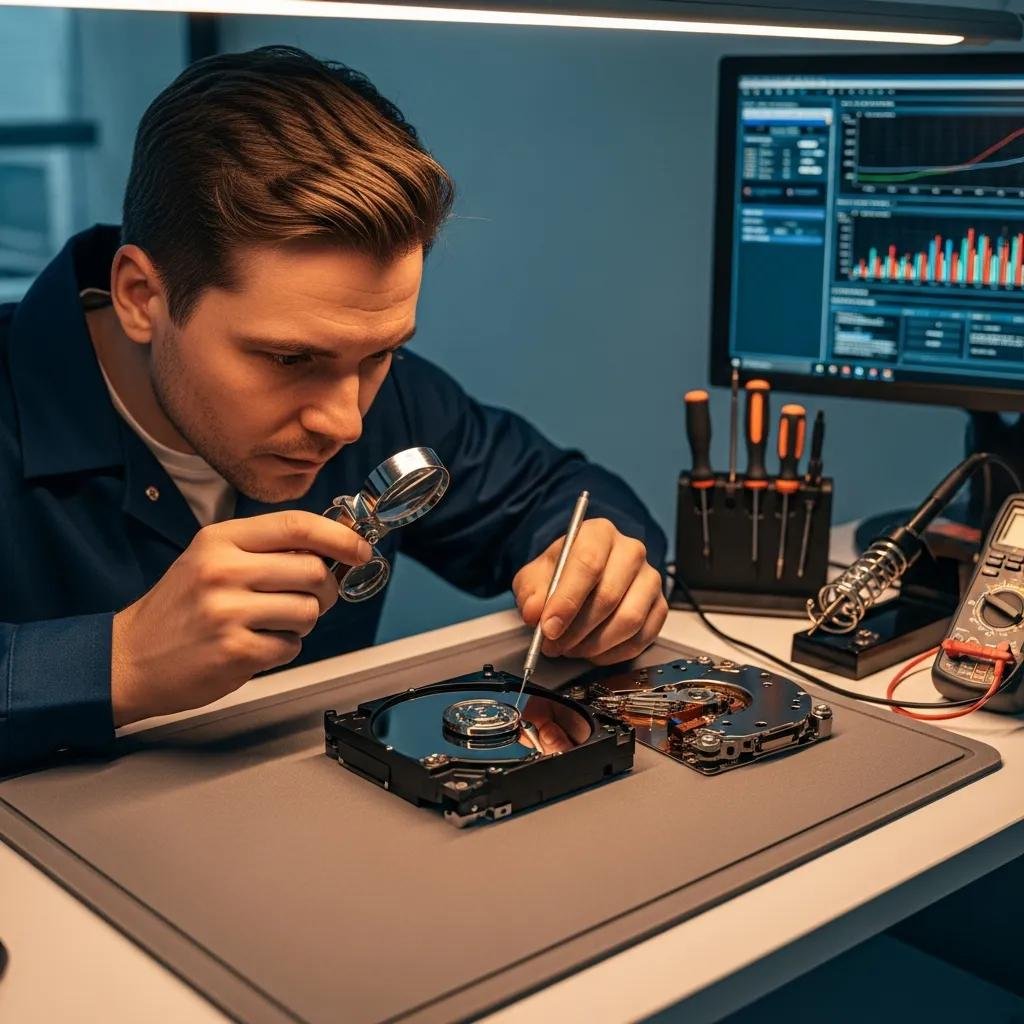
When and How Should You Seek Professional Data Recovery?
Professional data recovery is indicated when mechanical noises persist, the drive is not detected after basic checks, repeated DIY fixes fail, or the data is critical and irreplaceable. Recovery providers handle logical recovery (file-system repair, image-based extraction) and physical recovery (platter or chip-level repair) with escalating cost and complexity based on damage type. Before handing a drive to professionals, stop using the device, document symptoms and error messages, avoid physical opening of the drive, and prepare a clear inventory of priority files to optimize recovery scope. These preparatory steps improve the chances of successful retrieval and reduce unnecessary operations that can worsen damage.
Checklist before contacting recovery professionals:
- Stop using the drive: Prevent further reads/writes that can reduce recoverability.
- Document symptoms: Note noises, error messages, and steps already taken.
- Create a disk image if safe: Image readable portions to a different drive when possible.
- Avoid opening the drive enclosure: Do not attempt platter-level repairs at home.
When remote triage and logical recovery are appropriate, mcHelper.com offers 24/7 remote computer repair and tech support for both Mac and Windows, performing initial S.M.A.R.T. reads, safe logs collection, and guided CHKDSK or imaging steps under a remote-first model. Their remote service and expert technicians provide an early, non-invasive triage path with a No Fix – No Fee guarantee; if physical intervention is required, they provide a clear escalation to in-lab recovery.
What Are the Signs That Data Recovery Is Needed?
Data recovery is needed when the drive fails to mount after basic checks, emits mechanical clicking or grinding, shows rapidly increasing bad sectors or S.M.A.R.T. failures, or when critical files are inaccessible despite safe recovery attempts. Repeated unsuccessful DIY imaging or repair attempts, or cases where initialization would overwrite needed data, are also clear indicators to stop and seek professional help. Acting quickly—powering down and documenting conditions—maximizes the chance of a successful recovery. Prioritizing file lists and communicating symptoms to the recovery provider speeds triage and informs cost/complexity estimates.
How Does mcHelper.com Provide Remote Hard Drive Repair?
mcHelper.com provides remote-first diagnostics and logical-recovery support for HDDs and SSDs across Mac and Windows platforms, leveraging expert technicians who can run S.M.A.R.T. reads, collect logs, guide safe CHKDSK operations, and perform non-destructive imaging when feasible. Their service model emphasizes 24/7 availability and a No Fix – No Fee guarantee for remote recoveries, aiming to resolve logical and firmware-level issues without in-person intervention. mcHelper.com’s remote approach is suitable for initial triage and many logical recovery cases, while clear escalation paths exist for physical-damage scenarios that require lab-based work.