Computer Not Turning On: Basic Troubleshooting Steps to Diagnose and Fix Power Issues
Many users experience the sudden frustration of a computer that will not turn on or that powers up with no display, and understanding the likely causes can save time and data. This guide explains clear, safe troubleshooting steps to diagnose external power problems, display failures, internal hardware faults, and firmware or operating system issues so you can test the most common causes yourself. We define “computer not turning on” as lacking power indications and “no display” as when fans or lights run but the screen remains black, and we cover how power supplies, AC adapters, cables, monitors, RAM, GPU, motherboard indicators, BIOS/CMOS, and OS repair tools interact with boot behavior. The goal is to give concise test steps you can perform with minimal tools, plus guidance on when to stop and seek professional remote help. Where appropriate, the article notes safe escalation options and the remote diagnostic service provided by mcHelper.com — a 24/7 secure remote support service that offers a “no fix – no fee” promise and an affordable annual support package priced at $199 for ongoing coverage. Read on for step-by-step checks, quick lists, and diagnostic tables to isolate the fault efficiently.
How Can I Check External Power Sources When My Computer Won't Turn On?
Start by defining the external power path: outlet → power strip/surge protector/UPS → power cable → PSU or AC adapter. Checking each link isolates whether the issue is a dead outlet, a failed cable, a tripped protector, or a faulty power supply unit. Begin with the simplest verifications and progress inward only after confirming external power is stable, which prevents unnecessary internal work and keeps you safe. Below are essential quick checks to capture the most common external failures and guide the next steps.
What Are the Essential Power Cable and Outlet Checks?

This subsection explains practical visual and simple-functional tests you can perform to verify cables and outlets before opening the case. Visually inspect power cables and connectors for frays, exposed wires, bent pins, or melted insulation; damaged cables should be replaced immediately. Test the wall outlet by plugging a known-working device such as a phone charger or lamp; confirm the outlet is switched on if applicable. Try a different, known-good power cable or adapter where possible and test a second outlet or circuit to rule out a localized power issue; these swaps often reveal whether the problem is the cable, outlet, or the computer’s intake.
Introductory table: Compare external elements and recommended quick actions before deeper diagnostics.
| Component | Status to Check | Recommended Quick Action |
|---|---|---|
| Wall Outlet | No power or intermittent | Test with a lamp/charger; try another outlet |
| Power Cable / AC Adapter | Frayed/damaged/loose | Swap with known-good cable or adapter |
| PSU (desktop) / Adapter LED | No LED or flicker | Check PSU switch; test with direct wall outlet |
These checks let you confirm whether external power elements are the likely cause and whether you should proceed to internal testing or professional diagnostics.
How Do Surge Protectors and Power Strips Affect Computer Power?
Surge protectors and power strips can fail silently or trip and block power flow, so isolating them is crucial during troubleshooting. Confirm the protector’s power LED and reset button; if the unit shows no lights or emits buzzing sounds, bypass it and plug the computer directly into a known-good wall outlet. Be aware that UPS units may have depleted internal batteries even when the unit appears powered, so bypassing a UPS eliminates that variable. Avoid overloaded strips and never use visibly damaged surge protectors; if bypassing restores power, replace the strip or UPS rather than relying on a marginal device.
If external checks do not restore power or if the PSU or adapter shows no indication of receiving current, consider remote professional diagnostics. mcHelper.com provides secure remote troubleshooting and a “no fix – no fee” promise, available 24/7, and their annual support package is offered at $199 for ongoing coverage.
What Should I Do If My Computer Powers On But Shows No Display?
When a system powers up (fans spin, LEDs light) but the monitor stays black, the issue often lies in the display chain: monitor power/input, video cable/adapter, graphics card, or onboard video selection. Define “no display” by confirming system activity (fans, drives, POST LEDs) versus complete silence; activity with no image narrows focus to video output and POST. The next steps systematically verify monitor functionality, cable integrity, input selection, onboard versus dedicated GPU output, and POST codes or motherboard LEDs to identify whether the problem is display hardware, a GPU fault, or a deeper motherboard/BIOS issue.
How to Troubleshoot Monitor and Graphics Card Connections?
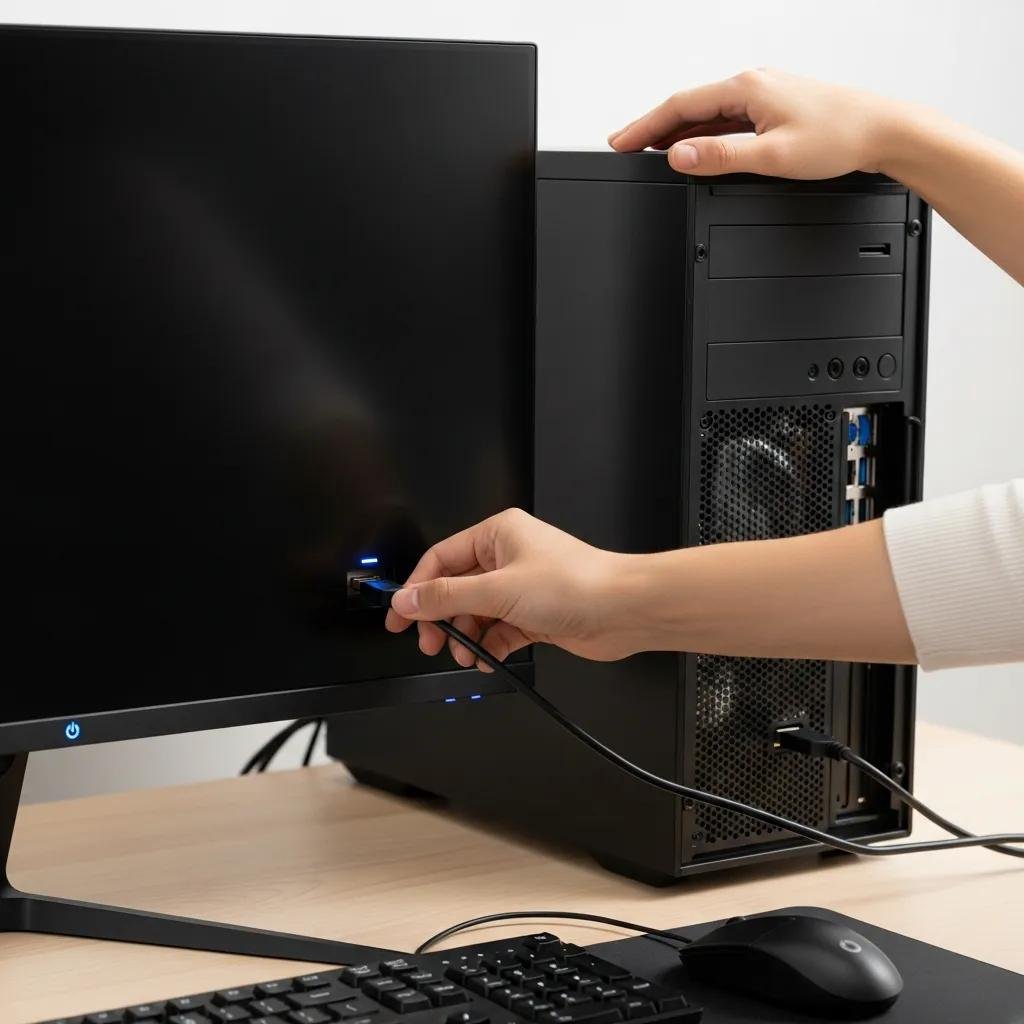
Start by verifying the monitor’s own power and that it is set to the correct input (HDMI/DisplayPort/DVI/VGA). Check cable seating at both monitor and computer ends and replace the cable with a known-good unit to rule out pin damage or shielding faults. Observe GPU fans and any board LEDs; if the GPU shows activity but no image, reseat the card in its slot for desktop systems, ensuring clips and screws are secure and the PCIe power connectors are attached. If available, switch to onboard video to see if the motherboard provides output; lack of onboard output suggests a POST-level failure that may require further hardware checks or professional help.
Quick checklist for isolating display issues before hardware swaps:
- Confirm Monitor Power and Input: Ensure monitor shows its own power LED and correct input selection.
- Swap Video Cable: Replace HDMI/DisplayPort/DVI/VGA with a known-good cable to eliminate cable failure.
- Try Alternate Display: Connect to a different monitor or a TV to rule out monitor failure.
- Test Onboard Video: Remove GPU or switch display to motherboard outputs to compare behavior.
After these steps, if swapping cables or displays does not restore a signal, escalate to in-depth diagnostics or remote professional assistance.
Which Video Cable Types Should I Test for Display Issues?
Different cable types vary in signal robustness and common failure modes, so test them in an ordered sequence to speed diagnosis. Start with digital connections (HDMI or DisplayPort) for modern systems because they carry audio/video and are less prone to analog interference; if those fail, try DVI, then VGA only if the system and monitor support it. Inspect connectors and adapters for bent pins, damaged housings, and loose fittings, and avoid passive adapters unless they are known to work with your GPU and monitor combination. Using a known-good cable and port swap quickly isolates whether the problem is the cable, adapter, or the video output source.
If cable swaps and onboard video checks still produce no image, consider professional remote help; mcHelper.com can assist with stepwise remote diagnostics of GPU detection, driver/BIOS conflicts, and when necessary recommend hardware-level interventions under their “no fix – no fee” policy.
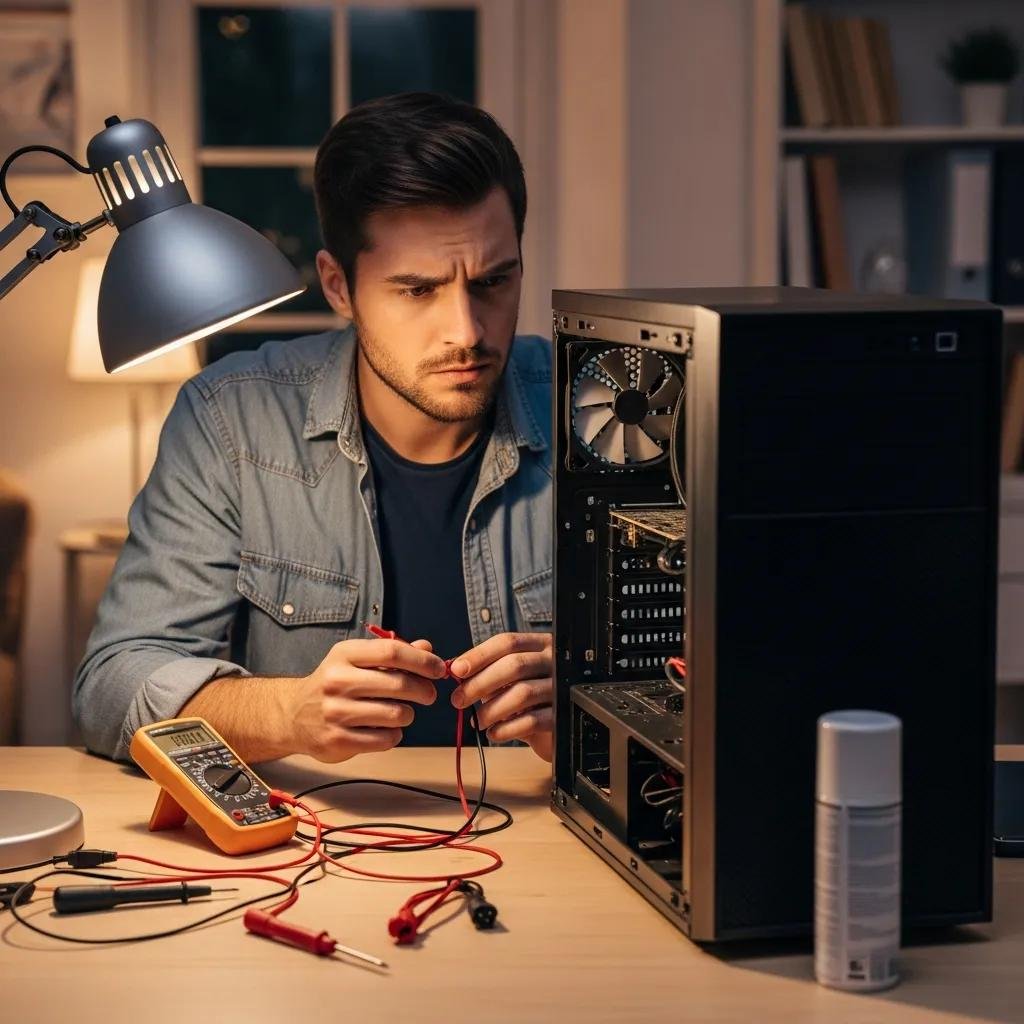
How Can I Diagnose Internal Hardware Problems Preventing Boot-Up?
Internal faults—such as failing RAM, defective PSU, loose motherboard connections, or GPU and CPU issues—commonly prevent boot-up or halt POST before display. The diagnostic approach is to listen for beep codes, observe motherboard LEDs, perform a minimal-boot to isolate components, and test power delivery through the PSU or adapter in a safe manner. Work methodically with ESD precautions, remove nonessential peripherals, and try a minimal configuration (one RAM stick, onboard video) to pinpoint the faulty subsystem before replacing parts.
Below is a concise diagnostic table to map failure signs to quick tests.
| Component | Common Failure Sign | Quick Diagnostic Step |
|---|---|---|
| RAM | Repeated POST beeps / no boot | Boot with one stick in recommended slot; swap sticks |
| Power Supply (PSU) | No fans/LEDs / intermittent power | Check PSU switch, test with paperclip test or known-good PSU |
| Motherboard | No POST / error LEDs | Inspect 24-pin and CPU 4/8-pin connectors; look for burnt components |
Use the minimal-boot method to reduce variables and identify whether RAM, PSU, or motherboard is the root cause; if PSU testing or component swaps are outside your comfort level, pause and seek professional repair to avoid damage.
What Are the Steps to Check RAM and Motherboard Connections?
Begin with ESD-safe grounding and power removal before touching internal components. Remove all but one RAM module, place it in the slot recommended by the motherboard manual (usually the one furthest from the CPU), and try booting; if the system POSTS, add modules one at a time to find the faulty stick. Inspect DIMM slots and motherboard power connectors (24-pin ATX and 4/8-pin CPU) for loose contacts or visible damage, and reseat cables firmly. If swapping RAM between slots isolates a bad slot or stick, record the error and replace the defective part rather than forcing operation, as intermittent contact can cause data corruption.
How Do I Safely Reseat Components Like RAM and GPU?
Always power down, unplug the system, and ground yourself before opening a case to prevent electrostatic discharge. Release retention clips gently, remove the component straight out, inspect contacts for dust or damage, and reseat the module with even pressure until clips engage; for GPUs, also ensure any auxiliary PCIe power connectors are firmly attached. Avoid excessive force on slots and use a soft brush or compressed air to clear dust; if the component still fails after reseating, test it in another compatible system or replace it rather than repeatedly removing and reinserting it, which risks slot damage. If you are unsure at any step, consult a professional to avoid voiding warranties or causing further harm.
If careful reseating and minimal-boot tests don’t resolve boot failures, mcHelper.com’s remote technicians can guide safe component checks or recommend hardware replacement; their secure remote support operates 24/7 with a “no fix – no fee” promise for eligible diagnostics.
When Should I Consider BIOS and Software Troubleshooting for Startup Failures?
Firmware and software issues account for many boot problems; symptoms include POST completing but no OS load, immediate restart loops, or BIOS-level error messages. Start with non-destructive steps: reset BIOS to defaults using “Load Defaults” in the firmware menu, check for obvious misconfigured boot devices, and attempt a CMOS clear if settings are inaccessible. If firmware reset does not help, pursue OS-level recovery — Windows Recovery Environment tools, Safe Mode, or macOS Safe Mode and Disk Utility — before contemplating reinstallation. The following quick list highlights BIOS and OS repair options you can try safely.
- Check BIOS/UEFI: Load defaults and confirm boot order.
- Clear CMOS: Use the motherboard jumper or remove the CMOS battery briefly (desktop).
- Windows Repair: Use Startup Repair, System Restore, or Safe Mode from recovery media.
- Mac Recovery: Use Safe Mode and Disk Utility First Aid; reinstall macOS if necessary.
If these firmware or OS repairs fail, consider secure remote assistance; mcHelper.com offers guided BIOS and OS repair support and can escalate to paid services where remote intervention is required, including access under their annual support plan priced at $199.