Common Computer Issues: Basic Troubleshooting Steps to Fix Your PC or Mac
Common computer issues are everyday problems that interrupt productivity, from sluggish performance to hardware glitches, and this guide delivers quick, safe troubleshooting steps you can try immediately. You will learn how to identify a slow computer, detect and remove malware, restore internet connectivity, and diagnose peripheral failures on both PC and Mac platforms. Each section explains what to check first, why each step helps, and which actions resolve the issue without specialist tools, plus clear guidance on when to escalate to remote professional support. Practical lists and concise diagnostic tables make it easy to follow the most effective order of actions, and the article highlights when remote assistance is a sensible next step. Read on for step-by-step remedies for common PC problems, simple computer fixes, basic PC troubleshooting steps, and targeted checks to fix slow computer and remove virus from computer scenarios.
How Can You Identify and Fix a Slow Computer?
A slow computer is any PC or Mac that responds sluggishly to input, takes long to boot, or shows persistently high CPU or disk activity; this usually stems from resource-hungry startup programs, low disk space, background scans, or malware. Identifying the mechanism—whether CPU, memory, disk I/O, or networking—lets you apply the most effective fix and restore usable performance quickly. The immediate benefit of targeted troubleshooting is faster responsiveness without reinstalling the OS, saving time and preserving files. Start with simple monitoring tools, free up disk space, and run malware checks before considering advanced steps or professional help; these checks reveal whether a deeper hardware or system-level issue requires escalation.
What Are the Common Symptoms of a Slow Computer?
Common symptoms that signal slow performance include long boot times, frequent application freezes, and a general lag when switching tasks; these indicators point to overloaded startup items, failing drives, or insufficient RAM. Another symptom is high disk usage or CPU pegged at 90–100% even with few apps open, suggesting background processes or malware; use Task Manager on Windows or Activity Monitor on macOS to confirm. Slow web browsing or excessive swapping (disk thrashing) can indicate low free disk space or memory pressure; freeing space and closing idle apps helps immediately. Observing these symptoms in sequence helps narrow whether the problem is software-related, storage-related, or hardware-related, which leads naturally to the next step of practical fixes.
Which Basic Steps Improve Computer Speed and Performance?

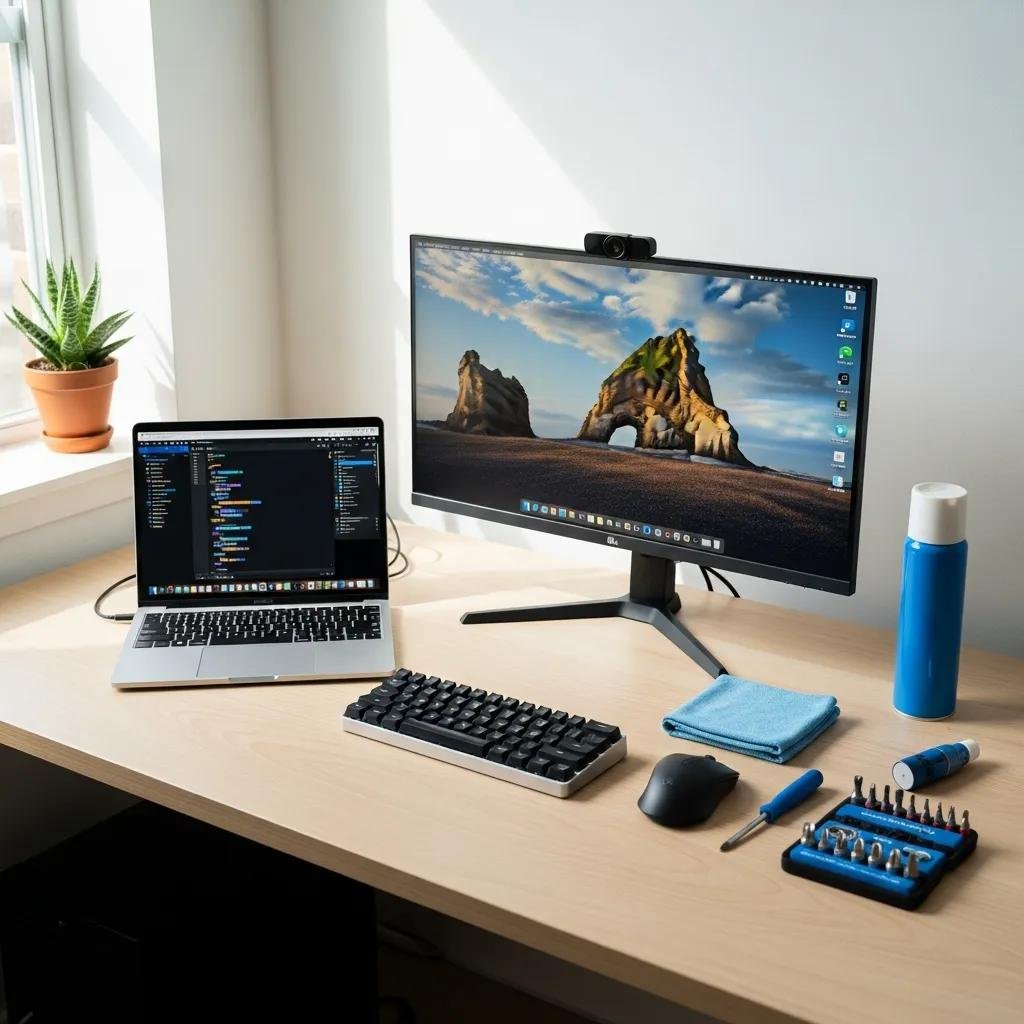
Begin with these safe, first-line actions to improve speed; they are simple to perform and often restore normal responsiveness within minutes to an hour.
- Check Task Manager or Activity Monitor to identify top CPU and disk consumers and end unnecessary processes.
- Run disk cleanup or remove large, unused files and uninstall programs you no longer use to free storage space.
- Disable unneeded startup programs via System Configuration (Windows) or Users & Groups → Login Items (macOS).
- Run a full antivirus/malware scan with a reputable scanner and apply recommended removals or quarantines.
These steps reduce resource contention and eliminate common causes of slowdown; if performance remains poor after them, the next actions include updating drivers, checking for failing storage, or seeking remote specialist support.
Different slow-computer causes map to specific symptoms and quick fixes; the table below summarizes common root causes and practical immediate steps.
| Cause | Symptom | Quick Fix |
|---|---|---|
| Excess startup programs | Long boot times, many background processes | Disable unnecessary startup items; reboot |
| Low free disk space | Swap usage, sluggish file operations | Delete temporary files; run disk cleanup |
| Malware or PUPs | High network or CPU usage, pop-ups | Run full antivirus and on-demand scanners |
| Aging/Faulty HDD | Noisy drive, slow file access | Check SMART, back up data, consider SSD upgrade |
This comparison helps you prioritize fixes based on observed behavior and reduces unnecessary escalation to advanced diagnostics.
For persistent high CPU, disk I/O, or unexplained lag after the basic steps above, escalate to remote professional support. Remote technicians can run deep diagnostics, deploy specialized removal tools, and advise on hardware replacement if SMART data or benchmarks indicate failing components. Services that offer remote computer repair are especially useful when issues persist despite first-line troubleshooting.
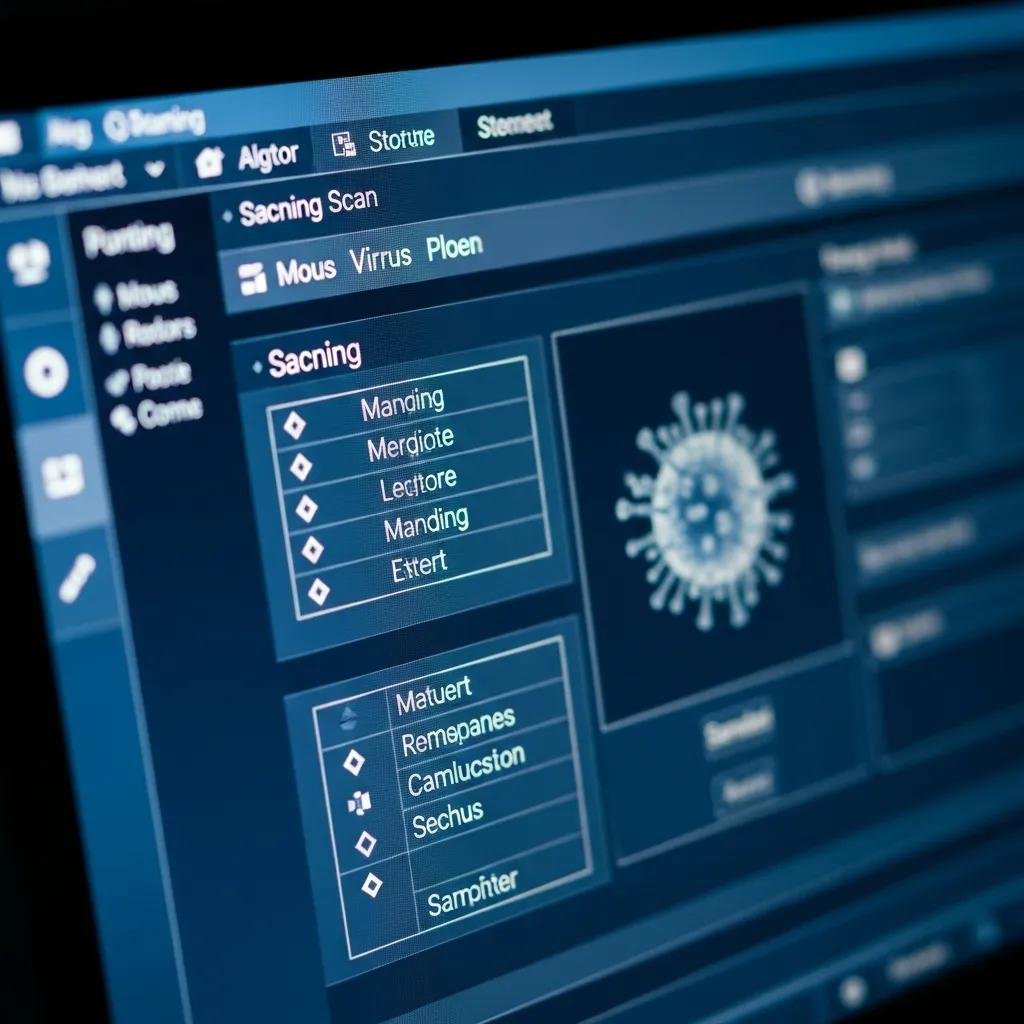
What Are the Essential Virus Removal Steps for Your Computer?
Virus removal begins with isolating the system and identifying infection indicators; this prevents further spread and data loss while providing a clear mechanism to remove malicious software. The immediate goal is to stop active threats, remove malicious files, and restore system integrity using safe-mode scans and reputable tools. A structured removal process reduces the risk of incomplete cleanup and helps prevent reinfection through browser extensions, startup entries, or compromised backups. Follow a sequence of isolation, scanning, targeted removal, and verification to resolve most malware incidents without losing data.
How Do You Recognize Signs of Virus or Malware Infection?
Signs of infection include unexpected pop-ups, browser redirects, sudden new toolbars or extensions, unexplained file changes, and unusually high CPU or network activity; each symptom has a simple diagnostic action to confirm. For pop-ups and redirects, check browser extensions and run an on-demand browser cleanup; for unexpected CPU/network spikes, view running processes and sort by resource usage. Ransomware or encrypted files typically show renamed files or ransom notes—immediately disconnect from networks and avoid powering off to preserve forensic data. Recognizing these signs quickly guides whether manual removal is possible or if professional intervention is needed.
What Are the Basic Manual Virus Removal Techniques?
A safe manual removal sequence helps most users address common infections before paying for professional services: boot to safe mode, run reputable offline and on-demand scanners, remove suspicious applications, and restore affected files from clean backups. Use a full system scan with an up-to-date antivirus tool and supplement with a second-opinion on-demand scanner to catch PUPs and rootkits that one tool may miss. After removal, clear browser caches, reset browser settings as needed, and change passwords from a clean device to prevent credential reuse. Always back up essential data before major removal steps to reduce the risk of data loss during cleanup.
The table below summarizes manual versus automated removal approaches and when to use each.
| Method | When to Use | Typical Steps/Tools |
|---|---|---|
| Manual Safe-Mode Removal | Mild infections, visible suspicious apps | Boot Safe Mode, run full AV and on-demand scanners, uninstall apps |
| Automated AV Cleanup | Common malware detected by signatures | Run full antivirus with quarantine and remove infected files |
| Remote Professional Removal | Persistent, complex, or rootkit/ransomware cases | Deep scanning, specialized removal tools, system restoration |
| Backup & Restore | When removal risks data loss | Restore files from verified clean backup after cleanup |
If manual steps don’t remove persistent malware or files reappear after cleanup, contact a remote removal service; remote technicians can deploy advanced tools and offer a ‘no fix – no fee’ or subscription-based support depending on the provider.
How Do You Troubleshoot Common Internet and Connectivity Problems?
Network troubleshooting focuses on isolating whether the problem is the device, router, or the ISP, and applying the simplest fixes first to restore connectivity quickly. The mechanism of most home internet faults involves router state, local Wi-Fi interference, faulty cables, incorrect DNS, or ISP outages; addressing each in order avoids unnecessary configuration changes. Restoring connectivity often requires only a router reboot, checking physical connections, and running OS network diagnostics; these actions reduce downtime and clarify whether escalation to the ISP or a technician is necessary. Perform tests that compare behavior across multiple devices to determine whether the issue is localized or network-wide.
What Causes Frequent Wi-Fi Drops and No Internet Access?
Frequent Wi-Fi drops commonly stem from signal interference, overloaded router hardware, ISP interruptions, or outdated firmware; simple tests reveal each cause. If multiple devices lose connection simultaneously, check the router/modem and contact the ISP for outage confirmation; if only one device is affected, focus on device network settings and drivers. Interference from neighboring networks or appliances shows as weak signal strength—try changing the router channel or relocating the router. Identifying the root cause with these quick checks directs you to the appropriate fix without extensive troubleshooting.
Which Basic Troubleshooting Steps Restore Network Connectivity?
Follow this ordered checklist to restore connectivity from simplest to more involved steps; these actions often resolve common Wi-Fi dropping issues quickly.
- Power-cycle the router and modem by unplugging for 30 seconds, then restart devices.
- Test other devices to see if the issue is device-specific or network-wide.
- Run the operating system network troubleshooter and flush DNS cache (e.g., ipconfig /flushdns on Windows).
- Check cables, update router firmware if available, and contact ISP if outages persist.
These steps isolate whether the problem is provider-side or local hardware; if diagnostics exceed end-user scope or hardware replacement is needed, remote troubleshooting services can perform deeper network diagnostics and firmware updates remotely.
The table below maps common connectivity symptoms to likely causes and first-line fixes.
| Symptom | Likely Cause | First-Line Fix |
|---|---|---|
| Intermittent drops | Wi-Fi interference or router overload | Change channel, reboot router |
| No internet but Wi-Fi connected | ISP outage or modem issue | Check ISP status, reboot modem |
| Slow browsing only | DNS or bandwidth saturation | Flush DNS, test with alternate DNS |
| Single device offline | Device configuration or driver | Update network driver, renew IP |
How Can You Resolve Common Hardware and Peripheral Issues?
Resolving peripheral problems begins with confirming power, connections, and driver health; most issues are simple to diagnose and correct without opening the device. Typical failures include printers not responding, external drives not mounting, or peripherals that intermittently disconnect—these often trace back to faulty USB cables, unpowered hubs, driver conflicts, or device-specific settings. Running verified checks and trying the peripheral on another device quickly indicates whether the issue is the peripheral or the host system. When signs point to hardware failure, such as clicking in drives or no POST on boot, arrange for repair or replacement and secure important data immediately.
What Are Typical Signs of Printer and External Device Failures?
Printers often show error messages, no paper feed, or driver errors; external drives may not be recognized, show corrupted file listings, or emit unusual noises—each sign suggests a different next step. For printers, check paper paths, ink/toner levels, and try reinstalling the printer driver; for external drives, test on another port or computer to rule out host issues. Noisy or clicking external drives usually indicate mechanical failure—stop using the drive and back up data if possible to avoid further damage. These diagnostic checks clarify whether you can fix the issue with simple maintenance or whether professional recovery or replacement is needed.
How Do You Perform Basic Troubleshooting for Peripheral Devices?
A reliable troubleshooting sequence for peripherals reduces downtime: verify power, swap cables, try alternate ports, and update or reinstall drivers while testing the device on another system to isolate the problem. Begin by confirming the device receives power and that indicator LEDs behave normally, then use Device Manager (Windows) or System Information (macOS) to look for driver issues. If the device fails on multiple hosts, consider manufacturer diagnostics or arrange for repair; if the device works elsewhere, the problem is likely the original computer’s ports or drivers. For suspected hardware replacement or advanced diagnostics, contacting a technician is recommended to prevent data loss and ensure correct replacement parts.
- Common peripheral checks include power, connection, driver status, and testing on another computer.
- Quick actions reduce unnecessary replacements and preserve data integrity.
- For failing storage devices, prioritize backing up data immediately to avoid irreversible loss.
| Hardware Component | Problem Indicator | Immediate Action |
|---|---|---|
| Printer | No response or driver error | Reconnect, clear queue, reinstall driver |
| External HDD/SSD | Not detected or noisy | Test on another PC, back up data, check SMART |
| USB Device | Intermittent disconnects | Swap cable/port, update controller driver |