Remote Printer and Peripheral Problem Fixes: Quick Solutions for Printer, Webcam, and USB Issues
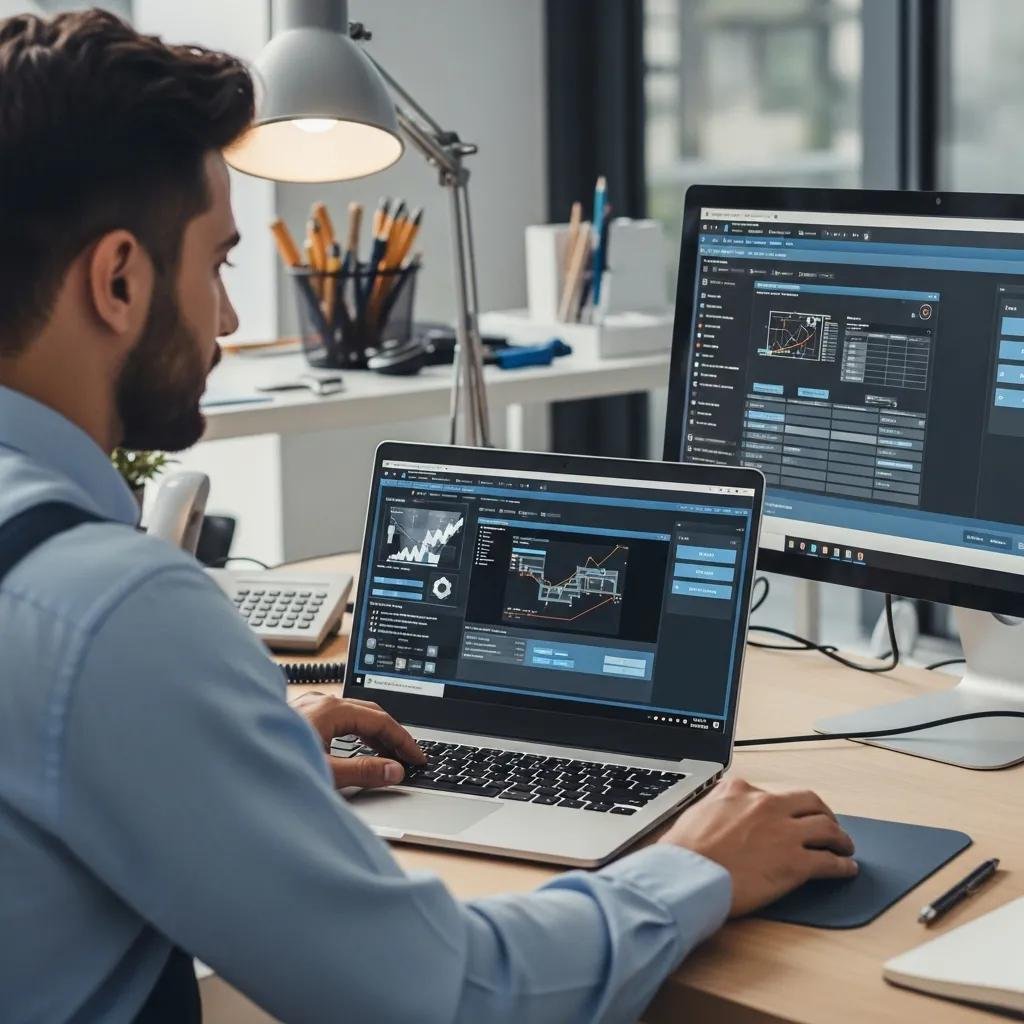
Remote fixes for printers, webcams, and USB peripherals are focused diagnostic and remediation steps you can perform with guidance or screen sharing to restore connectivity and function quickly. This guide explains why devices lose connectivity, how remote diagnostic tools and simple checks resolve common faults, and what the likely outcomes are after each step. Lost printer connections and “webcam not working” errors commonly stem from network issues, driver mismatches, permission blocks, or USB power and port conflicts; addressing these root causes restores productivity and reduces downtime. You will find step-by-step remote procedures for wireless and USB printers, concise checklists for webcam troubleshooting and driver updates, and a focused flow for USB device recognition and external-drive issues. When DIY steps are exhausted, the article describes clear signs that you should escalate to professional remote support and what to prepare for those sessions. If you need remote assistance beyond these steps, 24/7 remote help is available as a practical option to consider.
How Can I Fix Common Remote Printer Connectivity Issues?
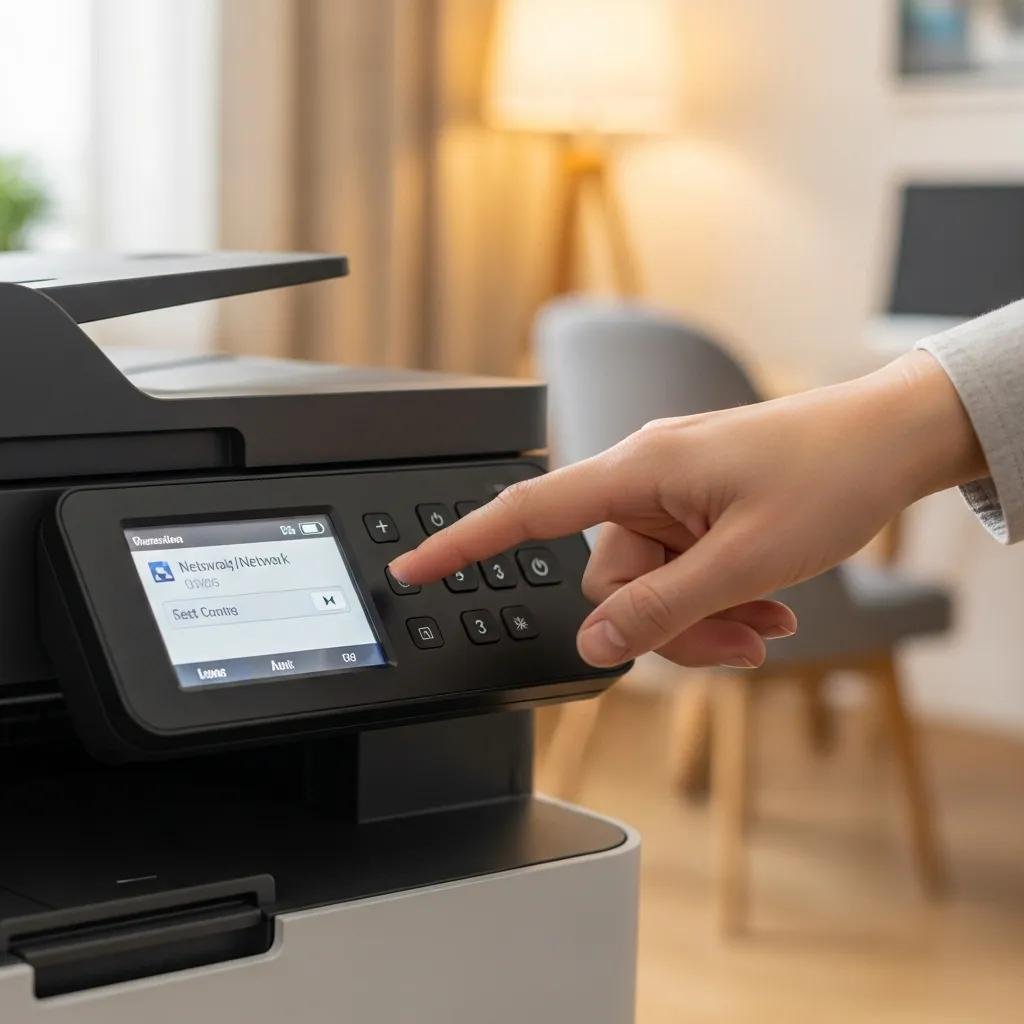
A remote printer connectivity fix begins by confirming the connection type, then isolating network, driver, or spooler issues so the printer can receive jobs again. Network printers depend on the router and IP assignments, wireless printers need correct SSID and signal, and USB printers require working ports and drivers; identifying which class applies narrows the next steps. Start remotely by asking the user to power-cycle the printer and router, check printer status lights, and verify whether the printer appears in the OS print dialog; this often resolves transient faults. The following checklist summarizes the quick remote diagnostic flow you can follow before deeper troubleshooting.
- Restart the printer, router/modem, and the host computer to clear transient errors.
- Verify the printer appears in the system’s Printers list and confirm the selected printer in the app.
- Check network status: confirm SSID, IP address, and that the printer responds to ping from the computer.
- Reinstall or update the printer driver using Device Manager or the manufacturer package.
- Restart the print spooler service and re-add the printer if jobs are stuck or fail.
These quick checks often resolve common issues, and if they don’t, the table below helps compare connection types and targeted remote checks to guide the next actions.
Different connection types have distinct failure modes and remote checks to isolate them.
| Connection Type | Common Causes | Remote Checks |
|---|---|---|
| Wireless (Wi-Fi) | SSID/password mismatch, weak signal, IP conflict | Confirm SSID, ping printer IP, ask user to power-cycle and reconnect to Wi-Fi |
| Network (Ethernet / shared) | DHCP changes, router blocking, wrong port | Verify cable link, check router port status, confirm shared printer settings |
| USB (local) | Faulty cable/port, driver issue, spooler error | Try alternate USB port/cable, inspect Device Manager, restart print spooler |
This comparison helps you pick the fastest remote action based on the connection class and typical cause, and it leads into wireless-specific actions when Wi-Fi is involved.
What Steps Resolve Wireless Printer Connection Problems Remotely?
Wireless printer fixes start by confirming the printer is on the same network and has a valid IP address; this isolates routing and DHCP problems that prevent jobs from reaching the device. Ask the user to check the printer’s onboard network menu or web UI for its current SSID and IP, then run a ping test from the computer to that IP to confirm reachability. If the printer doesn’t respond, guide the user through power-cycling the router and printer, and rejoining the SSID with the correct password; interference or recent router changes often disrupt the link. Finally, check for duplicate IP addresses in the router’s DHCP client list and, if needed, assign a static IP via the printer’s network settings to avoid future conflicts.
These steps isolate whether the issue is local Wi-Fi, router configuration, or the printer’s Wi-Fi module, and they naturally lead into USB-specific diagnostics when the problem is not network related.
How to Troubleshoot USB Printer Not Recognized Errors Remotely?
USB printer recognition errors usually indicate cable, port, driver, or spooler problems that you can test remotely through guided steps and log collection. First, instruct the user to try a different USB cable and port, preferably a rear-panel USB port on a desktop rather than a front hub, and to avoid USB hubs during diagnostics. Next, have them open Device Manager to look for unknown devices or error codes and guide them to uninstall the printer device entry and scan for hardware changes to force a reinstall. If print jobs still fail, remotely restart the Print Spooler service and check the system event logs for spooler or driver errors to capture messages for deeper analysis.
These USB checks clarify whether the fault is physical (cable/port) or software (driver/spooler), and they set up the information needed if further remote assistance is required.
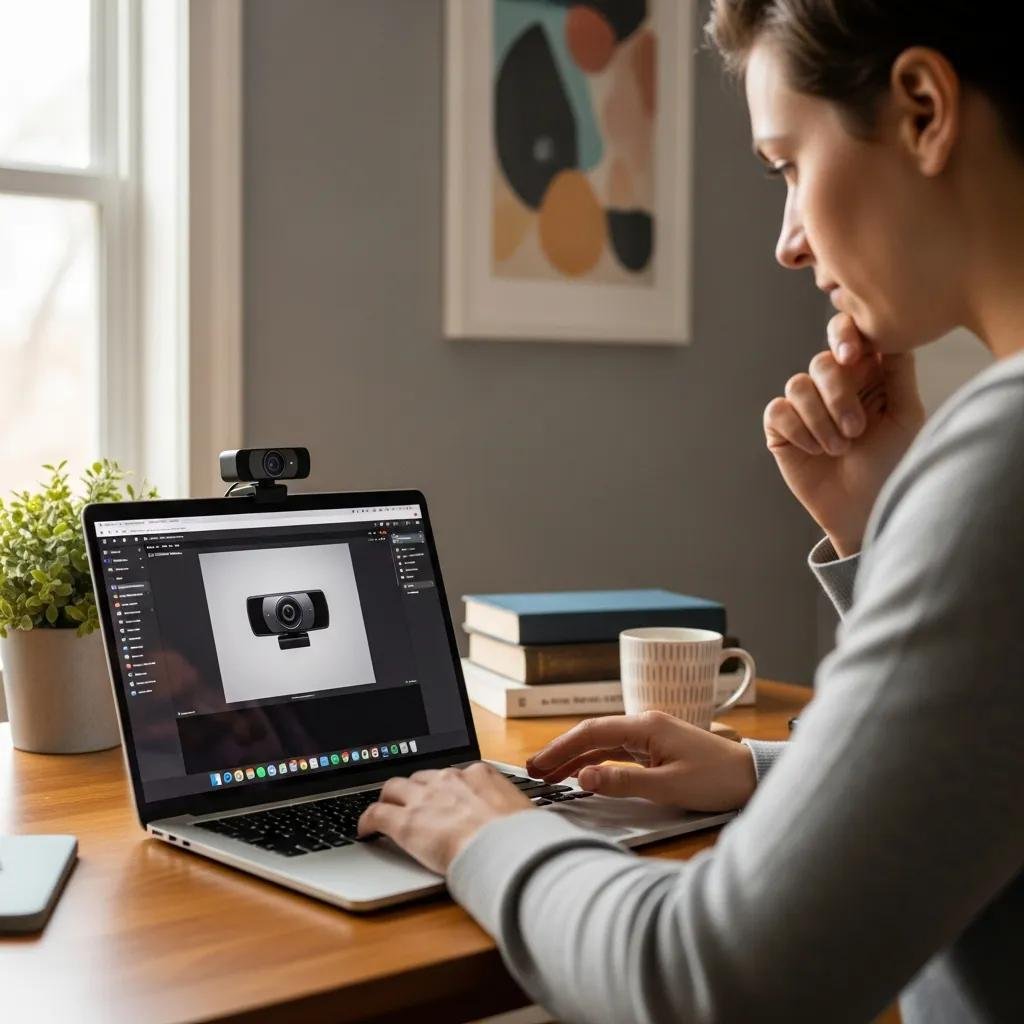
What Are Effective Remote Solutions for Webcam Troubleshooting?
Webcam problems most often stem from application permissions, privacy settings, driver issues, or the camera being used by another app; remote fixes prioritize permission checks then driver and app isolation. Begin by confirming the webcam appears in the OS device list and testing it in a simple app like the system camera or a browser-based camera tester to determine whether the issue is app-specific. Next, walk the user through checking OS privacy controls and antivirus settings that can deny camera access, and instruct them to close competing applications that may hold the camera. If permissions are correct but the preview is black or the device is not detected, update or reinstall the webcam driver and test again.
- Check that the system recognizes the webcam in Device Manager and that no error codes appear.
- Verify camera permissions in the operating system and any relevant app privacy panels.
- Test the webcam in multiple applications to determine whether the fault is app-specific or system-wide.
After these steps, use the table below to map common webcam symptoms to likely causes and the safest remote remediation routes to try next.
Common webcam symptoms map cleanly to likely causes and prioritized remote remedies.
| Symptom | Likely Cause | Remote Fix |
|---|---|---|
| Not detected / missing | Driver issue or disabled device | Re-enable in Device Manager, reinstall driver, run hardware troubleshooter |
| Black preview | App permission blocked or in-use | Check OS/app permissions, close other apps, test in different application |
| Low quality or flicker | Outdated driver or resource contention | Update driver, increase app permissions, close background tasks |
This table clarifies which remediation path to choose based on the initial symptom, and it leads into precise driver update and privacy setting adjustments.
How Do I Fix a Webcam Not Detected or Black Screen Issue Remotely?
When a webcam is not detected or shows a black screen, remote isolation begins by testing the device across applications to separate app-level from system-level faults. Ask the user to try the camera in the system camera app and in a browser-based camera tester; if both fail, the problem is likely system or driver related rather than a single application.
Next, ensure the camera is enabled in Device Manager and that the OS privacy settings allow camera access for the application being used; antivirus or privacy utilities can also block camera access and should be checked.
Finally, capture error codes or screenshots of the black preview and system device entries to provide the remote technician with diagnostic evidence if escalation is needed.
These steps help determine whether to proceed with driver updates or deeper system diagnostics, which are covered in the next subsection.
How to Update Webcam Drivers and Adjust Privacy Settings Remotely?
Updating webcam drivers and adjusting privacy settings is a safe sequence: confirm current driver version, attempt a driver reinstall via Device Manager, and then verify OS app permissions to restore camera access. Guide the user to open Device Manager, right-click the camera device, and select update or uninstall followed by a restart to force driver reinstallation; if manufacturer drivers are available, prefer those over generic drivers for feature parity.
On Windows, walk through Settings → Privacy → Camera to enable access for apps; on macOS, open System Settings → Privacy & Security to permit camera use for selected apps. If a new driver causes regression, roll back the driver from Device Manager to the previous version and document the change for the technician.
Performing these updates remotely reduces the chance of permission misconfiguration and prepares the system for successful camera reuse.
How Do I Resolve USB Device Recognition and Port Problems Remotely?
Resolving USB recognition and port problems remotely starts with simple cross-tests to separate physical port issues from driver and power management conflicts. Begin by asking the user to disconnect other USB devices, plug the problem device directly into a different port, and avoid using external hubs; if the device works on another port or machine, a hardware port fault is likely. If the device remains unrecognized, guide them to Device Manager to uninstall USB controllers and reboot, which forces Windows to re-detect USB hardware and reinstall drivers. For external drives specifically, checking Disk Management for unassigned drive letters and running CHKDSK remotely (if safe) can restore access without risking data.
- Try the device on another port and another machine to rule out a physical port or device failure.
- Uninstall/reinstall USB controllers in Device Manager and disable USB selective suspend in power settings.
- For external drives, check Disk Management, assign drive letters, and run safe disk checks as needed.
These diagnostics isolate whether the issue is hardware, driver, or power-management related and point to the correct remediation path in the table below.
Different USB device classes present different symptoms and remote troubleshooting steps.
| Device Type | Symptom | Remote Troubleshooting |
|---|---|---|
| Flash drive | Not recognized, intermittent | Try different port, test on another PC, reinstall USB host controllers |
| External HDD/SSD | Recognized but no drive letter | Use Disk Management to assign letter, check SMART if available |
| USB peripheral (keyboard/mouse) | Unresponsive or laggy | Test on alternate port, update chipset drivers, check power settings |
This mapping helps prioritize checks and safe remote commands to recover device connectivity without escalating to onsite repair.
What Are the Steps to Fix USB Device Not Recognized Errors Remotely?
Fixing “USB device not recognized” errors follows a short ordered sequence: cross-test ports, uninstall/reinstall controllers, and adjust power management to prevent selective suspend interruptions. Start with port and cable swaps, then open Device Manager to remove unknown or error-flagged USB entries and reboot so the OS redetects the device. If the error persists, disable USB selective suspend in the power plan settings to stop the OS from suspending the device and update the chipset/USB host drivers using the system’s driver update utility. Collect any error codes shown in Device Manager and note the exact symptom timing to assist advanced troubleshooting.
These steps will determine whether the problem is local hardware, driver corruption, or OS power settings, and they prepare the system for safe remote escalation if needed.
How Can I Troubleshoot USB Port Malfunctions and External Drive Connectivity Remotely?
To distinguish port malfunctions from logical driver issues, cross-test the device on known working ports and another computer; consistent failure on multiple hosts suggests device failure or drive damage. For external drives, inspect Disk Management for offline or uninitialized disks and check SMART status remotely when available to detect impending hardware failure. If the drive contains important data, avoid risky repair commands and collect logs and device model information for a remote technician to plan safe recovery; otherwise, attempt controlled CHKDSK passes to repair filesystem errors. Documenting the sequence of tests and observed behavior helps the remote specialist recommend next steps or safe data recovery procedures.
These checks separate hardware faults from software misconfiguration and guide whether to continue remote repair or prepare for specialist intervention.
When Should I Seek Professional Remote Support for Peripheral Device Issues?
Deciding to seek professional remote support is a yes/no decision based on risk to data, recurring failures after standard steps, and exposure to complex network or firmware tasks that require secure access. If devices repeatedly fail after following the diagnostic checklists, show signs of hardware failure (clicking drives, persistent I/O errors), or if the printer/network setup involves complex shared resources or advanced routing, escalate to experts. Another clear trigger is when troubleshooting requires firmware updates, secure remote access, or actions that could risk data integrity—professionals can run advanced diagnostics safely. Prepare for a remote session by gathering device models, driver versions, screenshots of error messages, and recent event logs to speed diagnosis.
- Seek remote experts when repeated fixes fail or when hardware failure risks data loss.
- Escalate for complex networked printer setups, firmware updates, or when secure remote access is required.
- Prepare logs, screenshots, model numbers, and recent error codes before the remote session for faster resolution.
These criteria help you decide quickly and ensure a productive remote engagement; the next subsection summarizes what you can expect from a reputable remote service.
What Are the Signs That Remote Printer or Peripheral Problems Need Expert Help?
Signs that you need expert remote help include recurring driver corruption after reinstalls, external drives showing SMART warnings or repeated I/O errors, and complex IP conflicts across networked printers that resist DHCP fixes. If a peripheral intermittently fails only under load, or the operating system logs repeated device resets, these are indicators of underlying hardware or firmware faults that require advanced diagnostics. Security concerns—such as suspicious device behavior after system compromise—also warrant professional attention to avoid data or network exposure. When these signs appear, collecting logs and avoiding risky repair commands will preserve evidence and improve remote troubleshooting outcomes.
Recognizing these escalation triggers lets you protect data and involve specialists before actions complicate recovery, and it naturally leads to understanding what professional remote services provide.
How Does mcHelper.com Provide Reliable Remote Peripheral Support Services?
mcHelper.com offers 24/7 remote computer repair and tech support focused on Mac and Windows systems, including remote printer troubleshooting, webcam repair, USB device troubleshooting and peripheral support. Their remote sessions use secure, guided diagnostics to identify driver, network, and firmware issues, and they provide a “no fix — no fee” promise to reduce risk for clients. Core services include remote computer repair, peripheral troubleshooting, and targeted support for printers, webcams, and USB devices; availability around the clock means you can get assistance outside standard hours. Expect technicians to request logs, screenshots, and device model information during a session so they can run secure diagnostics, apply driver or firmware updates as appropriate, and confirm restored functionality before concluding the call.
This factual overview sets expectations for remote engagement and clarifies the types of peripheral issues mcHelper.com supports without replacing the hands-on diagnostics you can perform first.
For remote help that remains unresolved after these steps, mcHelper.com is available as a 24/7 option for secure remote diagnostics and repair.