
Optimize Virtual Memory in Windows for Performance: Essential Steps and Recommendations
Virtual memory lets Windows use disk space to extend physical RAM, helping systems handle larger workloads without immediate crashes. This article explains how the paging file () functions, why Windows uses virtual memory, and how correct paging file sizing improves responsiveness and reduces out-of-memory errors. You will learn how to locate and adjust paging file settings in Windows 10 and Windows 11, recommended sizing for common RAM configurations, and practical troubleshooting steps for low virtual memory errors. The guide includes step-by-step instructions, quick diagnostic checks using Task Manager and Resource Monitor, and EAV tables that map RAM sizes and OS steps to actionable values. Follow these recommendations to balance disk I/O and system stability, and find pointers for when remote computer optimization may be the fastest path to resolution.
What is Virtual Memory and How Does the Paging File Work in Windows?
Virtual memory is an OS mechanism that combines physical RAM with disk-backed space so processes can commit more memory than RAM alone allows. Windows implements virtual memory using a paging file () that stores inactive memory pages on disk, freeing RAM for active tasks and improving multitasking under load. Automatic management typically balances size and disk I/O, while manual configuration gives control to optimize for SSDs, HDDs, or specific workloads. Understanding this relationship helps prioritize whether to increase RAM, alter pagefile size, or move the paging file to a faster drive to reduce swap latency and improve perceived performance.
What is Virtual Memory and Its Role in Windows Performance?
Virtual memory behaves like an overflow workspace: RAM is the primary desk and the paging file is the overflow table where Windows places less-used pages. This mechanism prevents immediate application termination when commit charge exceeds physical RAM and enables larger working sets for tasks like video editing or running many browser tabs. However, moving pages to disk adds latency because disk access is orders of magnitude slower than RAM, so excessive paging causes noticeable slowdowns. Balancing RAM, paging file placement, and application habits reduces swapping and yields smoother performance under heavy loads.
How Does the Paging File Support Virtual Memory?
The paging file () resides by default on the system drive (typically C:\) and is managed by Windows unless manually configured. When processes release or do not actively use memory pages, the memory manager writes those pages to so RAM can serve active demands; this reduces immediate memory pressure but increases disk I/O. On SSDs, paging has lower latency compared with HDDs, which changes sizing recommendations and fragmentation concerns. Monitoring pagefile usage in Resource Monitor and placing the pagefile on a fast, low-latency drive reduces swap penalties and supports better application responsiveness.
How to Increase and Manage Virtual Memory in Windows 10 and Windows 11?
This section shows concise steps to access Performance Options and set a custom paging file size in both Windows 10 and Windows 11, whether you use or the Settings app. The process involves disabling automatic management, recording current values, setting an Initial and Maximum size (MB), applying changes, and restarting when required. Manual sizing helps avoid fragmentation and gives predictable commit limits when you need consistent performance, especially on systems with limited RAM or SSD storage.
What Are the Steps to Adjust Paging File Size in Windows 10?
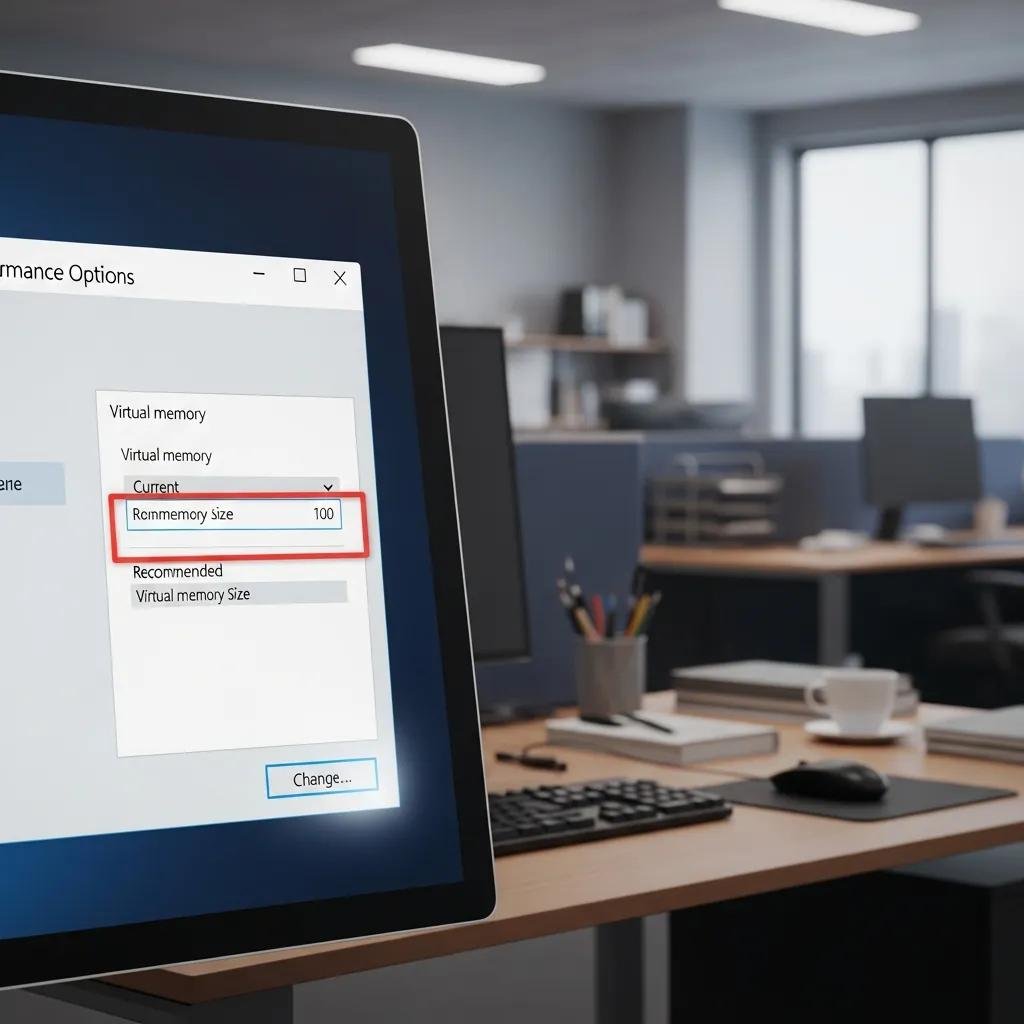
To change paging file size in Windows 10, open System Properties () then go to Advanced > Performance > Settings > Advanced > Virtual memory > Change. First uncheck “Automatically manage paging file size for all drives,” then select the system drive, choose “Custom size,” and enter Initial and Maximum sizes in MB before clicking Set and OK. Record existing values so you can revert if needed, and reboot to ensure new settings take effect. Be cautious editing system drives and ensure free disk space exceeds the maximum size you specify to avoid allocation failures.
How to Optimize Virtual Memory Settings in Windows 11 for Better Performance?
Windows 11 offers both Settings paths and the classic route; open Settings > System > About > Advanced system settings to reach Performance Options or run directly. Disable automatic paging file management if you prefer manual control, then set a custom Initial and Maximum size according to your workload and available disk performance. For SSD-equipped systems, a moderate paging file reduces fragmentation while keeping sufficient commit limit; for HDDs, consider slightly larger initial size to avoid dynamic growth. Apply changes and schedule a restart so Windows allocates the specified pagefile size reliably.
- Open System Properties: Use sysdm.cpl or Settings > About > Advanced system settings.
- Access Virtual Memory: Advanced > Performance > Settings > Advanced > Virtual memory > Change.
- Set Values and Reboot: Disable automatic sizing, pick custom values, set, and restart.
These steps give deterministic paging behavior and reduce runtime allocation overhead that can cause intermittent slowdowns.
Short help note: If you prefer hands-off configuration, mcHelper.com offers remote assistance for step-by-step pagefile setup, with 24/7 availability and a No Fix – No Fee promise for optimization tasks. This remote computer optimization option can guide less technical users through UI differences or implement safe sizing quickly.
| OS / Step | Location in UI / Command | Exact steps / notes |
|---|---|---|
| Windows 10 | System Properties (sysdm.cpl) > Advanced | Open sysdm.cpl, Advanced tab, Performance Settings, Advanced, Virtual memory, Change. Record current sizes. |
| Windows 11 | Settings > System > About > Advanced system settings | Use Settings path or sysdm.cpl; steps mirror Windows 10 with slight UI naming changes. |
| Command-line | PowerShell / registry | Advanced users may script pagefile settings via PowerShell or registry edits; restart required for changes to apply. |
This comparison shows where to find options across OS versions and notes that a reboot finalizes manual sizing to ensure the system respects the new commit limits.
What Are the Recommended Paging File Sizes for Different RAM Configurations?
Sizing the paging file balances commit capacity against disk usage: a common rule is 1× to 3× RAM as a baseline, adjusted for workload and disk type. For light-use systems with ample RAM and SSDs, a smaller multiplier is acceptable, while memory-intensive workloads or systems with HDDs benefit from larger paging space. Matching Initial and Maximum sizes can prevent fragmentation but consumes disk space; choosing sensible MB values based on actual commit peak and typical usage produces the best trade-off between performance and resource utilization.
Intro to sizing table and rationale before the EAV table.
| RAM (GB) | Recommended Initial (MB) | Recommended Maximum (MB) |
|---|---|---|
| 4 GB | 4096 | 8192 |
| 8 GB | 8192 | 16384 |
| 16 GB | 16384 | 32768 |
| 32 GB | 32768 | 65536 |
This table maps common RAM sizes to practical initial and maximum paging file values; use the lower value as a fixed size for stability or the higher maximum if you allow growth for occasional memory spikes.
How to Determine Optimal Paging File Size for 4GB, 8GB, 16GB, and 32GB RAM?
Use the previous table as a starting point and monitor commit charge in Resource Monitor to fine-tune sizing for your workload. Systems used for editing large media files, running virtual machines, or heavy multitasking should bias toward the higher maximum to avoid out-of-memory conditions during spikes. Conversely, desktop systems with ample RAM and SSD storage can safely use a smaller initial size while allowing growth. Measure typical peak commit values over a representative week and set Maximum slightly above that peak to avoid frequent resizing.
Should Initial and Maximum Paging File Sizes Be the Same?
Fixing Initial and Maximum sizes prevents file fragmentation and can improve steady-state performance by removing dynamic growth overhead. The downside is reserved disk space, which may be significant on small system drives; fixed sizing is preferred on HDDs to reduce fragmentation, while on SSDs a modest difference between initial and maximum is acceptable. For most users, matching sizes is a valid recommendation when disk space permits; for flexible environments, set a sensible Initial with a higher Maximum and monitor pagefile growth and fragmentation.
How to Troubleshoot and Resolve Low Virtual Memory Errors in Windows?

Low virtual memory errors indicate that the system’s commit limit is insufficient for current demands and can be caused by small paging files, insufficient RAM, or runaway processes. Troubleshooting follows a prioritized checklist: identify memory-hungry processes, check commit charge versus RAM + pagefile limit in Resource Monitor, temporarily close heavy apps, then increase the paging file or add physical RAM as longer-term fixes. Verification after changes includes rebooting, monitoring pagefile usage, and checking for reductions in peak commit and swap activity.
What Causes 'Low Virtual Memory' Errors and How to Identify Them?
Common causes include an undersized pagefile, memory leaks in long-running apps, or simultaneous memory-heavy workloads that exceed physical RAM and allocated paging space. Use Task Manager (Processes and Details) and Resource Monitor (Memory tab) to find processes with high private bytes and to inspect Commit Charge and Commit Limit metrics. If Commit Charge approaches the Commit Limit, Windows will generate low virtual memory warnings; distinguishing between a leak and an expected workload spike guides whether to restart applications, increase the pagefile, or plan a RAM upgrade.
| Error symptom | Likely cause | Actionable fix |
|---|---|---|
| Repeated low memory warnings | Pagefile too small for workload | Increase Maximum paging file size and reboot |
| Single app consuming large private bytes | Memory leak or runaway process | End or restart the process; apply updates to the app |
| High disk activity with slow response | Excessive paging on slow drive | Move pagefile to SSD or add RAM to reduce swap |
This troubleshooting mapping helps prioritize fixes based on observed symptoms and directs users toward the fastest effective remedy.
What Are Effective Solutions to Fix Virtual Memory Issues?
Begin with immediate mitigation: close unnecessary applications and save work to reduce commit demand, then increase the paging file size to buy time while investigating root causes. For medium-term resolution, move to a faster SSD if available or set fixed pagefile sizes to avoid fragmentation on HDDs. For persistent high memory usage, a RAM upgrade is the most effective long-term solution; once hardware or settings change, monitor Resource Monitor to confirm lower swap rates. If these steps are unclear or time-consuming, professional remote computer optimization can implement safe changes and verify results.
If you prefer expert assistance, mcHelper.com provides 24/7 remote computer repair and a speed-up and optimization service that can adjust virtual memory settings, move or size appropriately, and verify system stability with a No Fix – No Fee assurance. Their remote support is positioned as fast, secure, and cost-effective for users who want hands-off troubleshooting and optimization.
- Identify: Use Task Manager/Resource Monitor to find top memory consumers.
- Mitigate: Close or restart offending apps and free resources.
- Adjust: Increase paging file or move it to a faster drive and reboot.
- Resolve: Upgrade RAM if swapping remains high.
These steps prioritize low-effort fixes first and escalate to hardware upgrades or professional support as needed to restore system responsiveness.
- Restart: Ensure new pagefile allocation takes effect.
- Monitor: Observe Commit Charge vs Commit Limit in Resource Monitor.
- Test: Reproduce memory-heavy tasks and confirm reduced errors.
- Record: Note final settings to maintain stable configuration.
These verification steps close the diagnostic loop and confirm whether the chosen solution successfully prevents low virtual memory conditions.
mcHelper.com can be engaged for remote computer optimization at any hour to implement these troubleshooting steps and confirm system stability, backed by their No Fix – No Fee promise and subscription options for ongoing maintenance.