How To Fix Internet Connection: Basic Troubleshooting Steps for No Internet Access
A device that shows “no internet access” can stem from many causes — hardware, configuration, or external service problems — but most issues are fixable with a few targeted checks. This guide teaches clear, step-by-step troubleshooting you can perform at home or in a small office to restore connectivity quickly. You will learn immediate checks (power, cables, Wi-Fi toggles), how to diagnose Wi-Fi-connected-but-no-internet scenarios, wired Ethernet diagnostics, and when to escalate to your ISP or professional remote support. The approach prioritizes fast wins like a router restart and DNS flushing while also explaining deeper checks such as IP renewals, link-light inspection, and basic ping/traceroute tests. Throughout, the article uses practical commands and short diagnostic lists so you can map symptoms to actions fast. If a problem needs escalation, the final section explains how to confirm ISP outages and presents secure, fast remote support options that can perform remote diagnosis and repairs.
What Are the First Steps to Check When Internet Is Not Connecting?
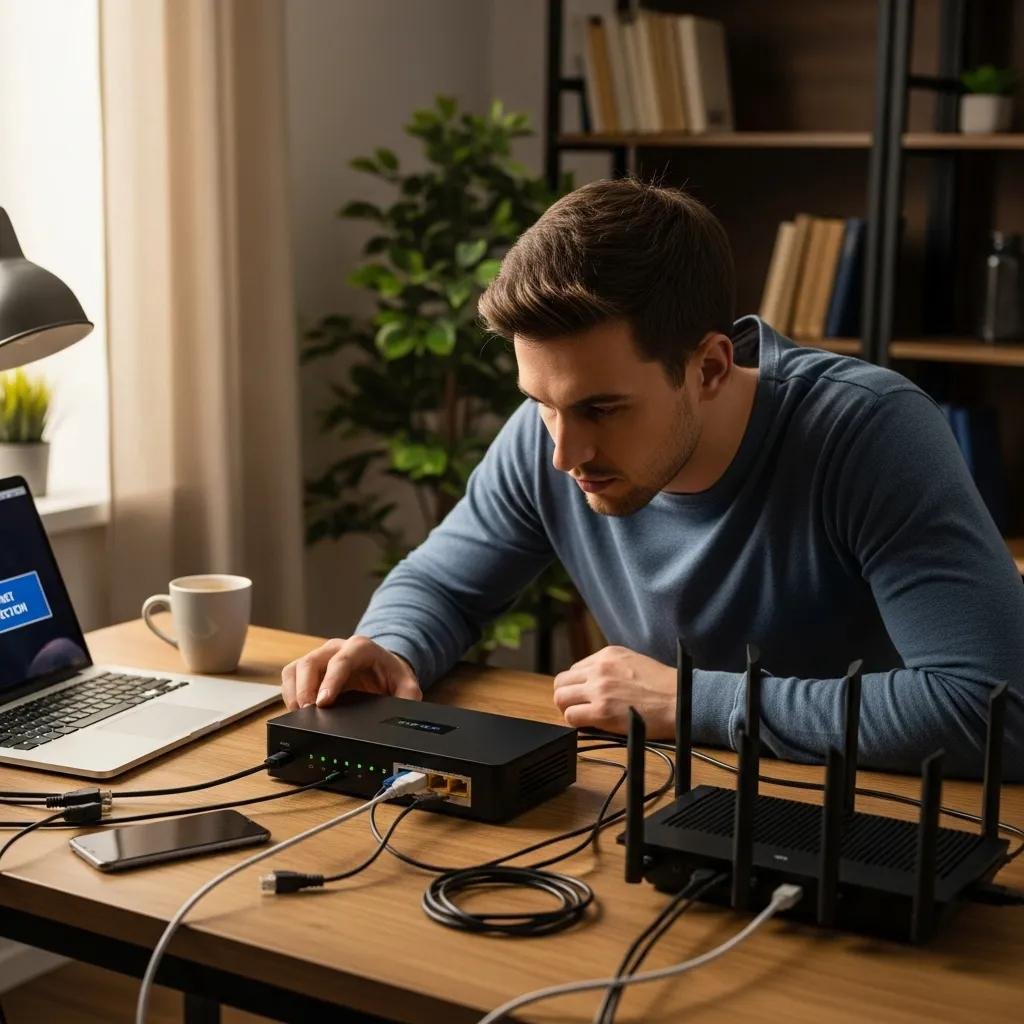
When your device reports no internet access, start with a short checklist that isolates obvious problems quickly and rules out local device or power issues. Begin by confirming power and indicator lights on the modem and router to ensure hardware is powered and the WAN link is established. Next, verify cables (coax, ethernet, power) are firmly seated and undamaged; swapping a cable or port can reveal a bad lead. Then check the device: ensure Wi-Fi is enabled, airplane mode is off, and try reconnecting with a second device to determine if the issue is device-specific or network-wide. These quick checks often identify simple faults that restore service without configuration changes.
Different checks to perform immediately:
- Power and lights: Confirm modem/router power and WAN/Internet LEDs are active.
- Cables: Inspect and reseat coax, power, and ethernet cables; swap to a known-good cable.
- Device settings: Turn off airplane mode, toggle Wi-Fi off/on, and reboot the client device.
- Alternate device: Try another phone or laptop to see if the issue is isolated.
These initial checks narrow the fault to either local hardware, device settings, or upstream service, which leads to the next step of verifying physical connections and detailed device settings.
How Do I Verify Physical Connections and Device Settings?
Verify physical connections by visually inspecting every cable and port for bends, kinks, or visible damage and confirming plugs are fully inserted. Check the modem’s coax or fiber feed and the ethernet cable from modem to router (WAN port); a loose WAN cable commonly causes “no internet access.” On the router, note the meaning of lights: power, internet/WAN, and LAN port lights indicate link and activity; absence of WAN light points to upstream or modem problems. On client devices, confirm the network adapter is enabled, airplane mode is off, and Wi-Fi SSID is selected with correct password. If possible, connect a laptop directly to the modem via ethernet to test whether the router is the source of failure.
These verification steps identify whether the problem is a faulty cable, a router/modem link failure, or a client-side setting, which prepares you for power-cycling and more advanced checks.
Why Is Restarting My Router and Modem Important?
Restarting (power-cycling) clears temporary network state, resets NAT tables, and forces the modem and router to renegotiate connections with your ISP and devices, often resolving transient “no internet” conditions. A proper restart sequence is important: power off the modem first, then power off the router, wait 30–60 seconds, power on the modem until its lights indicate a stable upstream connection, then power on the router. Avoid factory resets unless you have a backup of settings, since a factory reset erases custom configurations and Wi-Fi credentials. Regular modem/router firmware updates matter too, but apply updates cautiously and only when you can recover settings if needed.
Understanding the restart sequence reduces downtime and prevents accidental configuration loss while clearing corrupted caches that block internet access.
How Can I Troubleshoot Wi-Fi Connected But No Internet Issues?

“Wi-Fi connected but no internet” means your device has a local connection to the access point but cannot reach external networks; the fault can lie with the router, DNS, or upstream ISP. First, determine if the gateway is reachable by pinging the router IP (typically 192.168.0.1 or 192.168.1.1); successful replies indicate local networking is OK. Then test name resolution by pinging a public IP (e.g., 1.1.1.1) to see if you have upstream connectivity; if IP ping works but DNS fails, flush DNS and set an alternate resolver. Finally, try switching to a wired connection or rebooting the router to see if the problem persists across mediums.
Quick prioritized troubleshooting steps:
- Ping gateway: If gateway responds, local Wi-Fi is working.
- Ping public IP: If public IP replies, DNS is likely the issue.
- Change DNS: Temporarily set 1.1.1.1 or 8.8.8.8 to test name resolution.
- Test wired: Connect via ethernet to rule out AP problems.
These checks separate local Wi-Fi problems from DNS or ISP outages and guide the next actions like DNS flush or router diagnosis.
Intro to Wi-Fi causes table: the table below helps map a device symptom to the likely cause and an actionable fix so you can quickly choose the right test or repair.
| Device Symptom | Likely Cause | Likely Fix |
|---|---|---|
| Wi-Fi connected, no internet | DNS failure or ISP upstream outage | Flush DNS, set alternate DNS, reboot router |
| Intermittent connectivity | Wi-Fi interference or overloaded AP | Move closer, change band/channel, limit connected devices |
| Local network only (no WAN) | Router lost upstream or modem fault | Reboot modem/router, check WAN cable, contact ISP if persistent |
This comparison shows whether to focus on DNS, local interference, or upstream modem/ISP issues and helps choose the next command or hardware test.
What Causes Wi-Fi Signal Strength Problems and How to Fix Them?
Wi-Fi signal strength drops due to distance, obstructions, interference from other electronics, and crowded channels; each cause has a distinct fix. Move the device closer to the access point and remove large obstacles or metal objects that block radio signals. Prefer 5GHz for short-range high throughput and 2.4GHz for longer range; if neighbors crowd one channel, switch to a less congested channel or enable automatic channel selection. Reboot access points and consider repositioning the router centrally and elevated to improve coverage.
Simple diagnostics and tools like signal meters or phone apps can quantify RSSI to confirm improvement after adjustments, guiding whether to add a mesh node or relocate equipment.
How Do I Diagnose and Resolve Router and Modem Issues?
Diagnose router/modem faults by checking firmware status, reviewing device logs for repeated disconnections, and using ping/traceroute to test upstream reachability. Update firmware only when stable power and configuration backups exist; an interrupted firmware update can brick devices. Isolate hardware by connecting a laptop directly to the modem with ethernet to test whether the router is failing. If the modem is ISP-provided, contact the ISP after confirming the modem fails to present a WAN link to the router.
If hardware swap tests show improved connectivity with known-good equipment, replace the faulty device; otherwise record error logs and timeline before contacting the provider.
What Are Basic Network Troubleshooting Steps for Wired Ethernet Connections?
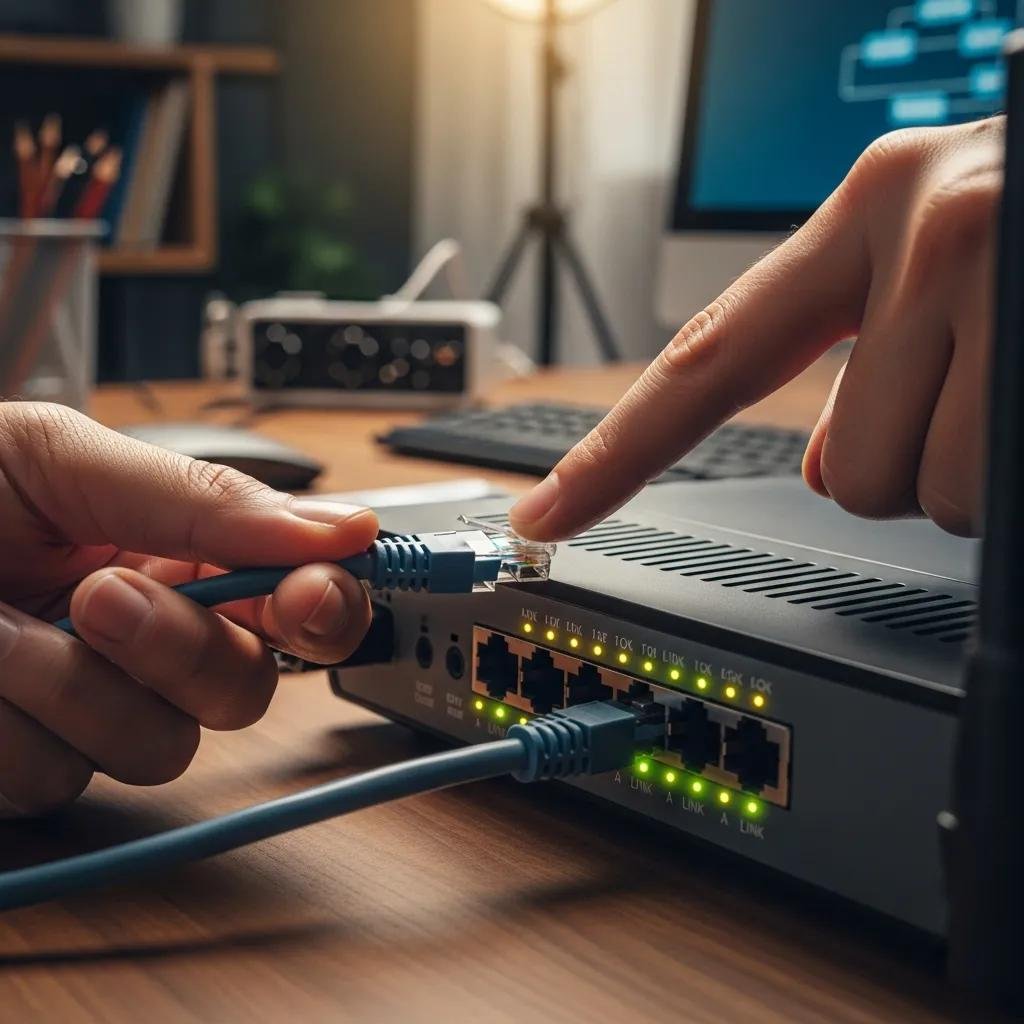
Wired connections usually fail due to cable or port faults, NIC driver issues, or incorrect IP/DNS configuration; systematic checks identify the root cause. Start by inspecting link lights on both the network interface card (NIC) and the switch/router port; absent lights often indicate bad cable or port. Swap the ethernet cable with a verified-good Cat5e/6 cable and try a different port or device to isolate the faulty segment. Confirm the NIC is enabled and drivers are current to avoid driver-related “ethernet no internet” symptoms.
Run DHCP checks and IP diagnostics next: verify whether your device received an IP via DHCP and test name resolution; these steps point to whether the issue is physical, driver, or configuration-related and inform corrective actions.
Intro to cable/port comparison: the table below lists common cable/port conditions and the practical tests or actions to diagnose and fix them quickly.
| Hardware | Condition | Test / Action |
|---|---|---|
| Ethernet cable | Suspected damage or failure | Swap to known-good cable; use cable tester if available |
| Switch/router port | No link light or intermittent | Move cable to different port, check link speed settings |
| NIC (computer) | Driver or hardware issue | Update driver, enable NIC, test on another device |
How Do I Check Ethernet Cable and Port Connections?
Verify link lights on the NIC and switch/router port first; a steady or blinking light indicates physical link and activity. Replace the cable with a known-good Cat5e or Cat6 cable to rule out cable deterioration, and try a different switch or router port to isolate the problem. If available, use a simple cable tester to check pair continuity and wiring order. After isolating the faulty segment, repair or replace the cable or move to an alternate port; these simple swaps quickly restore wired connectivity in most cases.
These troubleshooting actions differentiate between a bad cable, a bad port, and a failing NIC and prepare you to escalate if hardware replacement is required.
How Can I Resolve IP Address and DNS Configuration Errors?
Resolve IP/DNS issues by renewing the DHCP lease, flushing DNS caches, and testing alternate DNS servers to rule out name-resolution problems. On Windows, run then , followed by ; on macOS use then and for DNS. If DHCP fails, set a temporary static IP in the correct subnet or verify the router’s DHCP server is enabled. If DNS continues to fail, set public resolvers such as 1.1.1.1 or 8.8.8.8 to test connectivity and name resolution.
These commands directly address common software-layer causes of “no internet” and let you quickly verify whether routing or DNS is responsible.
When Should I Contact My ISP or Seek Professional Remote Support?
Contact your ISP when independent tests show an upstream outage (no WAN link from modem or nationwide outage notices) or when the ISP-provided modem is malfunctioning. Seek professional remote support when problems persist after basic checks, when the network setup is complex (multiple subnets, VLANs), or when you prefer a fast remote diagnosis to avoid lengthy call holds. Before contacting either, document error messages, times, and the tests you performed so agent or technician efforts are efficient and focused.
Decision checklist — contact choice:
- Contact ISP if modem shows no WAN light, multiple neighbors report outage, or traceroute fails at the provider hop.
- Seek professional remote support if you’ve completed basic checks, need secure remote configuration, or want rapid diagnosis without hardware swaps.
- Provide clear test results and logs when escalating to reduce troubleshooting time.
These qualifiers help you choose the correct escalation path and gather useful information ahead of the call.
How Do I Identify ISP Outages and Service Problems?
Confirm ISP outages using status pages and outage trackers or by checking multiple independent devices; if many users in your area report the same issue, it points to an ISP problem. Perform network tests: ping the gateway and traceroute to a public IP to locate where packets stop; if traceroute fails at the ISP hop, the problem is upstream. Record timestamps, error messages, and any modem/router light patterns to report concisely to the ISP and speed resolution.
If tests are inconclusive, professional remote diagnosis can separate local configuration faults from ISP failures by accessing logs and performing controlled packet tests.
What Are the Benefits of Using mcHelper.com's Remote Computer Repair Services?
For persistent or complex connectivity problems, mcHelper.com provides 24/7 remote computer repair and tech support for Mac and Windows, including home wireless network support, enabling fast, secure diagnosis without on-site visits. Remote technicians can run targeted tests, check device drivers and DNS settings, and determine whether the fault is device-local or due to the ISP, then apply fixes such as driver updates, IP/DNS repairs, or router configuration adjustments. mcHelper.com’s value proposition emphasizes fast, secure, and reliable remote computer support with a NO FIX – NO FEE promise, offering peace of mind when basic troubleshooting does not restore internet access.
Using remote support is a practical escalation after you’ve documented your tests, since technicians can take over diagnostics securely and often resolve issues faster than extended phone troubleshooting.