Fix 'Startup Disk Almost Full' on Mac: 7 Ways to Reclaim Space
The “Your startup disk is almost full” alert on a Mac means macOS has detected low free space on the drive that boots your Mac, which can slow performance, impede updates, and cause apps to crash. This article explains how macOS counts storage, shows quick checks to pinpoint what’s consuming space, and provides safe, prioritized steps to reclaim storage and optimize your Mac. If you prefer expert help, mcHelper.com offers remote Computer Speed-up and Optimization support with certified technicians available 24/7/365 and a “No Fix – No Fee” promise—see the dedicated service note below for what remote help typically includes. Read on for an easy storage analysis walkthrough, low-risk cleanups, advanced cleanup tips (including cache and snapshot housekeeping), and clear guidance on when to get professional remote support versus pursuing a DIY fix. This guide uses practical examples, short lists for quick action, and comparison tables to help you choose the safest cleanup path for your macOS device.
Why Is My Mac Startup Disk Almost Full? Understanding Storage Issues
A startup disk fills when files, backups, and system data collectively exceed available free space; macOS also marks some space as “Purgeable” which can mask true free capacity. Low free space reduces swap file availability and can degrade SSD performance, so freeing at least 10–20% of the drive is important to restore normal operation. Below are the most common culprits that cause the alert and a quick-check approach to identify them on your Mac. Understanding these causes helps prioritize safe cleanups and avoid accidental deletion of irreplaceable data.
What Causes the Startup Disk to Fill Up Quickly on macOS?
Temporary files and caches, large media libraries, and local backups are frequent space eaters that accumulate over time. System and application caches grow with heavy app use, while downloads and installer files in the Downloads folder often remain forgotten; large video and photo files can consume dozens of gigabytes. Old iOS backups and Time Machine local snapshots appear as System Data and can silently occupy space until automatically or manually pruned. To check these, look in About This Mac > Storage and then use Finder to inspect the Downloads, Movies, and Pictures folders; list the largest files by sorting by size to create a short cleanup checklist.
- Temporary files and caches that accumulate during normal use.
- Large media files, downloads, and unused installers.
- Old iOS backups, Time Machine local snapshots, and duplicate files.
- App containers and leftover support files after uninstalling apps.
- Log files and system reports that never get rotated or removed.
This quick list highlights where to inspect first, and the next section explains how to view and interpret macOS storage tools to act on these culprits.
How Does System Data and Cache Affect Mac Storage?
“System Data” and “Other” often include caches, local snapshots, device backups, and large support files that macOS groups outside user-visible categories. Because macOS aggregates many file types into System Data, manual inspection is required: check ~/Library/Caches, /Library/Logs, and Time Machine snapshot listings to find reclaimable items. Exercise caution: deleting unknown files in system folders can break applications or system services, so prefer non-destructive steps like emptying caches for specific apps, restarting the Mac, and using built-in storage recommendations first. If system data remains large after safe steps, consider targeted snapshot and backup management described later or remote professional assistance.
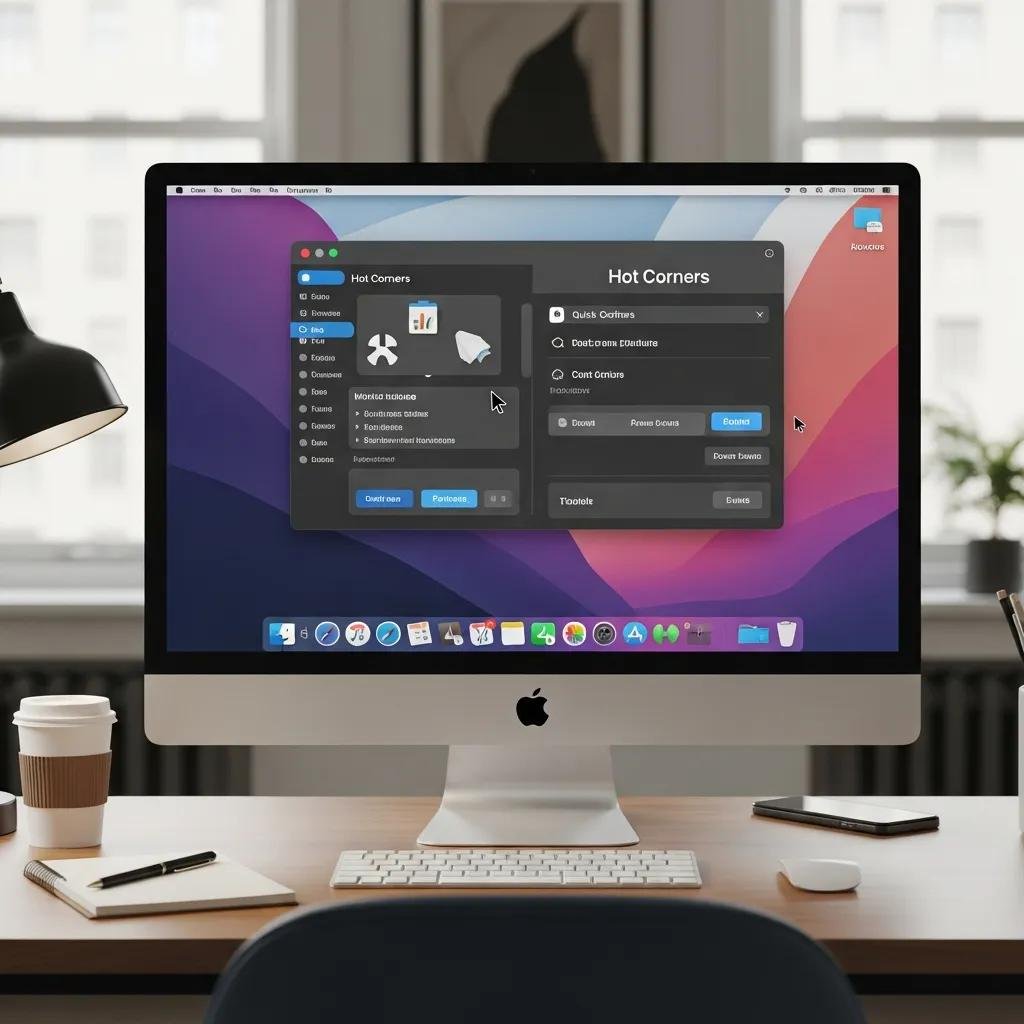
How to Check and Analyze Your Mac’s Startup Disk Space
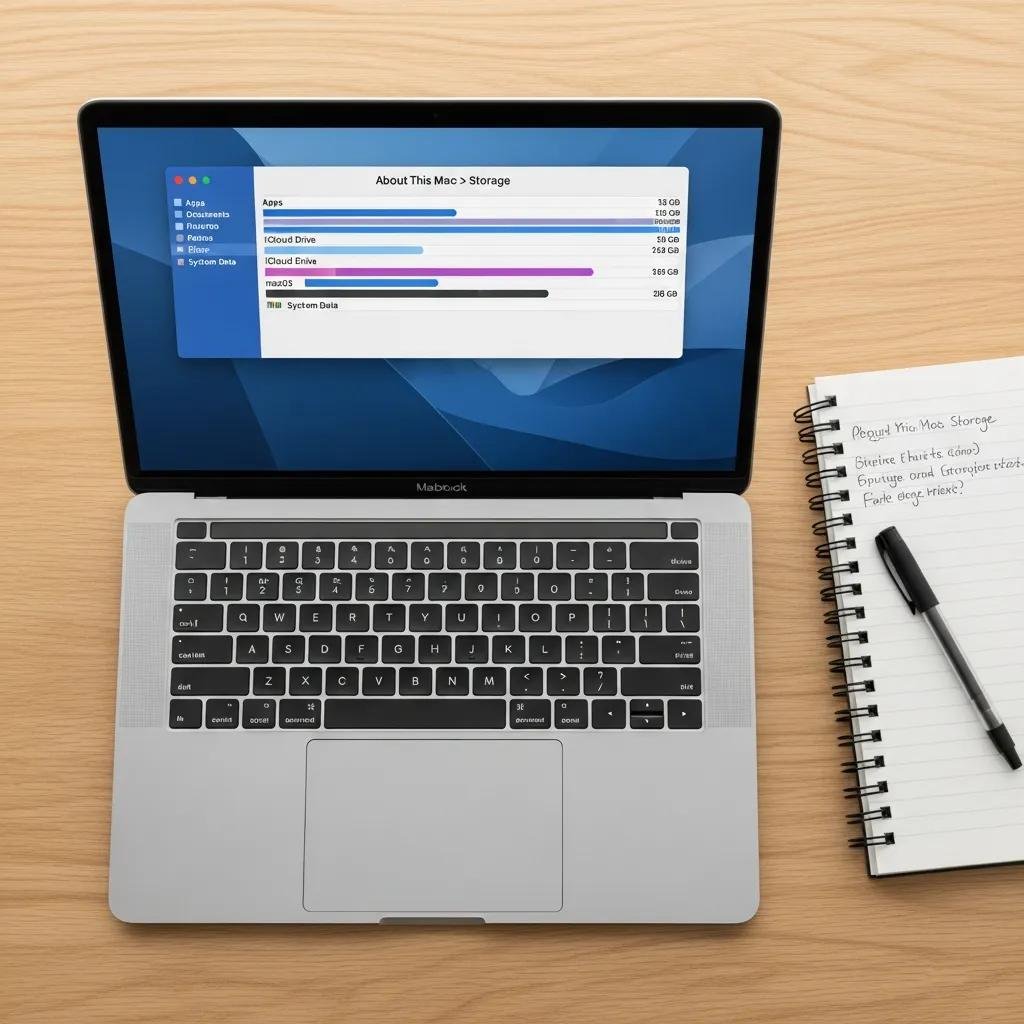
Knowing exactly what uses disk space is the first step to reclaiming it safely; macOS provides built-in tools that visualize storage categories and let you drill into large files. Use About This Mac > Storage (or System Settings > Storage on recent macOS versions) to view color-coded categories and follow up in Finder to inspect folders and file sizes. Below are concise, actionable steps to get a clear storage inventory and next actions.
Step-by-Step Guide to Viewing Storage Usage on Mac
Follow these numbered steps to analyze disk usage quickly and identify large file targets to delete or move. Each step can be completed without third-party apps and prepares you to take the safest next action.
- Click Apple menu > About This Mac > Storage to view the storage bar and category breakdown.
- Select Manage (or Open in Storage settings) to see recommendations and file lists by category.
- Open Finder, choose your home folder, press Cmd+F, set the search to “File Size” greater than 100 MB, and sort results by size.
- Inspect Downloads, Movies, and Pictures folders manually; move large files to external storage or cloud where appropriate.
- Run a restart after major cleanup to let macOS reclaim purgeable space and rebuild caches.
These steps give a snapshot of where space is held and produce a prioritized list of files and folders you can safely address next.
What Are the Key Storage Categories to Monitor?
Monitoring key categories helps you pick low-risk targets first and avoid removing critical system or application files. Focus on Applications, Documents, Photos, System Data, iCloud Drive, and Purgeable space when deciding next steps. Applications and Documents are typically safe to trim by uninstalling or archiving, Photos and Videos may require moving to external storage, and System Data needs careful inspection because it can include local snapshots and backups. Prioritize actions that free the most space with the least risk—empty Trash, clear Downloads, and move large media—before attempting deeper system-level pruning.
Top Methods to Free Up Disk Space on Mac and Optimize Storage

Start with low-risk, high-impact actions like emptying Trash and removing obvious large files, then progress to cache cleaning, uninstalling unused apps, and managing backups; advanced steps include removing local Time Machine snapshots and reclaiming purgeable space. The list below ranks five priority actions with one-line reasons to help you choose a safe sequence of cleanup tasks. After the actionable list, two practical procedures explain cache clearing and app removal in safe detail.
- Empty Trash and clear Downloads to free immediate space quickly.
- Move large Photos and Videos to external or cloud storage to reclaim gigabytes.
- Uninstall unused applications and remove leftover support files to recover app data.
- Clear user caches and restart to remove temporary files safely.
- Manage backups and local Time Machine snapshots to reduce System Data usage.
These prioritized steps balance speed, safety, and impact so you can regain reliable free space without risky deletions.
Intro to comparison table for cleanup methods: the table below helps compare common cleanup actions by risk and speed so you can choose which to run first.
| Cleanup Action | Risk | Speed | Recommended for |
|---|---|---|---|
| Empty Trash | Low | Fast | All users, quick wins |
| Remove Downloads | Low | Fast | Users with large installers |
| Delete Cache Files | Medium | Moderate | Experienced users, with backups |
| Uninstall Apps + Leftovers | Low-Medium | Moderate | Reclaim app storage |
| Remove Time Machine Snapshots | Medium | Moderate | When System Data is large |
This table clarifies which methods are safe for most users and which benefit from caution or expert help. The following H3 sections give step-by-step safe methods for cache and app cleanup.
How to Clear Cache Files, System Junk, and Trash on Mac
Start with the least risky approach: empty Trash, clear Downloads, and restart to let macOS re-evaluate purgeable space. To clear user caches safely, open Finder, press Cmd+Shift+G, go to ~/Library/Caches, and delete only folders belonging to apps you recognize; always back up before deleting and avoid removing system-level caches in /Library unless guided. For power users, terminal commands like and safe cache utilities can help, but these carry higher risk and are unnecessary for most users. If you’re uncomfortable with manual steps or the System Data remains high, remote assistance can provide a safe diagnostic and cleanup.
For readers who prefer expert help, mcHelper.com’s remote Computer Speed-up and Optimization service can diagnose storage issues, recommend or perform safe cache cleanups, and manage backups remotely; their technicians work 24/7/365 and offer a “No Fix – No Fee” guarantee for qualifying issues.
How to Manage and Uninstall Unused Applications Safely
Uninstalling apps begins in the Applications folder by dragging unwanted apps to Trash, but that often leaves support files in ~/Library or /Library folders that still consume space. To remove leftovers, search common paths like ~/Library/Application Support, ~/Library/Preferences, and ~/Library/Caches for folders named after the app and remove them only after confirming they belong to the uninstalled app. Trusted uninstall utilities can automate full removals for users who prefer not to hunt files manually, but choose reputable tools and review permissions. Identify the biggest app storage consumers first by sorting Applications by size in the Storage Manage view, then remove those with the clearest data savings.
When and How to Get Professional Help for Mac Startup Disk Full Issues
Deciding between DIY and professional help depends on how comfortable you are with system-level changes, whether your Mac fails to boot, and how urgently you need data preserved. DIY is appropriate for downloads, Trash, and media relocation; remote professional support is recommended when System Data is large, Time Machine snapshots persist, or you fear data loss. Prepare for remote help by having your Mac login, a reliable internet connection, and a list of recent backups or critical files; remote technicians can walk you through granting temporary access or executing fixes while you watch. The table below compares DIY, remote professional service, and in-person repair across time, skill, risk, and cost to help you decide.
| Approach | Time | Skill Level | Risk | Typical Cost Range |
|---|---|---|---|---|
| DIY cleanup | Minutes–Hours | Low–Medium | Low if cautious | Free |
| Remote professional service | 30–120 minutes | Technician handles | Low | Paid service or subscription |
| In-person repair | Hours–Days | Technician required | Low–Medium | Higher, depending on hardware |
This comparison shows remote support as a fast, low-risk middle ground for many storage problems; the next H3 explains mcHelper.com’s remote workflow and guarantees.
How Can mcHelper.com Remotely Fix Your Full Startup Disk?
mcHelper.com provides remote diagnostic and remediation focused on Computer Speed-up and Optimization; technicians can assess disk usage, identify large files and snapshots, safely execute recommended cleanups, and advise on backups. Typical remote steps include running storage analyzers, pruning local Time Machine snapshots where safe, clearing large user caches, and guiding media migration to external storage; sensitive operations are performed with user consent and with data-preservation priority. Their service proposition highlights certified specialists available 24/7/365, convenient remote access, an affordable annual subscription option for ongoing maintenance, and a “No Fix – No Fee” promise for qualifying issues. For users who prefer a hands-off approach or face persistent System Data growth, remote professional service offers a controlled, lower-risk path to restore free space.
What Are the Benefits of Proactive Mac Storage Maintenance Services?
Regular maintenance prevents emergency space crises by catching cache bloat, outdated backups, and accumulating logs before they cause alerts or performance loss. Subscription-based maintenance typically includes scheduled scanning, periodic cleanups, guidance on backup strategies, and faster access to technicians when alerts appear; this reduces downtime and prolongs the effective life of SSD storage. Proactive monitoring also ensures that purgeable and purge-eligible storage behaves predictably, which helps maintain at least 10–20% free space to preserve system performance. For users who rely on their Mac for critical work, preventive maintenance delivers stability and fewer emergency interventions over time.