Unlock Your PC’s Full Potential with Windows Features for Enhanced Productivity and Security
Windows includes a suite of built-in features that, when used deliberately, can dramatically improve productivity, performance, and security on your PC operating system. This article explains which Windows 11 and Windows 10 features matter most, why they work, and how to apply them with practical steps so you can get measurable results quickly. Many users struggle with cluttered desktops, sluggish boot times, and preventable security gaps; this guide shows how Snap Layouts, virtual desktops, system optimization settings, Disk Cleanup and Storage Sense, Windows Defender, and customization options address those pains. You will get short how-to actions, checklists optimized for fast wins, and two comparison tables that summarize recommended settings and security measures. Throughout, keywords like windows 11 tips, performance optimization, Windows Defender, and widgets are used to help reinforce concepts and make this content actionable for everyday workflows. Read on to boost multitasking, speed up your PC, strengthen defenses, and personalize your environment without sacrificing responsiveness.
What are the top Windows 11 productivity features to boost your workflow?
Windows 11 centralizes several productivity features designed for faster multitasking and reduced friction in common workflows. These operating system features include window snapping, virtual desktops, an improved clipboard/history, and integrated file management tools that cut time spent context-switching. Using these features together streamlines tasks such as drafting documents while referencing research, or running a video call alongside note-taking, which directly improves throughput and focus. Below is a concise list of the top Windows 11 productivity features with one-line benefits and brief usage notes to make them easy to adopt.
Windows 11 productivity essentials explained:
- Snap Layouts: Organizes open windows into predefined grid layouts for instant multitasking.
- Virtual Desktops: Separates workspaces to reduce distractions and group task-specific apps.
- Clipboard history: Stores recent copied items for fast re-use across apps without repeated copying.
These features are most effective when combined: for example, use Snap Layouts inside a dedicated virtual desktop to maintain task focus and prevent desktop clutter while you work.
How does Snap Layouts improve multitasking on Windows 11?

Snap Layouts is a window-snapping feature that places active windows into configurable grid patterns, improving window management by reducing manual resizing and placement. The mechanism uses quick layout presets so you can group related apps—such as a browser, a notes app, and a spreadsheet—into a single screen view and maintain visual context. Practical scenarios include research + writing, where you keep source material, writing app, and references visible, and video call + notes, where call controls, chat, and a note editor sit simultaneously. To use Snap Layouts, hover over the maximize button and choose a layout, then click each snapped zone to fill it with open windows. For best results, combine Snap Layouts with keyboard shortcuts and virtual desktops to preserve layout sets for distinct projects and minimize workflow interruption.
What are the benefits of virtual desktops for organization and focus?
Virtual desktops create isolated workspaces that separate tasks, reducing visual clutter and cognitive switching costs so you can focus on one project at a time. This mechanism effectively groups applications and windows into named contexts—for example, “Work,” “Research,” and “Personal”—so task-relevant apps remain readily accessible without cross-contamination of notifications. Common uses include dedicating one desktop to communication apps, another to creative tools, and a third to documentation or testing environments, which improves concentration and task segmentation. Quick shortcuts like Windows+Ctrl+D to create a desktop and Windows+Ctrl+Left/Right to switch make virtual desktops fast to manage. Naming and organizing desktops, and using Snap Layouts within each, helps maintain long-term project structure and reduces time lost to app hunting.
How can Windows 10 performance optimization enhance your PC speed?
Performance optimization in Windows 10 combines configuration adjustments and routine maintenance to improve both perceived and real system speed. Core mechanisms include reducing background processes, tuning visual effects, selecting an appropriate power plan, and keeping drivers and system files updated to avoid slowdowns caused by resource contention. The checklist below highlights high-impact steps you can take immediately to boost responsiveness and reduce boot and application load times. After the checklist, a compact EAV table compares key performance settings, recommended values, and the expected impact so you can prioritize changes.
Follow this quick performance checklist for faster results:
- Disable unnecessary startup apps: Use Task Manager to turn off apps that slow boot.
- Adjust visual effects for performance: Choose “Adjust for best performance” or selectively disable animations.
- Select a balanced or high-performance power plan: Prevent CPU throttling for demanding tasks.
- Run Disk Cleanup and enable Storage Sense: Remove temporary files and automate space recovery.
- Update drivers and Windows: Keep system drivers current to avoid performance regressions.
Implementing these steps typically reduces background CPU and disk usage and shortens boot times, with noticeable improvement after a single pass through the checklist.
Performance settings comparison table:
Different system settings affect responsiveness in distinct ways. The table below lists key system elements, recommended configuration, and their performance impact for quick reference.
| Setting | Recommended Configuration | Expected Impact |
|---|---|---|
| Visual Effects | Disable unnecessary animations; enable basic effects | Improves UI responsiveness and reduces GPU/CPU load |
| Startup Apps | Disable nonessential apps in Task Manager | Faster boot and less background memory usage |
| Power Plan | Balanced for battery, High performance when plugged in | Prevents aggressive CPU throttling for demanding tasks |
| Background Apps | Limit background app permissions | Reduces memory and networking overhead |
This table helps prioritize settings that yield the largest speed gains with minimal tradeoffs, guiding a structured optimization process.
Which system settings should you adjust for better performance?
Adjusting system settings targets the most common sources of sluggish behavior: visual rendering, background processes, and power management. Visual Effects controls like turning off animations and unnecessary shadows reduce GPU and CPU cycles, while managing startup apps via Task Manager prevents wasted memory and disk activity at boot. Switching to an appropriate power plan—balanced or high performance depending on use case—ensures the processor can scale when needed rather than remain in a conservative state. To change these settings, search for “Performance Options” to modify visual effects, open Task Manager > Startup to disable apps, and use Power Options to select plans. Balancing appearance versus speed is a personal tradeoff; conservative visual settings preserve battery and responsiveness while keeping essential UI cues intact.
How do disk cleanup and storage sense help maintain PC efficiency?
Disk Cleanup and Storage Sense are maintenance tools that reclaim disk space and reduce fragmentation-related slowdowns by removing temporary files, old update files, and recycle bin contents. Disk Cleanup performs an immediate pass to clear cached installer files and temporary data, while Storage Sense automates file cleanup on a schedule and can remove locally cached cloud files to free space. To run Disk Cleanup, search for the tool and select cleanup categories; to enable Storage Sense, go to System > Storage and configure frequency and targets. Running these tools monthly or enabling automated cleaning is recommended for most users and helps maintain consistent free space, which improves overall system responsiveness and reduces paging activity on disk-constrained systems.
What are the best Windows security practices to protect your PC?
Built-in Windows security features provide a strong baseline when configured properly and combined with sensible user habits. Core practices include enabling Windows Defender (Windows Security) real-time protection, keeping automatic updates enabled to patch vulnerabilities, and using the firewall plus limited administrative accounts to reduce attack surface. The concise best-practices list below outlines essential actions and their protective rationale so you can quickly harden a PC against common threats. An accompanying EAV table summarizes primary security features, what they guard against, and the user action required to maintain each control.
Essential Windows security best practices:
- Enable Windows Defender real-time protection: Provides continuous malware scanning and quarantine.
- Keep automatic updates turned on: Ensures timely patching of OS and security bugs.
- Use the built-in firewall and limit admin accounts: Blocks unauthorized network access and reduces privilege-based risk.
- Practice safe download and email habits: Avoid running unknown executables or opening suspicious attachments.
Adopting these practices reduces common vectors for compromise; combine them with periodic scans and monitoring to maintain a robust security posture.
Security features summary table:
| Security Component | Protects Against | User Action Required |
|---|---|---|
| Windows Defender (real-time) | Malware, ransomware, PUPs | Ensure real-time protection and periodic full scans |
| Automatic Updates | Exploits, patched vulnerabilities | Keep automatic updates enabled and install restarts when prompted |
| Windows Firewall | Network intrusion and port-based attacks | Keep firewall enabled and review allowed apps |
| Account Control & Admin Limits | Unauthorized system changes | Use standard accounts for daily tasks; elevate only when needed |
Using these layered controls together creates defense in depth and reduces the likelihood of successful attacks, especially when users follow secure habits and apply updates promptly.
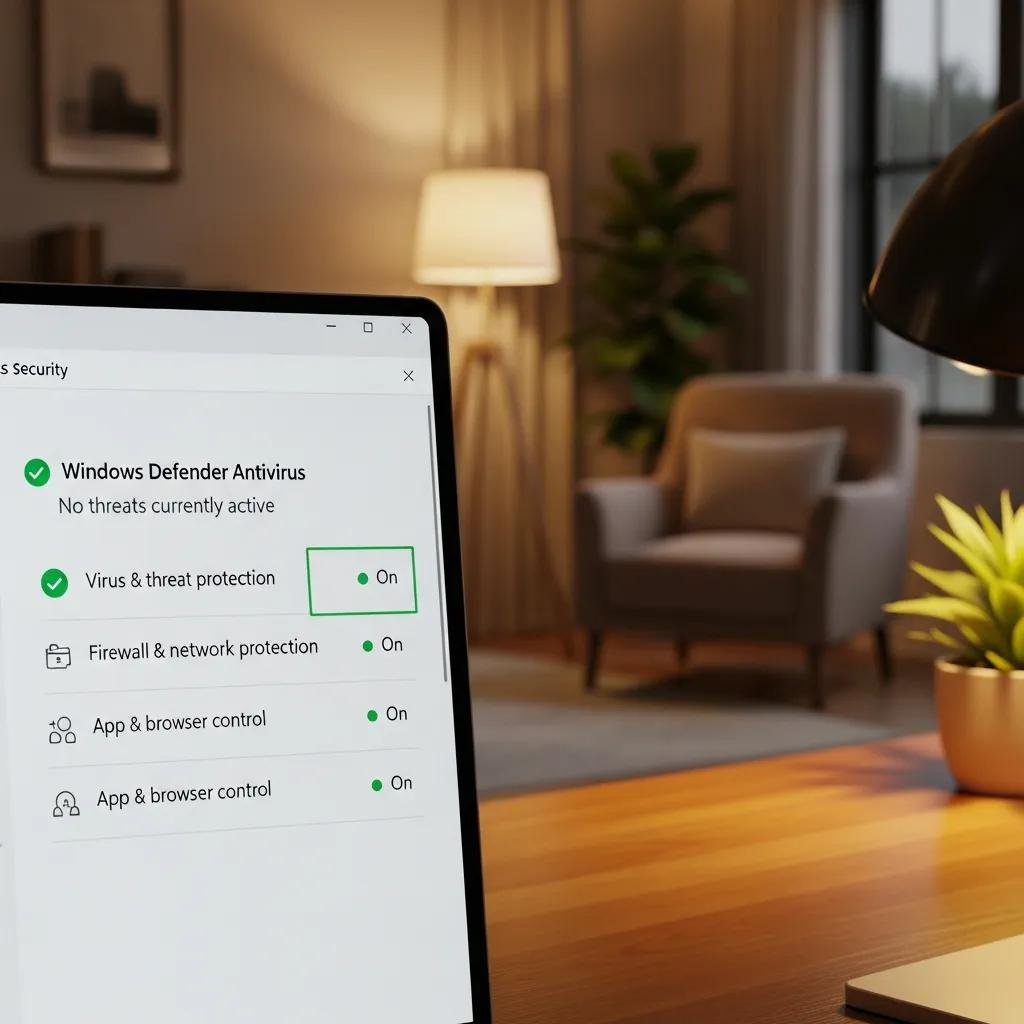
How does Windows Defender safeguard against malware and threats?
Windows Defender provides integrated, real-time protection with signature and behavioral detection designed to identify and quarantine malware, spyware, ransomware, and potentially unwanted programs. The system employs scheduled and on-demand scans, cloud-delivered protection for rapid threat intelligence, and remediation tools for infected files. To run a manual scan, open Windows Security, choose Virus & threat protection, and select Quick scan or Full scan; review results and follow recommended remediation steps for quarantined items. Enabling cloud-delivered protection and automatic sample submission enhances detection accuracy and speed. Regularly running scans and responding promptly to Defender alerts ensures that threats are contained before they spread or cause data loss.
Why is enabling automatic updates crucial for security?
Automatic updates deliver security patches, driver fixes, and stability improvements that close known vulnerabilities attackers exploit, making them a cornerstone of modern PC security hygiene. The mechanism ensures systems receive critical fixes without relying on manual checks, reducing the window of exposure between vulnerability disclosure and patch deployment. Verify automatic updates are enabled by visiting Windows Update settings and confirming automatic download/install options are active; schedule active hours to avoid disruptive restarts. For high-security environments, pair automatic OS updates with managed driver and firmware update practices. Maintaining automatic updates significantly lowers the risk of exploit-driven breaches and preserves system integrity over time.
How can Windows 11 customization tips personalize your PC experience?
Windows 11 offers personalization options that improve comfort and accessibility while keeping performance intact when used judiciously. Customizations like themes, dark mode, accent colors, and wallpapers tailor visual ergonomics to reduce eye strain, while widgets and taskbar settings provide quick access to information without opening full apps. The list below highlights customization choices that enhance productivity and user comfort, alongside guidance on balancing visual flair with performance so your PC stays responsive. Use the following suggestions to craft a workspace that supports sustained focus and quick access to essential tools.
Customization suggestions for balance and productivity:
- Choose a theme suited for work (dark, high-contrast): Reduces glare and improves focus.
- Use static wallpapers over live backgrounds: Saves GPU cycles and battery.
- Limit active widgets to essentials: Keep only the widgets you use regularly pinned to the taskbar.
- Pin frequently used apps to the taskbar: Reduces time spent navigating menus and windows.
Applying these tips will personalize your desktop while minimizing performance overhead; the next sections show how to apply themes and configure widgets step by step.
What themes and backgrounds enhance your desktop environment?
Selecting an appropriate theme and background supports visual comfort and productivity by reducing distraction and improving legibility for long sessions. Dark mode decreases blue light exposure and surface glare for many users, while high-contrast themes support accessibility for those with vision differences; accent colors can highlight focused UI elements without being intrusive. To change themes, open Settings > Personalization > Themes, pick or customize a theme, and apply a background image that is calm and low-contrast to avoid visual noise. One practical tip is to create separate theme profiles for different tasks—e.g., a “Focus” theme for deep work and a “Creative” theme for design tasks—so your environment aligns with your cognitive mode.
How do widgets and taskbar settings improve accessibility?
Widgets and taskbar settings provide rapid access to information and tools, reducing the time spent opening full applications and improving workflow efficiency. Widgets surface weather, calendar, tasks, and news at a glance, while pinning essential apps and files to the taskbar creates one-click access to frequent resources. To configure widgets, open the widgets flyout and choose which cards to display; for the taskbar, use taskbar settings to pin apps and adjust icon size or alignment for comfort. Two practical tips: limit widgets to two or three high-value cards to avoid distraction, and increase taskbar icon size if you need larger touch targets for accessibility and faster switching between apps.