
Troubleshooting macOS Update Problems and Installation Errors: How to Fix macOS Update Installation Failures
macOS update installation failures occur when the system cannot complete the update process, producing errors such as stalled downloads, installer verification problems, reboot loops, or an install that never completes. This article explains how to diagnose common macOS update faults, walk through progressive troubleshooting steps from simple checks to Recovery reinstall, and identify when to escalate to remote expert assistance. You will learn practical checks for Ventura and Sonoma upgrade problems, how low disk space and corrupted installers interfere with personalization and installation, and exact recovery-mode and Safe Mode actions to restore a Mac safely. The guide covers targeted troubleshooting for “failed to personalize software update” errors, when to reset NVRAM/PRAM, and how remote technical support can help preserve data and finish an OS restoration when DIY fixes are exhausted. Read on for quick symptom-to-fix workflows, decision criteria for escalation, and concise checklists you can follow now to resolve macOS update errors efficiently.
Why Does macOS Update Installation Fail? Common Causes and Issues
macOS update failures happen for predictable reasons that block the installer’s download, verification, or file deployment steps. Core causes include insufficient free storage, corrupted installer images, incompatible firmware or third-party kernel extensions, interrupted power/network during install, and permission or disk errors that prevent file personalization. Identifying which of these is occurring lets you choose an appropriate remedy quickly and reduces the risk of data loss during recovery. The following table matches common root causes to how they break the installer and when you should escalate to advanced recovery or professional help.
| Cause | How it breaks the installer | When to escalate |
|---|---|---|
| Insufficient storage | Installer cannot unpack or write update files, causing verification or install aborts | If freeing >20GB and retry still fails |
| Corrupted download | Verification or personalization step fails due to checksum mismatch | If redownloads repeat failures or multiple Macs affected |
| Incompatible software/driver | Kernel extensions prevent boot or cause hangs at Apple logo | If Safe Mode still hangs or third-party kexts unknown |
| Disk errors/permissions | First Aid reports errors; installer cannot copy system files | If Disk Utility cannot repair or errors recur |
| Interrupted power/network | Partial install leaves system inconsistent or in a reboot loop | If system cannot boot into Recovery or Internet Recovery |
These causes guide which follow-up checks to run: confirm free space and run First Aid first, then re-download installers and verify compatibility before attempting Recovery reinstall.
What Are the Typical macOS Ventura and Sonoma Update Problems?
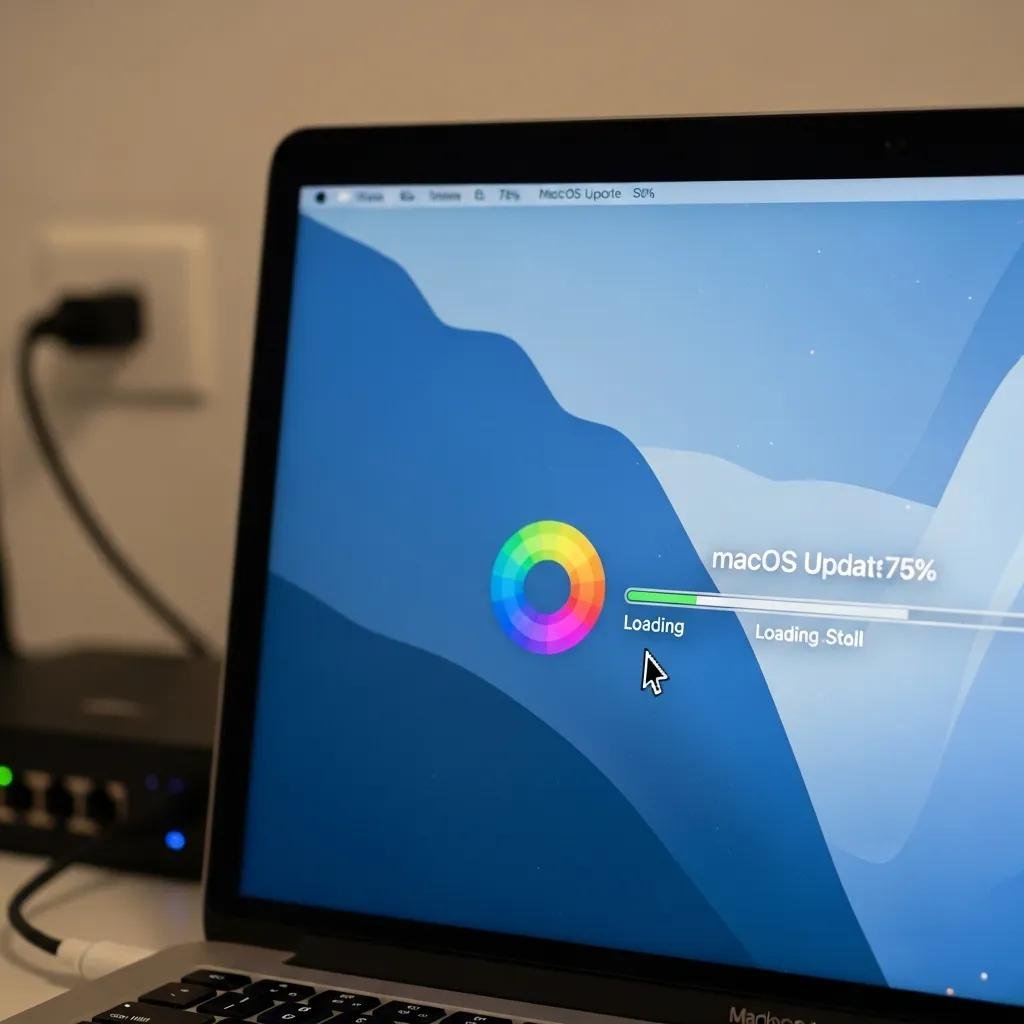
Ventura and Sonoma upgrades commonly surface installer hangs during verification, long “Estimating time” phases, and occasional reboot loops that persist past the installer progress bar. Corrupted downloads can manifest as repeated “update failed” or “could not personalize” messages, while new firmware requirements or APFS conversion steps may introduce delays on older hardware. To diagnose, check Software Update for compatibility notes, verify Apple ID sign-in, and inspect install logs in for repeated errors. These checks distinguish network or download issues from hardware or filesystem problems that need deeper recovery steps.
How Does Insufficient Storage Affect macOS Update Installation?
Low disk space prevents the installer from staging files and writing temporary catalogs, causing verification errors or partial installs that leave macOS unable to boot.
The installer typically requires several GB beyond the download size — aim to free at least 20–40 GB for major upgrades like Ventura or Sonoma. Use Storage Management to remove large files, empty Trash, and move media to an external drive or Time Machine backup before retrying. Running Disk Utility First Aid after freeing space ensures the filesystem is writable and reduces the chance of a repeated failure during the next installation attempt.
How to Resolve macOS Update Errors and Stuck Installations

Start with the simplest, least risky steps and progress to Recovery reinstall if needed; this approach preserves data and narrows root cause quickly. First confirm network stability, sufficient power and free storage, then quit and re-open Software Update or re-download the installer from the App Store. If the update begins but hangs, use Safe Mode, check install.log for errors, and run Disk Utility First Aid. If these measures fail, boot to Recovery or Internet Recovery to reinstall macOS without erasing data; as a final step consider a clean install after a Time Machine backup.
Below is a concise checklist you can follow in order to resolve most update failures.
- Check basics: Ensure stable network, AC power, and at least 20–40 GB free storage.
- Redownload: Delete partial installer, re-download macOS installer from Software Update or App Store.
- Safe Mode: Boot Safe Mode to disable third-party extensions, then retry the installer.
- Disk Utility: Run First Aid on the startup disk; repair any errors before reinstalling.
- Recovery reinstall: Boot Recovery and choose reinstall macOS (preserves data if chosen).
- Clean install (last resort): Backup to Time Machine, erase disk, and perform a clean install.
The following quick-reference table maps symptoms to likely causes and immediate first-line fixes to help triage without specialist tools.
| Issue | Likely Cause | Immediate Fix |
|---|---|---|
| Installer won’t download | Network interruption or App Store issue | Restart router, sign out/in, retry download |
| Stuck on verification | Corrupted package or low disk space | Delete and redownload installer; free space |
| Boot hangs at Apple logo | Kernel extension conflict or disk error | Boot Safe Mode, run First Aid |
| “Failed to personalize” | Permission/installer mismatch | Check install.log, re-download installer |
| Reboot loop after update | Partial install or firmware mismatch | Boot Recovery, reinstall macOS |
If you reach a point where Recovery reinstall cannot complete or you see repeated, unclear errors, consider remote expert intervention for log analysis and safe OS restoration. Remote technicians can run in-depth diagnostics, preserve user data, and perform restores more quickly than onsite scheduling allows.
What Steps Fix macOS Update Stuck on Apple Logo?
When a Mac hangs on the Apple logo during boot or install, immediate safe actions reduce data risk and often restore bootability. First, force a restart by holding the power button, then attempt Safe Mode to disable third-party kernel extensions and run Disk Utility First Aid. If Safe Mode completes, retry the installer or the update from Software Update; if it still fails, boot to Recovery to reinstall macOS. If the machine cannot reach Recovery or the reinstall fails repeatedly, collect install.log entries and consider contacting remote support for deeper log analysis and remote reinstall assistance. These steps prioritize data safety while attempting non-destructive repairs.
How to Use macOS Safe Mode and Recovery Mode for Update Issues?
Safe Mode limits loaded extensions and performs basic disk checks; use it when third-party drivers or caches may block installation. To enter Safe Mode on Apple Silicon, shut down the Mac, then press and hold the power button until startup options appear, select the startup disk, then press and hold Shift and click “Continue in Safe Mode”; on Intel Macs, hold Shift during boot. Recovery Mode lets you run Disk Utility, reinstall macOS, or restore from Time Machine; on Apple Silicon, hold the power button to reach Options → Recovery, on Intel use Command-R at startup. Use Safe Mode first to test system stability, then Recovery for repairs and reinstall if Safe Mode cannot resolve the issue.
What to Do When macOS Fails to Personalize Software Update
The personalization step customizes the installer for the target Mac (language, firmware, hardware-specific packages) and fails when the installer package is corrupted, file permissions block modifications, or required firmware updates are missing. Immediate remedies include redownloading the installer, running Disk Utility First Aid, and ensuring the Mac’s firmware and SMC/NVRAM are at expected states. If personalization fails repeatedly, inspect /var/log/install.log for “personalize” errors, back up data, and consider reinstalling macOS from Recovery. When these actions do not resolve the personalization failure, remote experts can help analyze logs and perform a safe OS restore to preserve user data and complete the upgrade.
The targeted steps below help resolve most personalization errors before reinstall.
- Re-download the installer to remove any corrupted package components.
- Run Disk Utility First Aid on the startup disk to repair filesystem issues.
- Check installer logs at /var/log/install.log for personalization errors and missing components.
- Attempt personalization in Safe Mode to avoid interference from third-party software.
- Backup and reinstall from Recovery if personalization repeatedly fails.
How to Troubleshoot ‘Failed to Personalize Software Update’ Error on Mac?
Begin by locating the most recent entries in to find the personalization error string and associated error codes. Use Console or Terminal () to capture errors during an attempted install. Run Disk Utility First Aid to correct permission or filesystem inconsistencies, then delete the installer and re-download from Software Update. If logs point to firmware or SMC/NVRAM issues, proceed with resets or Recovery reinstall. If these targeted checks don’t resolve the error, remote diagnostics from a technician can parse logs and perform a controlled reinstall while preserving user data.
When Should You Reset NVRAM or PRAM to Fix Update Problems?
Reset NVRAM/PRAM can resolve certain boot parameter and firmware configuration issues causing startup or installer hang symptoms, especially when audio, display resolution, or startup-disk selection behave incorrectly after an update. Perform an NVRAM reset when you see persistent startup parameter anomalies following an update, but avoid it if the system is mid-install or data recovery is in progress. To reset on Intel Macs, shut down and press at startup for about 20 seconds; Apple Silicon Macs handle NVRAM resets automatically during certain startup cycles, so consult Recovery actions instead. After reset, verify startup-disk selection and retry the installer if appropriate.
When and How to Get Expert Remote Support for macOS Update Problems
Escalate to remote technical support when data is at risk, logs show repeated, unexplained errors, Recovery reinstall cannot finish, or you lack time to perform advanced recovery steps. Remote technicians can analyze install.log entries, run targeted Terminal diagnostics, perform controlled remote reinstalls from Recovery, and advise on safe clean-install procedures or data recovery. For many users the convenience of remote diagnostics shortens downtime and avoids travel to service centers. The table below compares typical remote services against what they cover and realistic outcomes you can expect when escalation is warranted.
| Service | What it covers | Typical outcome / expectation |
|---|---|---|
| Remote diagnostics | Log parsing, system profile, live Terminal checks | Identifies root cause and next steps within a session |
| Remote OS restore/reinstall | Guided Recovery reinstall, preservation of user data when possible | Completed reinstall or clear path to clean install |
| General technical support | Software troubleshooting, permissions fixes, driver conflicts | Restored update or recommendation for further action |
| Data-preservation strategies | Advice for Time Machine backup and safe migration | Reduced risk of data loss before major operations |
Choosing remote help is appropriate when you need fast, expert triage and cannot complete advanced recovery steps safely on your own. mcHelper.com provides 24/7 remote computer repair and technical support focused on Mac and Windows systems, including software and operating system restoration and updates, virus and spyware removal, computer optimization, and data recovery. Their remote assistance model can perform diagnostics, guided reinstalls, and recovery workflows; the company also operates under a “no fix – no fee” policy for qualifying cases, which may reduce risk for users considering paid support.
How Can Remote Technical Support Help with macOS Update Failures?
Remote technicians can connect securely to examine install logs, run Terminal diagnostics, and perform disk and permission repairs that are difficult for non-technical users. They can guide a Recovery reinstall, orchestrate Time Machine backups, or perform a remote OS restore while monitoring for errors and preserving user files where possible. Typical timelines range from a short diagnostic session that identifies the problem to extended remote sessions to complete complex reinstalls; if hardware faults are found, remote work can still prepare data for safe handoff to an onsite repair provider. Remote help is limited when physical hardware replacement is required.
What Are the Benefits of 24/7 Remote Mac Update Troubleshooting Services?
24/7 remote support reduces downtime by offering flexible scheduling and immediate diagnostics outside typical service hours, which benefits business users and individuals under deadline pressure. Remote troubleshooting often avoids the time and cost of bringing hardware into a shop because many software and installer problems can be solved remotely. Using a remote specialist for macOS update failures provides clarity through log analysis, guided Recovery procedures, and data-preservation strategies; when work requires more than remote access, technicians can document findings to speed subsequent onsite or manufacturer service steps. These benefits make remote support a practical escalation step when DIY measures stall.