Secure Guest Wi-Fi Network: Step-by-Step Setup for Visitor Access
A guest Wi-Fi network is a separate wireless network that gives visitors internet access while isolating their devices from your main network to protect privacy and security. This guide explains how guest Wi-Fi works, why isolation matters for home network segmentation, and practical steps to set up a secure guest SSID so visitors get reliable internet without exposing personal devices. Many homeowners worry that guests, IoT devices, or compromised phones can scan local resources or spread malware; a properly configured guest Wi-Fi uses network isolation and distinct credentials to reduce those risks. You will learn what settings to change in your router admin panel, which encryption and password approaches to use, how to limit bandwidth or schedule access, and how to troubleshoot common connection problems. The article includes short checklists, step-by-step setup actions, and three quick reference tables comparing admin fields, encryption choices, and fast fixes to speed configuration. Throughout, keywords like visitor internet access, separate network for guests security, and guest Wi-Fi password management are used to make practical configuration and decision steps easy to follow.
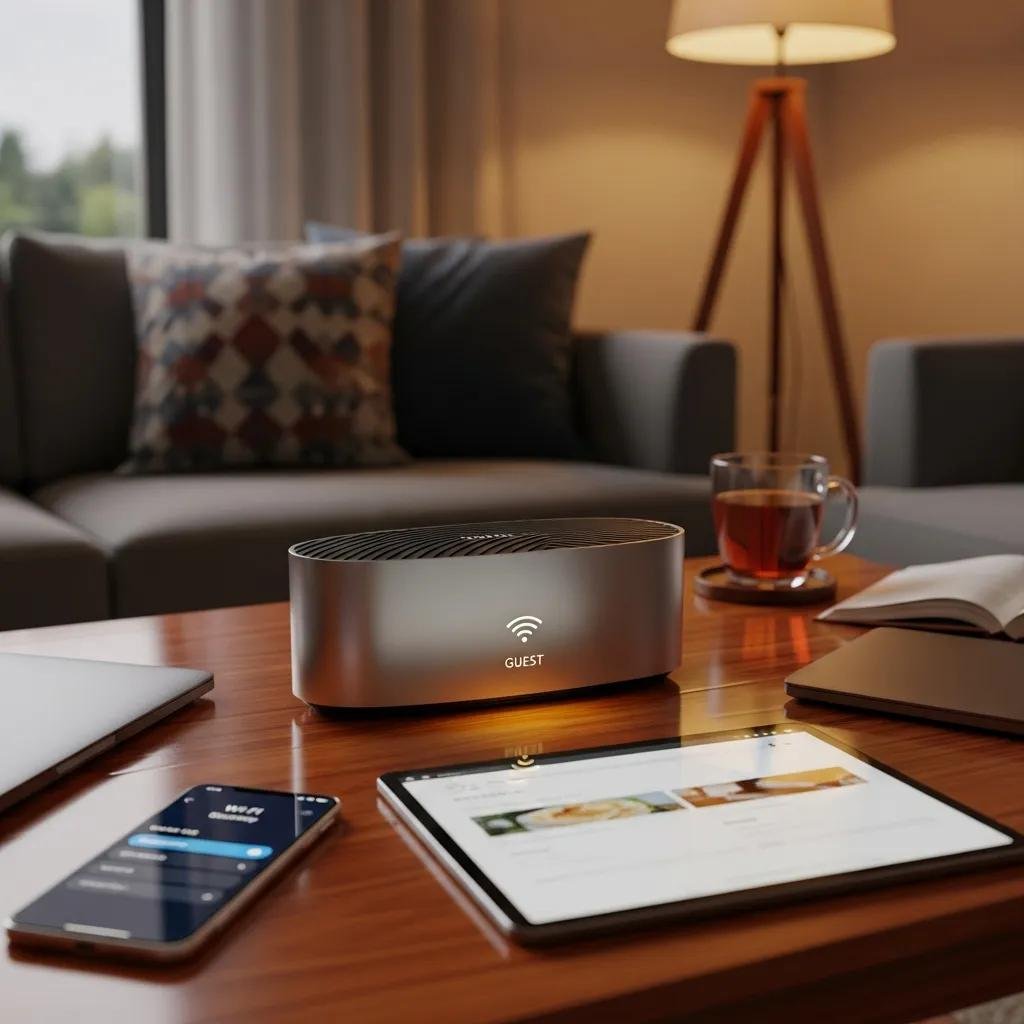
What Is a Guest Wi-Fi Network and Why Should You Set One Up?
A guest Wi-Fi network is an SSID separate from your primary network that routes visitor traffic to the internet while preventing access to local devices and services on your main subnet. This separation works by isolating MAC/IP traffic or placing the guest SSID on a distinct VLAN or subnet, which reduces lateral movement and protects devices like NAS, printers, and smart-home controllers. The main practical benefits are improved security, preserved privacy, and more predictable performance for primary devices when visitors are streaming or downloading. Below are the top benefits to consider when deciding to enable a guest Wi-Fi on your home router.
Guest Wi-Fi offers these three practical advantages:
- Enhanced security: Isolation prevents visitor devices from reaching local file shares or IoT interfaces.
- Privacy protection: Personal devices and data on the main network remain undiscoverable to guests.
- Controlled performance: Bandwidth limits and scheduling keep guest traffic from degrading primary device performance.
These benefits make guest Wi-Fi a straightforward first layer of home network segmentation and set the stage for the next details about how isolation operates in practice.
How Does a Guest Wi-Fi Network Protect Your Home Network?
Network isolation prevents lateral access by placing guest devices on a separate subnet or by enabling AP isolation, which blocks device-to-device communication within the same SSID. This mechanism reduces exposure from vulnerable IoT devices of visitors and helps contain malware or unauthorized scanning attempts, meaning a compromised guest phone is less likely to reach your home NAS or security camera feeds. Recent research and trend analysis through the mid-2020s indicate that home network segmentation is increasingly recommended as more consumer devices join home networks, increasing attack surface. Understanding isolation mechanics helps you choose whether to use simple AP isolation, a dedicated VLAN, or router features like captive portals to enforce separation.
This technical foundation leads directly into the concrete router steps required to enable and configure a guest SSID safely.
What Are the Key Benefits of Creating a Separate Wi-Fi for Guests?
Creating a separate guest SSID gives you operational control over visitor connectivity while minimizing risks to household devices and data. Segmentation lets you apply password management for temporary access, schedule availability for specific hours, and set bandwidth caps to ensure fair usage during busy periods. For example, a remote worker’s laptop on the main SSID retains stable VPN performance while guests stream on the guest SSID with capped speeds. These operational controls also make auditing and troubleshooting simpler because guest traffic is obvious and bounded.
These practical benefits point toward the next section: exact steps to access and configure guest network settings on your router.
How Do You Access and Configure Router Guest Network Settings?

Accessing your router admin panel and enabling guest network mode is a short sequence of steps: discover the router IP, log in, enable guest SSID, and set isolation and security options. Start by finding your default gateway on a connected device, then sign in with admin credentials or use the router manufacturer’s mobile app if available; avoid administering the router over public Wi-Fi for safety. Once in the admin interface, enable the guest SSID, set a clear but non-identifying SSID name, choose WPA3/WPA2 where supported, enable client/AP isolation, and optionally configure time or bandwidth limits. If you run into access blockages such as forgotten credentials or firmware issues, 24/7 remote experts can help with router admin access and firmware guidance to get you back on track.
Follow these numbered setup steps to target featured snippets and make admin tasks predictable:
- Find your router IP (default gateway) and open the router admin page.
- Log in with admin credentials or use the router app for guided access.
- Enable the guest network/guest SSID and choose a distinct SSID name.
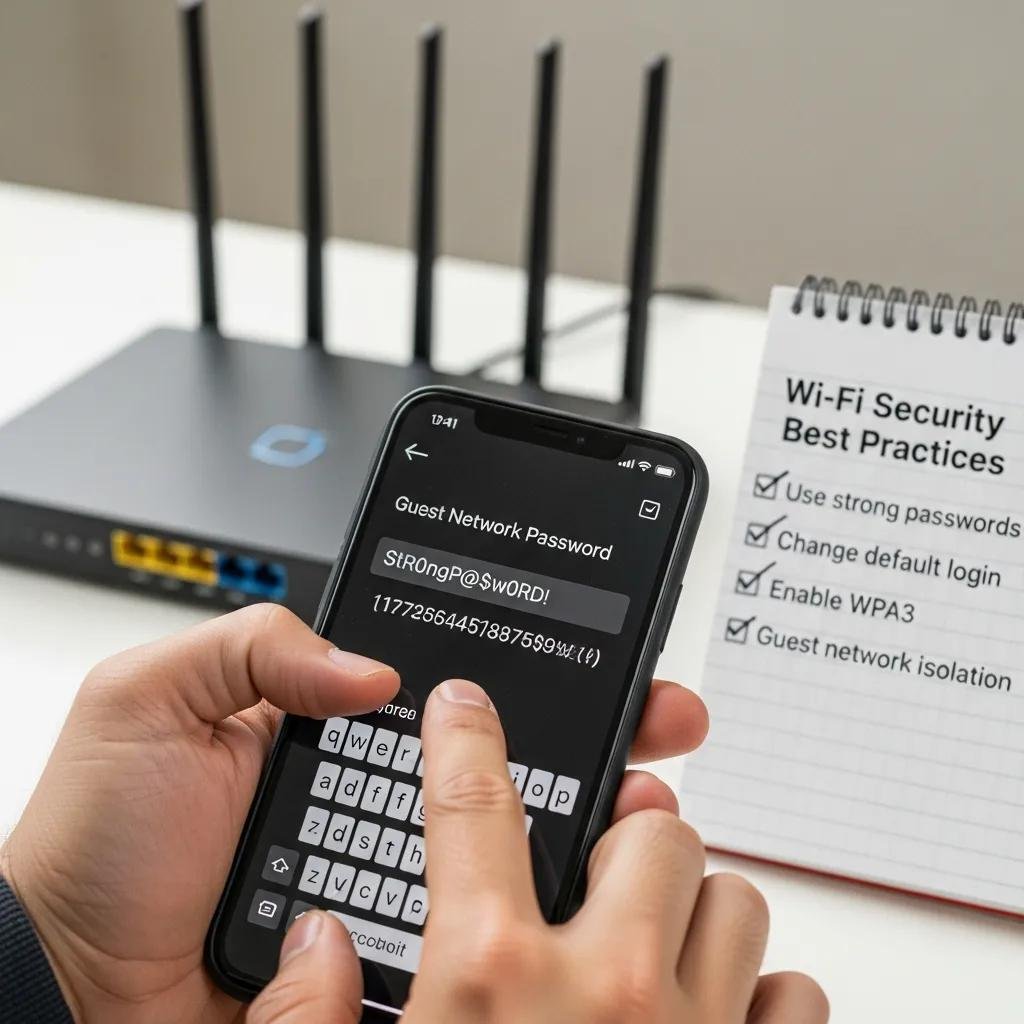
- Set a strong password and select WPA3 (or WPA2 fallback) and enable isolation.
- Configure bandwidth limits, time schedules, or captive portal options as needed.
These steps form the core workflow for most consumer routers and prepare you for the specific admin fields explained in the table below.
Intro to common admin fields: the table maps typical router guest-network fields to their purpose and recommended values for secure visitor internet access.
| Admin Field | Purpose | Recommended Setting |
|---|---|---|
| Guest SSID (Name) | Identifies the visitor network | Use non-identifying name, e.g., “Guest” or “Visitors” |
| Password | Protects guest access | 12+ character passphrase; unique from main network |
| Isolation | Blocks device-to-device access | Enabled (AP or client isolation) |
| Time Limit / Schedule | Limits availability | Set hours or expiry for temporary access |
| Bandwidth Limit / QoS | Controls guest throughput | Moderate cap (e.g., 30–50% of peak) |
How to Access Your Router’s Admin Panel to Enable Guest Wi-Fi
To reach the admin panel, use a device already connected to your home network, open a browser, and enter the default gateway IP found in network settings; alternatively, use the router vendor’s mobile app for guided access. If you cannot log in because credentials were changed, check the router label for default admin details or consider a password recovery/reset procedure per the device manual; avoid full factory reset unless necessary because it erases customized settings. When logging in, ensure you are on a secure wired or trusted wireless connection, and update router firmware if the admin interface warns of an outdated release. If admin access remains blocked or firmware updates fail, consider engaging remote tech support that offers guided router sessions and troubleshooting assistance.
These access steps lead directly into the essential secure settings you should enable for guest Wi-Fi.
What Are the Essential Settings for Secure Guest Wi-Fi Access?
Essential guest settings include a clear SSID, a strong password or captive portal, modern encryption (WPA3 preferred), enabled isolation, and optionally bandwidth or time limits to control usage. Choose an SSID that’s descriptive but not personally identifying, and use a passphrase rather than a short numeric password to improve entropy and resist brute-force attacks. Enable WPA3 if all visitor devices support it; otherwise use WPA2 with a strong passphrase; captive portals are useful for brief visitor sessions but can interfere with some devices. After applying settings, test with multiple devices and bands, then monitor for unauthorized connections to keep the network healthy.
Below is a short comparison of WPA2 vs WPA3 to help choose encryption based on compatibility and security.
| Encryption | Compatibility | Strength / Recommendation |
|---|---|---|
| WPA2 (AES) | Wide device support | Strong and broadly compatible; use when WPA3 unavailable |
| WPA3-Personal | Growing device support | Stronger handshake and protection; prefer when supported |
| Captive Portal | Any device with browser | Useful for visitor convenience, but can block headless IoT devices |
What Are the Best Practices to Secure and Manage Your Guest Wi-Fi Network?
Ongoing management includes rotating guest passwords periodically, keeping router firmware updated, monitoring connected clients, and enforcing bandwidth or session limits to balance fairness with performance. Strong passphrases and WPA3 adoption reduce risk, while firmware updates patch known vulnerabilities and improve stability. Monitoring tools or router logs let you spot unexpected devices, and scheduling guest SSIDs during typical visiting hours reduces exposure when the network isn’t needed. The table below concisely compares common security approaches to guide your choices.
| Approach | Attribute | Recommended Use |
|---|---|---|
| WPA2 (AES) | Compatibility | Use when visitor devices lack WPA3 support |
| WPA3 | Forward security | Use when all expected devices support it |
| Captive Portal | Ease of use | Good for cafes or managed visitor flows; test IoT compatibility |
These best practices protect your main network and transition into actionable tips for password selection and bandwidth management.
Best-practice checklist for passwords and encryption:
- Use a 12+ character passphrase with mixed words rather than short phrases.
- Prefer WPA3 when visitor devices are modern; otherwise use WPA2 with a strong passphrase.
- Rotate guest passwords periodically and after extended visitor use.
Applying these points ensures secure guest Wi-Fi operation and prepares you to handle common problems, which are covered next. If ongoing management or advanced VLAN/QoS configuration feels complex, remote support services that specialize in home wireless network configuration can assist with setup and troubleshooting.
How to Choose Strong Passwords and Enable WPA2/WPA3 Encryption
Create passphrases by combining unrelated words, numbers, and a symbol to reach 12–16 characters for strong entropy and easier memorization than random strings. To enable WPA3, open the router security settings and select WPA3-Personal or a mixed WPA2/WPA3 mode if your router supports fallbacks; test a variety of devices after changeover to confirm connectivity. When mixed mode is required, accept a slight reduction in theoretical security for compatibility but aim to upgrade visitor devices when possible. If WPA3 is unavailable on an older router, prioritize firmware updates or consider a hardware upgrade in the medium term to gain stronger protection.
These password and encryption steps lead to policies on isolating guest traffic and shaping bandwidth for fair use.
How Can You Use Network Isolation and Bandwidth Limits for Guest Networks?
Network isolation can be implemented as simple AP/client isolation or as a true VLAN/subnet separation depending on router capabilities; isolation prevents direct access to local services while VLANs offer stronger traffic partitioning for advanced users. Bandwidth limits or QoS rules let you allocate a fair share to the guest SSID so streaming guests do not saturate uplink capacity and degrade video calls or backups on the main network. Many routers allow per-SSID limits or device caps, and scheduling can automatically disable the guest SSID outside typical visiting hours to reduce exposure. Apply conservative limits first and adjust based on observed usage to maintain balanced home network performance.
Understanding these management tools leads naturally to the common issues users encounter during setup and how to resolve them.
What Common Issues Occur When Setting Up Guest Wi-Fi and How Can You Troubleshoot Them?
Common guest-network problems include the SSID not appearing, devices failing to authenticate, slow speeds due to bandwidth caps or QoS, and captive portal or isolation settings blocking intended access. A short diagnostic approach fixes most issues: verify SSID visibility, confirm the passphrase, test with multiple devices and bands, reboot access points, and check firmware for known bugs. If captive portals fail for headless devices or AP isolation blocks needed access, adjust settings temporarily for trusted devices. When problems persist after standard steps, expert remote technicians are available to diagnose VLAN, QoS, or firmware-level issues and assist with complex router-specific fixes.
Quick troubleshooting reference table for common symptoms and fast fixes:
| Symptom | Likely Cause | Quick Fix |
|---|---|---|
| SSID not visible | Guest SSID disabled or on separate band | Enable SSID; check 2.4/5 GHz visibility |
| Authentication fails | Wrong password or incompatible encryption | Re-enter passphrase; try WPA2 fallback |
| Slow guest speeds | Bandwidth cap or QoS misconfiguration | Check guest limits; measure ISP speed |
| Captive portal not opening | DNS/portal redirect blocked | Test on a different device; disable portal briefly |
Why Is My Guest Wi-Fi Not Connecting and How Do I Fix It?
If a guest device cannot connect, start by verifying the SSID name and passphrase, then try connecting on both 2.4 GHz and 5 GHz bands to rule out band-specific issues. Reboot the router and the client device to clear transient states, and test with a second device to check whether the problem is device-specific; ensure the router firmware is up to date, as older firmware can cause authentication bugs. If AP/client isolation prevents necessary access for specific devices, temporarily disable isolation for trusted devices or use a captive-portal exemption. When these steps fail, consider remote technical support to check router logs, VLAN configurations, or firmware-level incompatibilities.
These connection diagnostics naturally extend to diagnosing slow speeds or access-denied errors in the next subsection.
How to Resolve Slow Speeds or Access Denied Problems on Guest Networks?
To diagnose slow guest speeds, measure throughput on the main and guest SSIDs to determine whether ISP bandwidth is the bottleneck or the router’s guest cap is throttling traffic. Review QoS and bandwidth-limit settings for the guest SSID and adjust caps or priority rules to restore fair performance; also verify no single device is saturating the uplink. For access-denied or captive-portal issues, check authentication server settings and DNS redirects, then test portal behavior on multiple browsers and devices. If the issue persists after these checks, escalate to skilled remote technicians who can inspect advanced router settings, firmware bugs, or ISP-related restrictions.
This troubleshooting guidance completes the core setup, security, and problem-resolution material needed to run a safe, separate network for visitors.