Graphics Card Troubleshooting Guide: Diagnosing Symptoms and Finding Solutions
A graphics card (GPU) drives visual output, accelerates rendering, and manages VRAM and display pipelines; when it fails, visual problems or system instability often follow and can risk data loss or expensive replacement. This guide explains how to spot common signs of GPU distress, perform targeted video card troubleshooting, and apply practical fixes ranging from driver maintenance to thermal management. You will learn to recognize visual artifacts, interpret system crashes and freezes, monitor GPU temperature with tools like MSI Afterburner and HWMonitor, and decide when to reseat hardware or pursue a clean driver install with Display Driver Uninstaller (DDU). The article also shows simple checks for a GPU that the system doesn’t detect and outlines BIOS and PSU troubleshooting steps. Each section pairs quick diagnostic checklists with actionable repair steps and recommendations for when to escalate to professional remote support for persistent issues. By the end you should be able to triage whether a problem is driver-related, thermal, or hardware-level and take the right next steps for repair or safe escalation.
What Are the Common Signs of a Failing Graphics Card?
A failing graphics card typically reveals itself through observable, repeatable symptoms that interfere with display output or system performance. Recognizing these signs early helps determine whether the issue is likely caused by drivers, overheating, VRAM corruption, or physical hardware faults. The list below summarizes the most common indicators to prioritize during initial video card troubleshooting. Use these signs to decide whether to run driver checks, temperature monitoring, or physical inspections next.
- Visual artifacts or corruption: Flicker, colored lines, tearing, or corrupted textures while idle or under load.
- System crashes or driver resets: Driver crash messages, blue screens, or sudden reboots when gaming or during GPU tasks.
- Performance drops and stuttering: Noticeable FPS loss, micro-stutter, or dropped frames compared to expected performance.
- No display or intermittent signal: Blank screen on boot or signal loss after a period of use despite powered system.
- Unusual fan noise or overheating behavior: Fans running loudly or ramping unpredictably and elevated temperatures under load.
These signs help prioritize which diagnostics to run next; for example, visual artifacts often point to VRAM or driver issues, while overheating clues shift focus to thermal management and cooling checks. The next subsections explain how artifact types and crash patterns map to likely causes and how to confirm them.
How Do Visual Artifacts Indicate GPU Problems?
Visual artifacts are distortions in rendered output that indicate faults in the graphics pipeline, and they typically result from VRAM corruption, driver bugs, or thermal stress on the GPU die. Identifying artifact patterns—such as persistent texture corruption, shimmering lines, or tearing—helps pinpoint whether the issue occurs only under heavy 3D load or also at desktop idle. A quick diagnostic checklist includes swapping display cables, testing another monitor, running a different GPU benchmark, and updating or rolling back drivers to see if the artifact persists. If artifacts appear only during load and persist across driver versions, VRAM or GPU hardware is more likely at fault and may require professional testing or RMA.
What System Crashes and Freezes Signal GPU Issues?
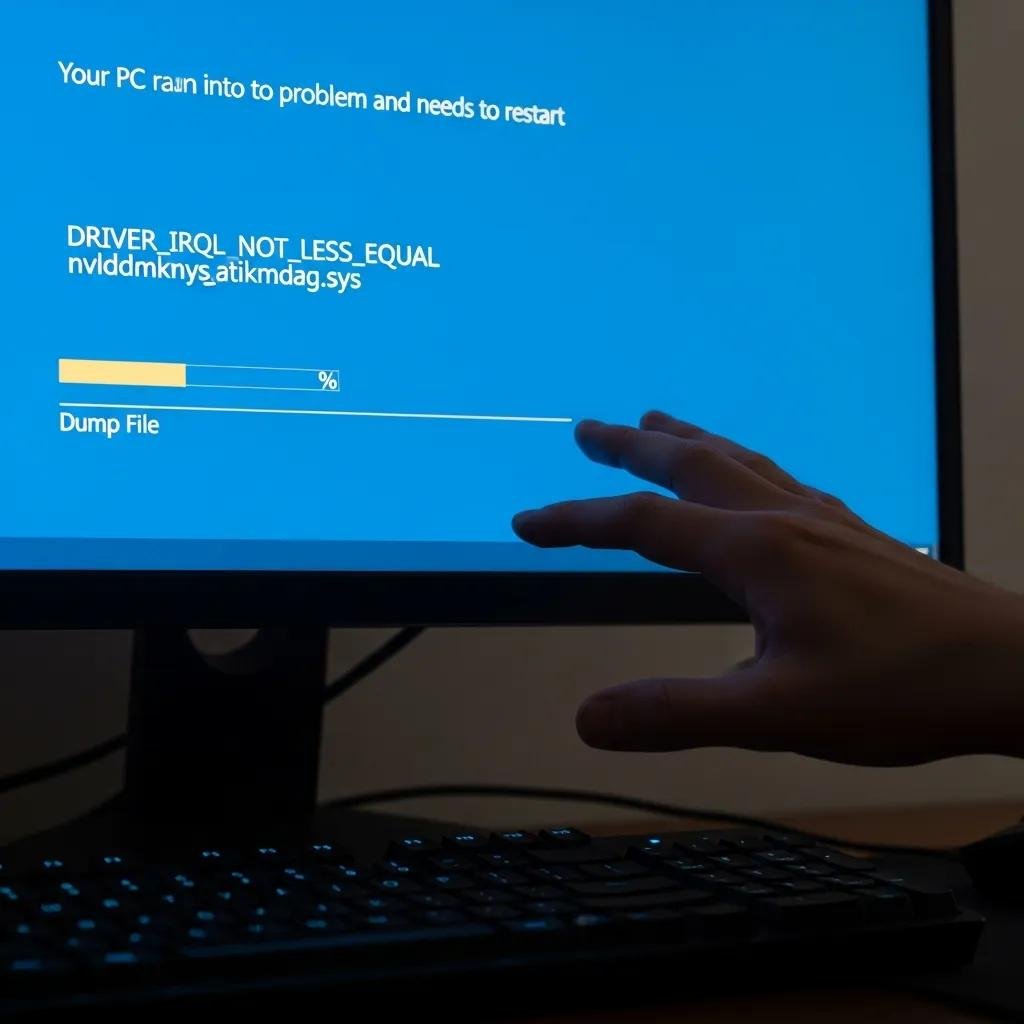
Crashes driven by the GPU often occur under graphics load, present as driver resets (“Display driver stopped responding”), blue screens with graphics-related error codes, or instant reboots during gaming and rendering. To attribute crashes to the GPU, reproduce the fault with a heavy GPU workload, review Event Viewer logs for driver or GPU-specific errors, and note whether crashes correlate with temperature spikes. If crashes stop after a clean driver reinstall or after lowering GPU clocks, driver or thermal issues are implicated; if they continue with stable temps and clean drivers, hardware failure such as VRAM or power delivery faults becomes more likely. Systematic reproduction and logging provide the evidence needed to choose between software fixes and hardware inspection.
How Can You Diagnose and Fix GPU Overheating Symptoms?
GPU overheating produces thermal throttling, artifacts, fan noise, and spontaneous shutdowns; effective diagnosis combines temperature monitoring, airflow inspection, and progressive cooling interventions. Start by measuring idle and load temperatures, then inspect cooling components—fans, heatsink, thermal paste—and case airflow paths. Safe, ordered fixes range from dust cleaning and cable management to replacing fans or reapplying thermal paste, progressing from low-risk maintenance to advanced repairs. The following subsection compares monitoring tools so you can track GPU temperature trends and log spikes before making hardware changes.
What Tools Help Monitor GPU Temperature Effectively?
Introduce monitoring tools and metrics before using them to capture meaningful GPU temperature data during troubleshooting. MSI Afterburner, HWMonitor, and GPU-Z are common choices that report GPU core temp, VRAM temp (when available), fan speed, and clock behavior; each tool offers logging to capture thermal events over time. Set up a short benchmark or a gaming session while logging temperatures to observe idle versus load behavior; typical safe idle temps are 30–45°C and safe load temps often under 85°C for many GPUs, with critical thresholds above ~95°C depending on model. Trust readings when multiple tools report similar values; inconsistent readings may indicate sensor issues or software conflicts.
| Tool | Measured Metrics | Ease / Cost |
|---|---|---|
| MSI Afterburner | Core temp, fan speed, clock, on-screen overlay | Free, widely used, logging available |
| HWMonitor | Core and VRM temps, voltages, fan RPMs | Free/premium options, broad hardware support |
| GPU-Z | Core temp, VRAM usage, GPU load | Free, lightweight, detailed GPU sensor view |
These comparisons help you choose a monitoring tool that fits your workflow and provide a baseline for decisions about cleaning, reapplying thermal paste, or replacing cooling components. After monitoring, follow ordered prevention steps to reduce operating temperatures.
Which Steps Prevent and Resolve GPU Overheating?
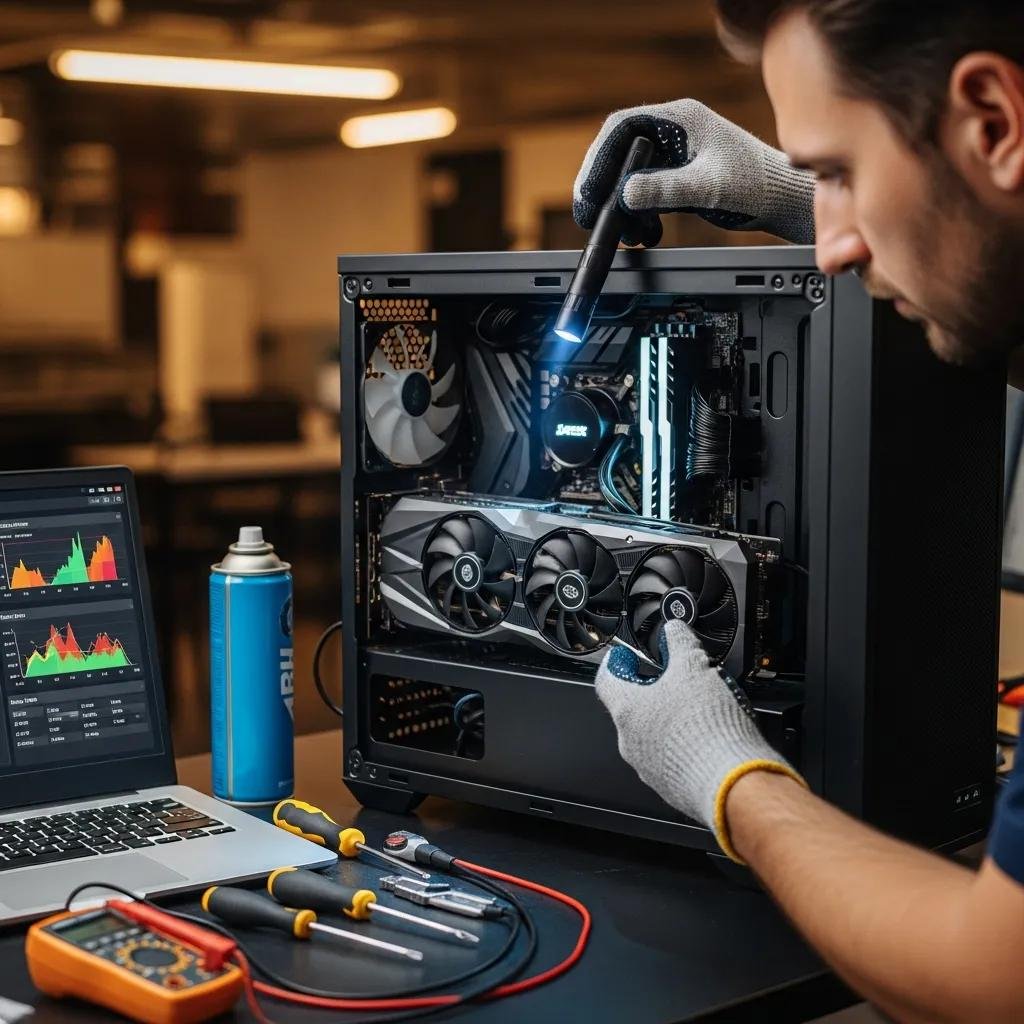
Begin with the least invasive maintenance actions and advance only as needed: power down and unplug the system, ground yourself, then remove dust from fans and heatsinks using compressed air while holding fan blades to avoid overspin. Improve case airflow by organizing cables, adding intake/exhaust fans, and ensuring unobstructed vents; repositioning the PC away from confined spaces can also cut ambient temperatures. If temperatures remain high, consider replacing failing GPU fans or reapplying high-quality thermal paste to the GPU die; these steps require careful disassembly and, when in doubt, professional assistance. If DIY fixes don’t reduce peak temperatures or if you suspect hardware-level failure, seek expert remote diagnostics or in-person service.
mcHelper.com offers remote computer repair and tech support for Mac and Windows users who detect persistent overheating after DIY steps. Their certified technicians provide 24/7 remote assistance and can guide safe thermal interventions like fan replacement or instructive thermal paste reapplication, and they operate under a “no fix – no fee” policy for transparent outcomes. Using remote troubleshooting from a trusted provider is useful when tools, experience, or safe workspace are lacking, and it helps avoid warranty-voiding repairs. If hardware-level intervention is needed beyond remote guidance, their technicians can advise on next steps and testing to confirm whether replacement or RMA is appropriate.
What Are Effective Solutions for Display Driver Crashes?
Display driver crashes are often resolved by a systematic sequence: verify whether the crash is driver-related, update or rollback drivers, and perform a clean driver install using Display Driver Uninstaller when conflicts persist. Start by checking Event Viewer for driver failure entries and reproduce the issue after booting into safe mode to isolate third-party conflicts. Use vendor drivers from NVIDIA or AMD tailored to your GPU model, favoring WHQL-certified packages when possible, and create a system restore point before major changes. The table below compares common driver-fix approaches to help decide which action fits your scenario.
| Fix Method | Risk | Recommended Scenario |
|---|---|---|
| Update driver | Low | New GPU, recent OS updates, or known bug fixes |
| Rollback driver | Low | New driver introduced instability or regressions |
| DDU clean install | Moderate | Persistent crashes across versions or driver corruption |
Use the above comparison to select a safe approach: try updating first, rollback if the issue began after an update, and use DDU when updates and rollbacks fail. After choosing a method, verify stability by running the workload that originally triggered the crash to ensure the driver change resolved the problem.
How Do You Update or Reinstall Graphics Drivers Safely?
Updating or reinstalling drivers safely begins with identifying the exact GPU model and current driver version using device manager tools or GPU-Z, then downloading the correct vendor package from the manufacturer. Create a system restore point before changes and close background apps to prevent conflicts during installation; install the driver using the vendor’s custom installer and choose a clean or express option per guidance. After installation, reboot and validate driver version and stability by running a brief benchmark or your usual GPU workload. If instability appears, use a driver rollback via Device Manager or proceed to a clean install with DDU in safe mode.
When Should You Use Display Driver Uninstaller for Clean Installation?
Display Driver Uninstaller (DDU) is recommended when persistent display driver crashes, artifacts, or conflicts survive standard updates and rollbacks, indicating deeper driver corruption or leftover files. The safe workflow is: boot to Safe Mode, run DDU to fully remove driver traces and registry entries, reboot to normal mode, and install the manufacturer driver freshly. DDU carries moderate risk because it removes existing drivers and settings, so back up profiles and be prepared with a replacement driver package on hand. Use DDU when conventional reinstalls fail to resolve repeated crashes, and consult remote support if unsure about safe execution.
mcHelper.com’s remote tech support can assist if driver issues persist after standard updates or a DDU clean install, offering guided remote diagnosis and safe clean-driver installation for Windows and macOS systems. Their technicians are certified to handle OS-specific driver conflicts and can perform or advise on DDU workflows to minimize risk. Their 24/7 availability and “no fix – no fee” policy provide a safety net for users who prefer expert help to avoid accidental data loss or prolonged downtime.
How Do You Troubleshoot a Graphics Card Not Detected by the System?
When a GPU is not detected, methodical physical and firmware checks quickly isolate whether the problem stems from connection issues, BIOS/UEFI settings, power delivery, or motherboard-level faults. Start with a power-off inspection of seating, PCIe power connectors, and display cables, then try basic firmware checks in BIOS for primary display settings or PCIe initialization options. If the GPU remains undetected, test the card in another working system and consider PSU testing or swapping to rule out power delivery failure. The checklist below summarizes immediate physical checks to perform before attempting firmware changes or professional diagnostics.
- Power off and unplug the PC, then ground yourself before touching components.
- Reseat the GPU in the PCIe slot and ensure 6/8-pin power connectors are firmly attached.
- Try alternate PCIe slots, different display cables, and another monitor to rule out peripheral faults.
- Reset CMOS or check BIOS/UEFI primary display and PCIe mode settings before advanced troubleshooting.
Performing these steps often reveals connection or cabling faults; if the GPU is still not detected after reseating and testing in another system, the fault likely involves PSU power delivery, PCIe slot failure, or a defective GPU that requires professional testing or RMA.
What Physical Checks Ensure Proper GPU Connection?
Begin physical inspection with the system powered down: remove and reseat the GPU, verifying that the PCIe slot latch is engaged and that any supplemental 6/8-pin power cables are correctly seated and undamaged. Inspect the card and slot for visible burnt components, bulging capacitors, or debris that might impede contact; also test with known-good display cables and a different monitor to eliminate cable or panel problems. When reseating, handle the GPU by its shroud or PCB edges and avoid touching contacts; after reassembly, power on and watch for fan spin or boot POST indicators. If the GPU fails to be recognized despite these checks, document the symptoms and proceed to BIOS and PSU diagnostics.
How Can BIOS Settings Affect GPU Detection?
BIOS/UEFI settings control which device initializes as the primary display adapter and how PCIe lanes are allocated, so incorrect settings can prevent GPU detection. Review options like primary display (PCIe vs integrated), PCIe slot configuration (Auto/Gen1/Gen2/Gen3/Gen4), and any security or multi-GPU settings; temporarily set BIOS to defaults or explicitly choose PCIe as primary to test recognition. If BIOS updates are available for the motherboard and the GPU is otherwise healthy, a firmware update can resolve compatibility issues, but only proceed with a stable power source and follow vendor instructions. If BIOS resets and updates don’t restore detection, a motherboard diagnostic or PSU test by a technician is recommended.
If hardware-level checks or PSU testing are beyond your tools or comfort level, mcHelper.com provides remote guidance and technician-assisted diagnostics for GPU detection problems across Mac and Windows systems. Their certified technicians can walk you through safe reseating, advise on BIOS settings to try, and recommend PSU testing or next steps under their “no fix – no fee” assurance. Using professional remote support is practical when electrical checks, warranty considerations, or RMA advice are needed to proceed safely.