How to Build a Custom PC: Step-by-Step Beginner’s Assembly and Component Guide
Building a custom PC means selecting compatible hardware and assembling it into a working system that fits your use case, whether gaming, content creation, or everyday productivity. This guide teaches beginners how to choose components, assemble parts safely, install an operating system and drivers, and run basic troubleshooting so you can complete a functioning build. Many newcomers worry about compatibility and first-boot problems; this article removes uncertainty with clear checks, ordered steps, and quick diagnostic flows. You will learn the essential components required, a compact assembly workflow, a practical software-install checklist, and fast maintenance tips to keep your PC stable. The sections below cover component selection and compatibility, step-by-step physical assembly with necessary tools, OS and driver installation plus BIOS tuning, and common post-build troubleshooting and upgrade planning. Throughout, target phrases like custom computer build, pc parts guide, and how to build a pc are used to connect concepts and make this a practical pc assembly guide for beginners.
What Are the Essential Components for Building a Custom PC?
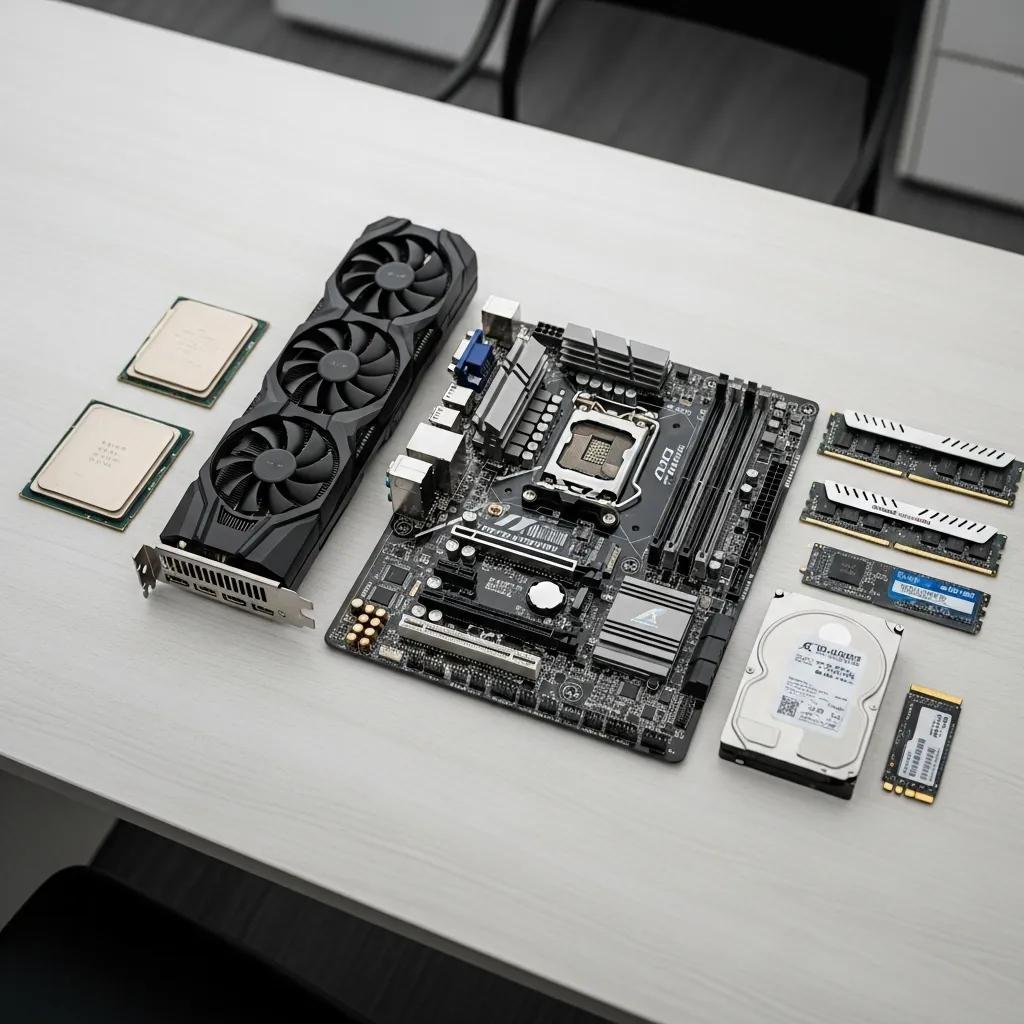
Essential components are the core parts that make a personal computer functional: CPU, GPU, motherboard, RAM, storage, PSU, case, and cooling. These parts work together through defined interfaces — for example, the CPU fits a motherboard socket, RAM requires a supported DDR generation, and storage uses SATA or M.2/NVMe slots. Choosing parts by use case and budget yields better performance-per-dollar and reduces compatibility problems. Below is a concise list of primary components and a quick compatibility checklist to guide selection.
Common components and what each provides:
- CPU (Processor): Runs program logic and determines core/thread counts for workloads.
- Motherboard: Hosts CPU, RAM, and expansion slots; dictates socket and form factor.
- GPU (Graphics card): Renders visuals and accelerates compute for gaming and creative apps.
This compact overview leads into a quick compatibility reference that clarifies sockets, form factors, and power expectations before purchase.
| Component | Key Attribute | Typical Value / Note |
|---|---|---|
| CPU | Socket | LGA1700 / AM5 (match motherboard) |
| Motherboard | Form factor | ATX, Micro-ATX, Mini-ITX (case fit) |
| GPU | Power & slot | PCIe x16; check TDP and length |
This comparison helps you cross-check purchases and avoid mismatches such as wrong socket or oversize GPUs. Use these attributes when confirming parts compatibility before assembly.
How to Choose the Right CPU, GPU, and Motherboard for Your Build
Choosing CPU, GPU, and motherboard starts with your intended workload and budget and then maps those needs to cores, clocks, and feature sets. For gaming, favor a higher-clock CPU paired with a mid-to-high GPU; for workstation tasks, prioritize core count and PCIe lanes. Match the CPU socket to the motherboard chipset and verify BIOS support where necessary. Example pairings include budget CPU + entry GPU, mid-range CPU + mid GPU, and high-end CPU + flagship GPU to align performance with cost.
- Match socket and chipset: Confirm CPU socket and required BIOS support on the motherboard.
- Balance CPU/GPU: Avoid bottlenecks by aligning CPU throughput with GPU capability.
- Consider features: Look for PCIe lane count, M.2 slots, and VRM quality for stable performance.
Choosing wisely reduces upgrade friction and ensures stable performance under expected loads.
What Role Do RAM, Storage, PSU, and Cooling Play in Your PC?
Memory, storage, power, and cooling determine responsiveness, capacity, reliability, and longevity of your build. RAM capacity and DDR generation affect multitasking and bandwidth; faster RAM and dual-channel configurations benefit gaming and productivity. NVMe M.2 drives deliver faster boot and load times than SATA SSDs, which are still useful for bulk storage. The PSU must provide sufficient wattage headroom and good efficiency; modular PSUs ease cable management. Cooling choices—air versus AIO—depend on CPU TDP, case clearance, and noise preferences.
- RAM: Choose capacity and speed based on tasks; enable dual-channel where possible.
- Storage: Use NVMe for OS and key apps; add SATA drives for mass storage.
- PSU & cooling: Size wattage with headroom; match cooler to CPU TDP and case fit.
Good planning for these parts prevents thermal throttling and power instability during use.
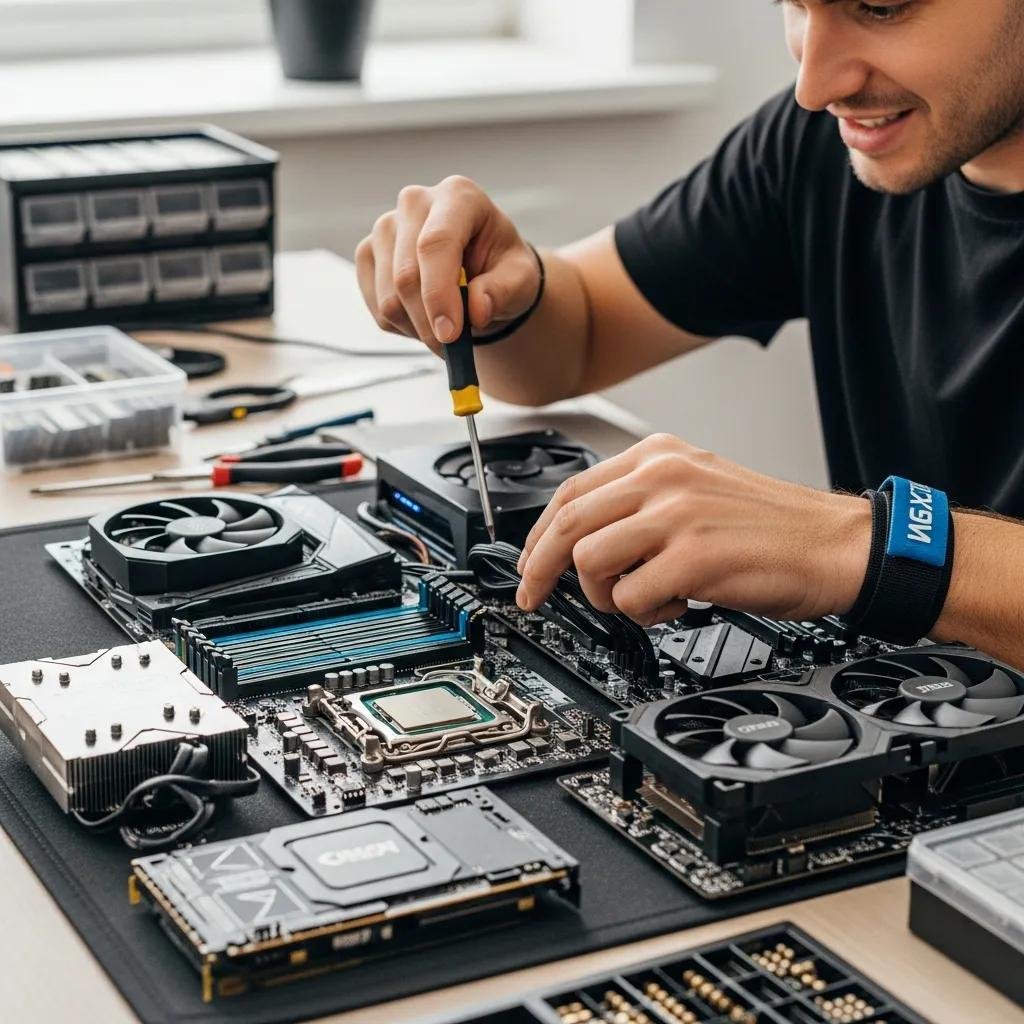
How Do You Assemble Your Custom PC Step by Step?
Assembly is a logical sequence of safe actions that minimizes risk: prepare workspace and parts, install CPU/RAM on the motherboard, mount motherboard in case or test on a bench, then add PSU, storage, GPU, and final cable routing. Proper ESD precautions and standoffs are essential to avoid hardware damage. The numbered steps below provide a concise, beginner-friendly order to follow during physical assembly.
- Prepare workspace and tools: Clear a flat surface, lay out parts, and organize screws.
- Install CPU and RAM on motherboard: Seat CPU, apply thermal paste if needed, and lock RAM modules.
- Mount motherboard and connect PSU: Secure standoffs, fasten motherboard, then attach 24-pin and CPU power.
Followed correctly, this order leads to a safe first power-on and simpler troubleshooting if the system fails to POST. For hands-on assistance during tricky diagnostics or remote troubleshooting after first boot, mcHelper.com offers remote computer repair and technical support with 24/7 availability and a no fix – no fee policy, available through an annual subscription.
| Item | Tool Required | Best Practice |
|---|---|---|
| Motherboard handling | Anti-static wrist strap | Install standoffs before mounting board |
| CPU cooler | Torque-capable screwdriver | Follow mounting pattern and torque specs |
| Storage drives | Small Phillips #2 | Secure M.2 with correct screw length |
This tool checklist ensures you have what you need and that each step follows a safety-first practice to reduce errors.
What Tools and Preparations Are Needed Before Starting Assembly?
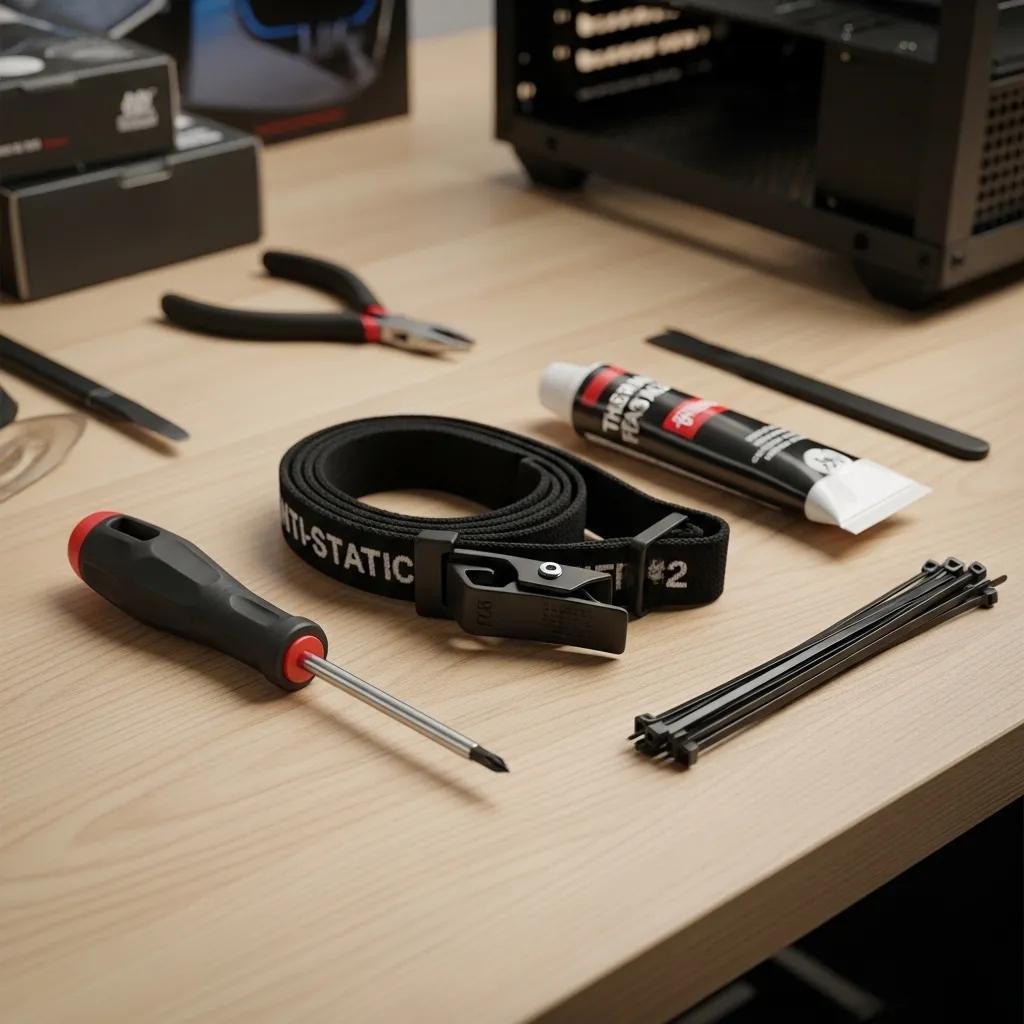
Before building, collect essential tools and verify component compatibility, firmware needs, and included accessories. A Phillips #2 screwdriver, anti-static strap, thermal paste (if cooler doesn’t include pre-applied), zip ties, and a clean work surface are minimal. Check motherboard standoffs and confirm the PSU cables match your components. Organize screws and small parts in labeled containers to avoid confusion during assembly.
- Essential tools: Phillips #2, ESD strap, thermal paste, zip ties.
- Pre-build checks: Confirm BIOS CPU support, case clearance, and PSU connectors.
Preparation reduces assembly time and prevents common mistakes like missing standoffs or incompatible PSU connectors.
How to Install Components: CPU, RAM, GPU, Storage, and PSU
Install components in a sequence that limits handling of delicate parts: install CPU and RAM on the board before mounting the motherboard in the case, then fit the cooler, install the PSU, connect power, add storage, and finally seat the GPU. Pay attention to CPU orientation markers, RAM notch alignment, and PCIe latch engagement for GPUs. Route power cables to minimize stress and test a minimum-boot configuration (CPU, one RAM stick, GPU if required) to confirm POST before final cable tidy.
- CPU: Align orientation, lower gently, and secure the socket lever.
- RAM: Insert until latches click; verify dual-channel slot placement.
- GPU & storage: Seat GPU in PCIe x16 and fasten; install M.2 with correct screw torque.
Careful stepwise installation simplifies troubleshooting and improves initial system stability.
How to Install Software and Optimize Your New Custom PC?
After hardware assembly, installing an operating system and device drivers is the next priority to get a responsive system. Create install media, set BIOS boot order to the USB, complete the OS install, and then install chipset and GPU drivers in the recommended order. Enable storage mode (AHCI/NVMe) as required and activate XMP/DOCP later in BIOS to achieve rated RAM speeds. The short checklist below captures the optimal post-build software flow.
- Create bootable USB: Use official tools to prepare installer media for your OS.
- BIOS boot order: Set the USB as primary boot device and confirm AHCI/NVMe settings.
- Driver order: Install chipset drivers first, followed by GPU and peripherals.
For ongoing driver updates and remote configuration help, mcHelper.com provides 24/7 remote technical support and can assist with driver installs and optimization under its annual subscription, operating under a no fix – no fee guarantee.
| Component | Action | Recommended Resource |
|---|---|---|
| GPU | Install latest driver | Official vendor driver download |
| Motherboard | Install chipset driver | Manufacturer support page |
| Storage | Verify NVMe driver/firmware | Controller vendor resources |
This checklist helps ensure your system boots cleanly and runs with optimal driver support.
What Is the Best Way to Install the Operating System and Drivers?
Create a bootable USB installer and set BIOS to boot from it; proceed with a simple single-partition install for ease. After OS install, run system updates, then install chipset drivers, storage drivers, and finally GPU drivers to ensure correct device enumeration. Create a recovery point and enable basic security measures after installation.
- Media creation: Use official creation tools or verified utilities to create USB media.
- Driver sequence: Chipset first, then storage, GPU, and peripherals.
- Post-install: Run updates, set restore point, and configure essential security.
Following this order stabilizes drivers and reduces reinstall needs later.
How to Configure BIOS and Perform Initial System Optimization
In BIOS/UEFI, set the proper boot order, enable XMP/DOCP to run RAM at rated speeds, and configure basic fan curves for balanced cooling and noise. Update firmware only when necessary and follow vendor instructions closely to avoid corruption. Avoid advanced overclocking until you validate cooling and power stability to reduce risk.
- Boot order & storage mode: Confirm USB priority and AHCI/NVMe settings.
- Enable XMP/DOCP: Activate profile to reach rated RAM speeds if stable.
- Fan and power settings: Use conservative curves initially and monitor temps.
Safe BIOS adjustments improve everyday performance while minimizing risk to hardware.
What Are Common Troubleshooting Tips and Maintenance Practices for Beginners?
Common post-build problems like no POST or overheating are usually solvable with a short triage checklist that isolates power, component seating, and firmware issues. Regular maintenance such as dust cleaning, driver updates, and firmware checks keeps performance steady and extends component life. Use systematic steps to identify faults before replacing parts.
- No boot triage: Check PSU switch, verify 24-pin and CPU power, test minimum-boot with single RAM stick.
- Overheating checks: Confirm cooler mounting, reapply thermal paste if needed, and verify fan headers.
- Maintenance: Clean dust filters, update drivers, and check firmware periodically.
If remote diagnosis or hands-off repairs are needed, mcHelper.com’s remote support staff can assist with guided troubleshooting and recovery under its 24/7 support model and no fix – no fee policy.
How to Identify and Fix Common Build Issues Like No Boot or Overheating
For a no-POST condition, verify power to the board, check front-panel connector seating, reseat RAM and GPU, and try a speaker/beep code if available to narrow down the fault. For overheating, confirm cooler contact and proper thermal paste application, ensure fans are spinning, and verify correct fan curves in BIOS. If these steps fail, consider professional remote diagnostics.
- No POST: Confirm PSU switch, 24-pin and CPU power, and minimum-boot components.
- Overheating: Re-check cooler mount, fan orientation, and airflow path.
- When to seek help: If reseating and basic checks don’t fix it, use remote expert assistance.
These triage sequences resolve most initial build problems quickly and safely.
What Are Best Practices for Cable Management and Future Upgrades?
Good cable management improves airflow and simplifies future upgrades. Route cables behind the motherboard tray, use zip ties or Velcro straps, and label connectors if you plan frequent changes. Leave slack where needed for GPU swaps and ensure your PSU has wattage headroom to accommodate future GPU or CPU upgrades.
- Routing: Use rear tray channels and tie points to organize cables neatly.
- Modular PSU: Consider modular cabling to reduce clutter and improve airflow.
- Upgrade planning: Check case GPU length and PSU wattage before buying new components.
Thoughtful cable routing and planning reduce downtime during upgrades and keep thermals under control.